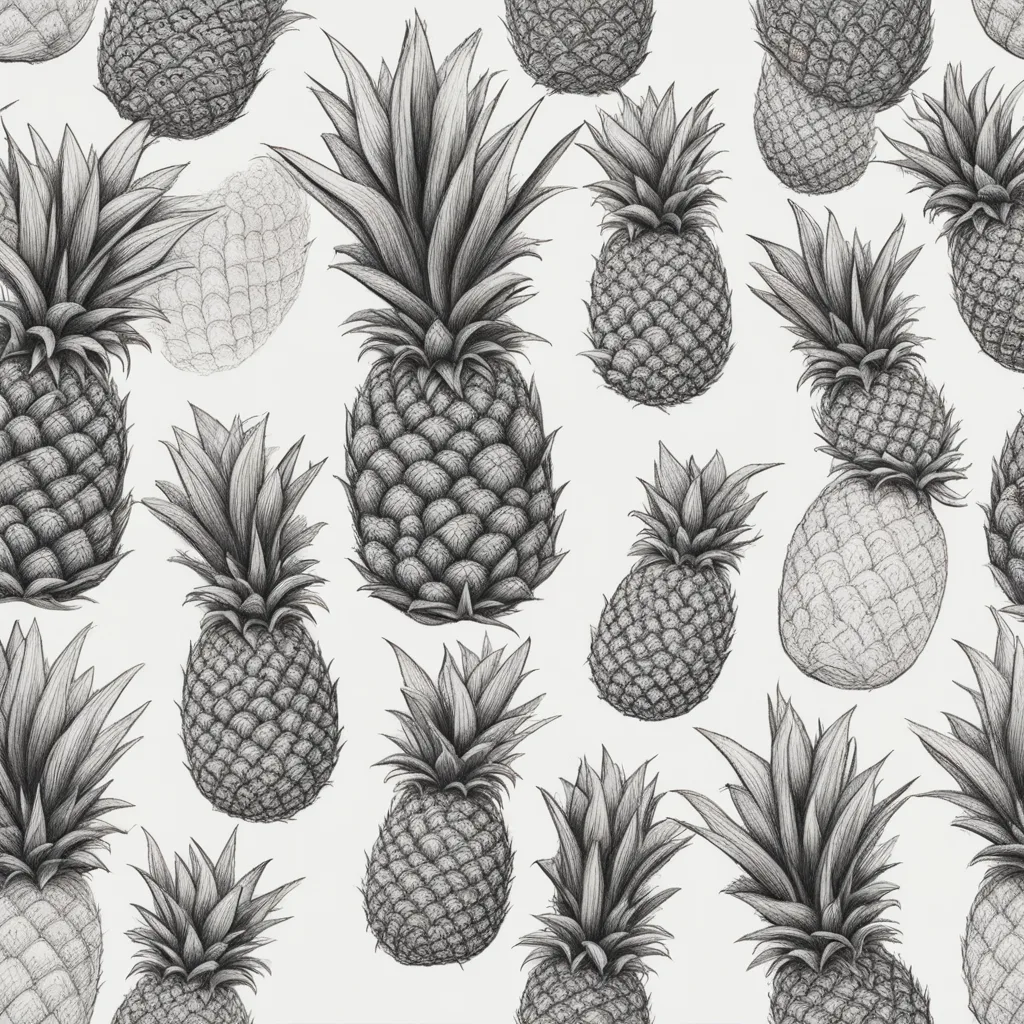
Pineapples possess a distinctive form and texture, rendering them visually captivating in addition to being palatable. Regardless of your artistic experience level, simplifying the process of depicting a pineapple can prove to be a delightful and intellectually stimulating endeavor. We will examine how to meticulously and artistically draw a pineapple, conveying the essence of this tropical fruit on paper or canvas, in this step-by-step guide.
Table of Contents
Materials You’ll Need:
Prior to commencing your pineapple-drawing endeavor, ensure that the following materials are readily available:
Opt for either canvas or paper as the drawing surface of your preference.
For varying line weights and shading, maintain a selection of graphite pencils with distinct lead hardnesses (2H, H, HB, 2B, 4B, for instance).
Erasers: A standard eraser for more precise line removal and a kneaded eraser for light corrections.
Optional: Should you desire to incorporate color into your pineapple illustration, feel free to utilize colored pencils or any other preferred coloring medium.
Locate a high-resolution, crystal-clear photograph of a pineapple for the purpose of reference. This will assist you in accurately capturing the fruit’s details.
Step 1: Study Your Pineapple
Before beginning to draw, briefly examine the reference image. Observe the dimensions, form, and skin texture of the pineapple. This preliminary investigation will serve to elucidate the subject matter and direct your artistic endeavors.
Step 2: Draw the Pineapple Outline
Commence by crudely sketching the fundamental form of the pineapple. Typically, the pineapple possesses a cylindrical form topped with a crown of foliage. For the body, employ a basic oval or elliptical form, while the crown is rendered as a sequence of elongated leaves.
Step 3: Add Texture to the Skin
The epidermis of pineapples is textured and adorned with diamond-shaped patterns. Sleekly inscribe these designs across the complete expanse of the fruit. Begin by sketching diamond-shaped crisscrossing diagonal lines. Ensure that the lines are placed in an even manner while preserving the pineapple’s body curvature.
Step 4: Shade the Pineapple
To achieve realism and depth, it is now time to apply shading. By examining the reference image, one can ascertain the light’s direction. Shade the areas where shadows fall, such as the crevices between the diamonds and the pineapple’s sides, with a delicate pencil (e.g., 2B or 4B). In order to emphasize details, maintain paler edges and high points.
Step 5: Work on the Crown
The crown of the pineapple is composed of elongated, slender, and angular leaves. Illustrate these leaves by utilizing their distinctive serrated margins. Incorporate shading into the foliage to impart depth and volume.
Step 6: Fine-Tune and Add Details
Evaluate your drawing and revise it as required. Observe the contours, particulars, and any flaws that are apparent. Further elaboration is possible, such as the minuscule protrusions resembling thorns on the pineapple epidermis.
Step 7: Color Your Drawing (Optional)
To incorporate color into your pineapple illustration, utilize colored pencils or an alternative coloring medium. While pineapples are conventionally yellow in color, any preferred color scheme may be utilized.
Step 8: Final Touches
Step back and evaluate your drawing. Make any necessary final adjustments or refinements. Spend additional time refining your pineapple drawing until it meets your complete gratification.


Frequently Asked Questions (FAQ’s)
Do I need artistic experience to create a convincing drawing of a pineapple?
It is not necessary to have prior experience as an artist. Pineapples can be drawn by anyone given sufficient time and effort. Begin with the fundamentals and progressively enhance your abilities.
Where can I locate a reference image of superior quality that depicts a pineapple?
One can acquire high-resolution images of pineapples through various sources, including stock image websites, personal photography, or online sources.
How can the diamond-shaped patterns on the pineapple’s epidermis be most precisely replicated?
Thoroughly scrutinize the reference image and employ uncomplicated geometric forms to facilitate the creation of the diamond patterns. Additionally, a grid can be faintly sketched to ensure uniform spacing.
Should I keep to the traditional yellow hue for my pineapple, or am I permitted to experiment with other hues?
Although yellow is the most typical color for pineapples, you are welcome to experiment with other hues. You are free to design a fantastical or stylized pineapple in any hue you desire.
Could you please provide some guidance on how to attain genuine shading in the illustration of a pineapple?
It is imperative to scrutinize the light direction within the reference image. Apply shading with gentle pencils to areas containing shadows, while maintaining paler highlights. Build up the shading gradually to achieve depth.
What adjustments can I make to my pineapple drawing to increase its three-dimensional appearance?
Create a sense of depth and volume through meticulous shading. Consider the highlights, midtones, and shadows in order to achieve a realistic three-dimensional appearance for the pineapple.
Which frequent errors should one strive to prevent when creating a depiction of a pineapple?
It is unwise to hasten the drawing procedure. Spend sufficient time observing and accurately replicating details. Additionally, avoid shading excessively, as this can result in an overly dark drawing.
Conclusion
In conclusion, the act of sketching a pineapple serves as both an artistic pursuit and a delectable way to honor the exotic splendor of this particular tropical fruit. You can create a realistic and detailed representation of a pineapple, capturing its distinctive texture and vibrant personality, by adhering to this step-by-step guide. Regardless of whether you opt to retain your drawing in its original form or integrate it into a more extensive work of art, you will end up with a mesmerizing and delectable work of art that you will adore. Delight in the captivating artistic expedition and further delve into the realm of botanical and fruit illustrations!


