How to draw Cherry, Anyone, no matter their artistic ability, may appreciate the pleasure and simplicity of drawing cherries. Cherries are an excellent drawing subject because of their vibrant shades and unique form. Whether you want a more stylized or realistic take, this lovely fruit may be accurately represented by following a step-by-step process. Starting with sketching the fundamental forms, this article will show you how to draw cherry with details and shading.
Table of Contents
Materials Needed:
- Paper
- Pencil
- Eraser
- Markers or colored pencils (optional)
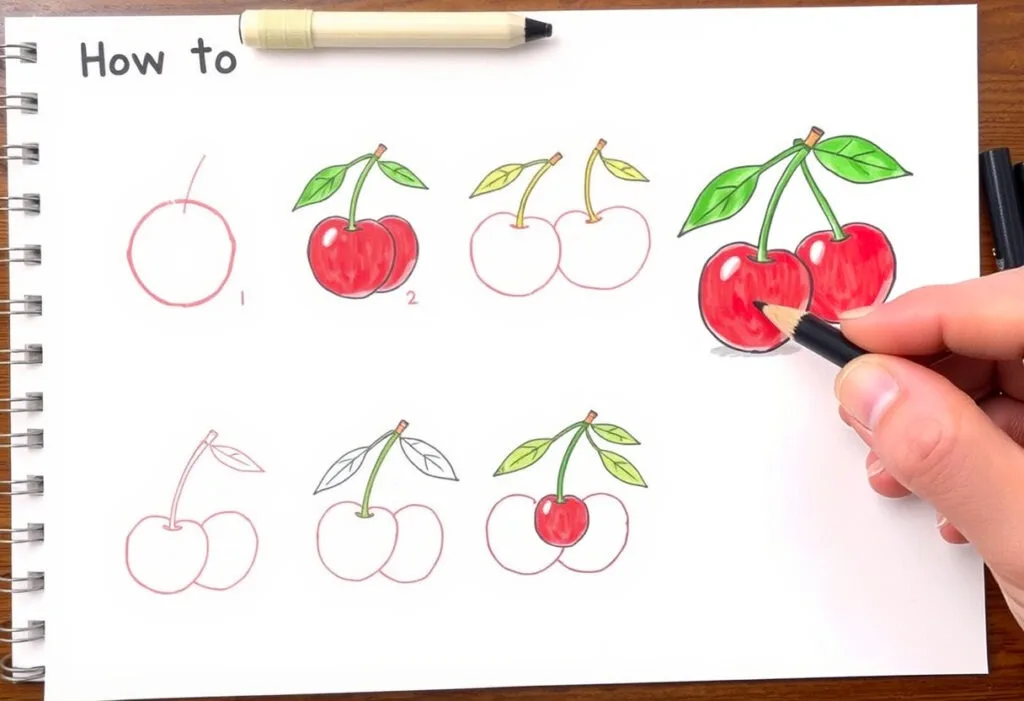
Steps by Step Guide to How to draw Cherry
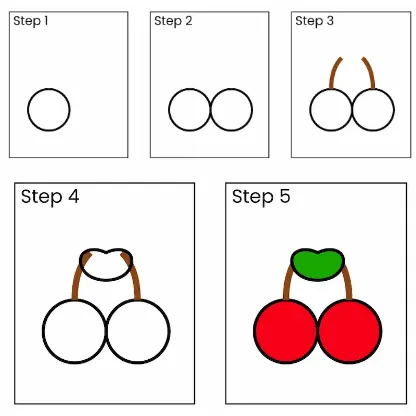
Draw the Cherry Shapes:
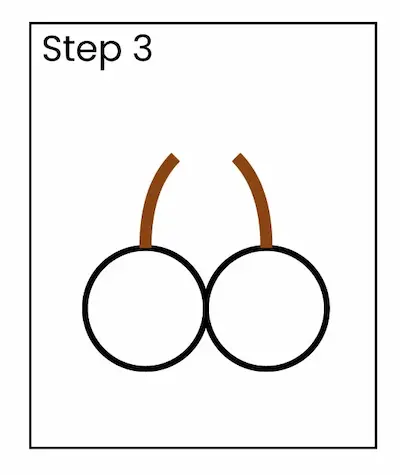
To begin, draw two circles that overlap. The two cherries will look like this. Get a feeling of depth by making sure they overlap slightly.

Add the Stems:
Draw a curved line extending from the top of each cherry. Have the stems meet at a point above the cherries, as they are often attached at a single point.

Draw the Leaf:
From the meeting point of the stems, draw a small stem leading to a leaf. The leaf should be oval-shaped with a pointed tip.
Refine the Shapes:
To make the circles like cherry more, smooth them out. At the point where the cherry’s stem meets the fruit, make a little depression.

Add Details:
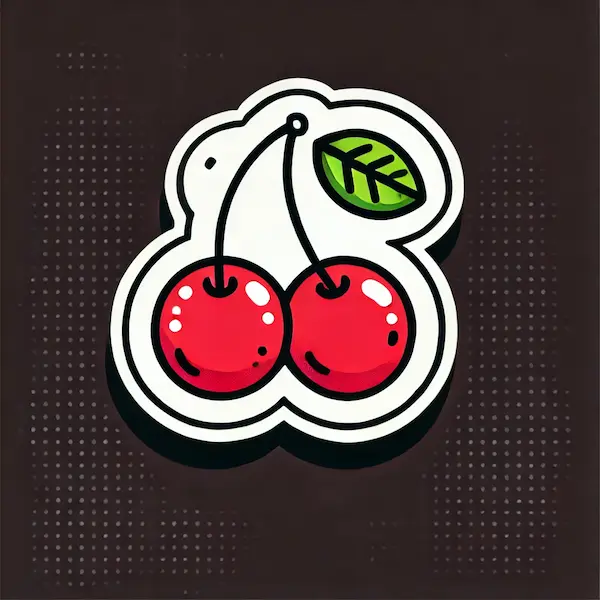
To make it seem like the cherry is sparkly, draw a little highlight on top of each one. A little oval or curved line may do this.
Create an appearance of veins on the leaf by sketching lines radiating outward from its center.

Shade the Cherries:
Give the cherry dimension by shading them. Lighten the shade as you get closer to the highlight, and darken it on the parts farthest from it.
Also, to make it seem more three-dimensional, shade the leaves and stems.
Color the Drawing (Optional):
To make things up, paint the cherries red, the stems and leaves green, and the veins of the leaf a lighter shade of green.
Inspiration
- Photos: Examine actual cherries to study their forms, hues, and textures.
Think - Outside the Box: Try sketching cherries in a realistic, cartoonish, or abstract manner to see what works best for you.
- Still Life: Incorporate cherries into a more expansive composition, such a fruit platter or a scenario portraying a still life.
FAQs
If you want to draw two cherries, is it necessary?
It’s up to you whether you want to draw two cherries or simply one. A single cherry may be just as effective as drawing several cherries; in fact, it can even enhance the composition.
In order to make the cherries appear more authentic, how can I do this?
Shade and highlights should be your primary concerns. Take note of the how light reflects off of actual cherries and try to capture that effect in your sketch.
My cherries aren’t round, what now?
No problem at all! Even real cherries aren’t often exactly round. Subtle imperfections may give your drawing a more realistic appearance.
Can I use my computer to sketch the cherries?
You may easily add details and modify your drawing using digital tools because of their versatility with layers and shading.
What is the best way to add highlights?
The cherries will look their best with the highlights positioned where the light falls directly on them. To make a statement against the deeper darkened sections, keep them tiny and vivid.
Conclusion
If you’re looking for an enjoyable and satisfying art project, try drawing cherries. You may make a lovely and accurate picture of cherry by following a systematic method, beginning with simple forms and adding features like leaves, shade, and stems. The most important thing is to study actual cherries and how light and shadow affect their surfaces, whether you’re working with digital or traditional sketching tools. You may improve your drawing skills and have fun making art with practice and imagination. Have fun sketching!


