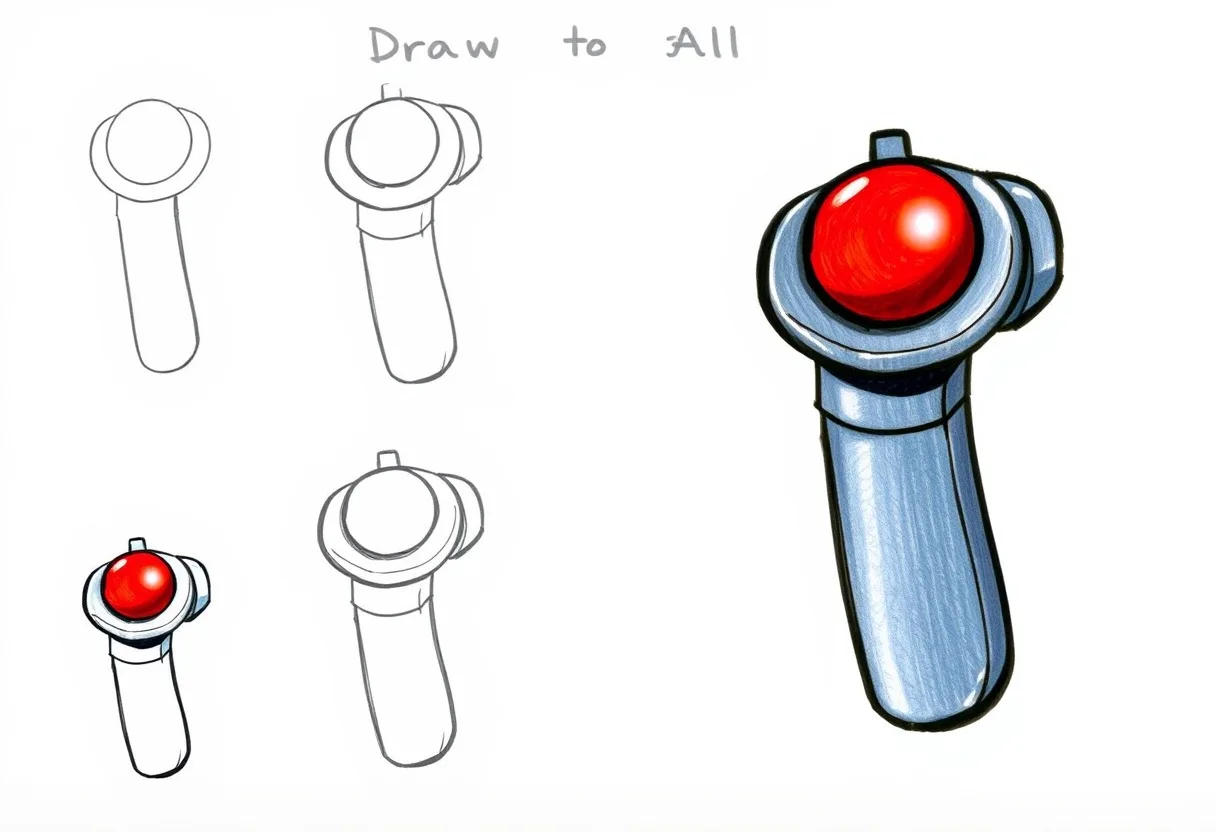
How to draw Joystick, creating a joystick is like opening a door to excitement and exploration! A joystick typically features a sleek and durable base, along with a tall stick and occasionally buttons that can be pressed. It’s an interesting combination of shapes and lines, making it a fun drawing project. Let’s embark on this thrilling challenge and enjoy creating a joystick together! Get your pencil ready, and let’s begin!
Table of Contents
The Excitement of Shapes
Mastering the art of drawing a joystick requires precision in shaping! The base is typically a sturdy square or rectangle, while the stick is a vertical line. Using circles or other shapes as buttons can enhance the enjoyment of your drawing! Working with these simple shapes can help you gain a better understanding of how various components combine to form something practical and impressive. Similar to the way games are created with shapes and lines, your drawings have the power to bring a joystick to life!
The Power of Proportions
Getting the proportions right is crucial for creating an authentic-looking joystick. The foundation should be spacious enough to accommodate the stick while ensuring that it is both tall and robust. Ensuring the joystick is drawn with accurate proportions gives it a sense of balance and readiness for action! Proportions play a crucial role in art, ensuring that all elements harmoniously come together. When the proportions are correct, your joystick will resemble the real thing!
The Art of Detail
Enhancing your joystick drawing with additional elements like buttons, grip textures, or even a cable can bring it to life and make it more captivating. Attention to detail is what sets your drawing apart and gives it a special and unique touch, much like the exciting features of a joystick that make it enjoyable to use! Being mindful of these small details can enhance your observation skills and make your artwork more distinctive. It’s all about making your controller look like it’s ready for some gaming action!
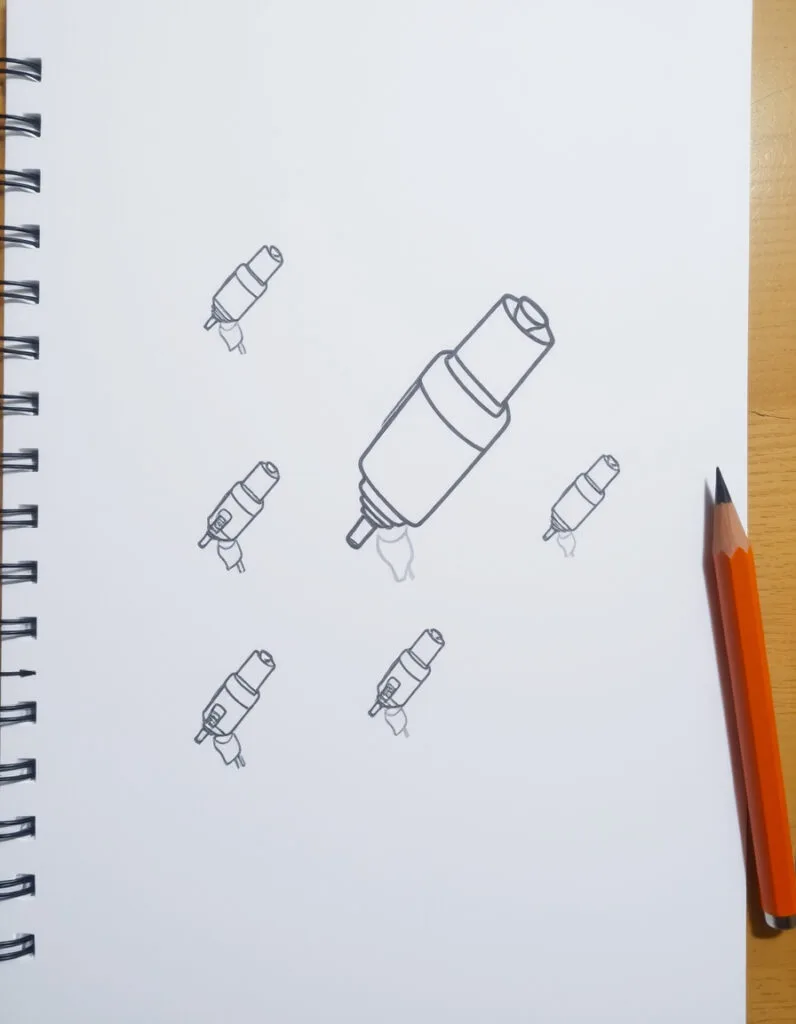
Steps: How to Draw Joystick
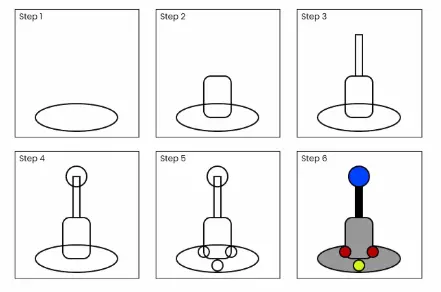
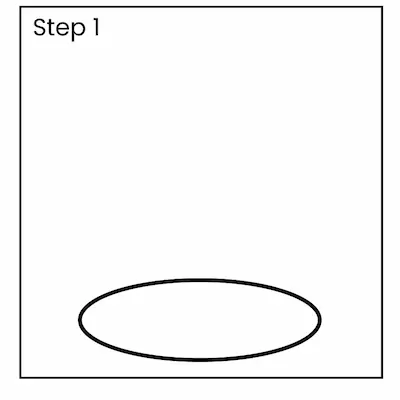
Step 1:
Begin by sketching a rectangle or square to serve as the foundation of the joystick. This is where the stick will be attached, so it needs to be strong and long-lasting!
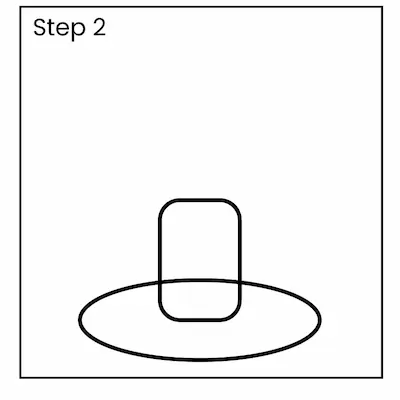
Step 2:
Draw a tall, straight line going up in the center of the base. This will be the handle of the controller. Ensure that the line remains smooth and straight, just like the genuine article!
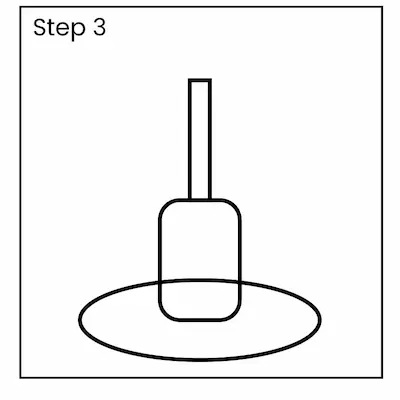
Step 3:
On the top of the stick, create a small circle or square to serve as the handle. This is where you would hold the joystick. Ensure that the size of the object is suitable for the stick, giving it a comfortable grip.
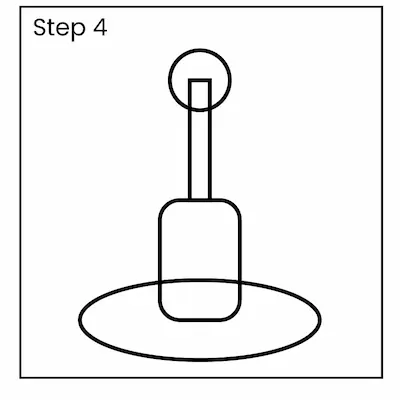
Step 4:
Now, let’s incorporate some buttons onto the base of the joystick. You have the option to draw circles or squares for the buttons. Position them on the base in a convenient spot for easy access during a game.
Step 5:
If your joystick is equipped with a cable, simply draw a curved line extending from the rear of the base. This brings a playful and authentic element to your artwork!
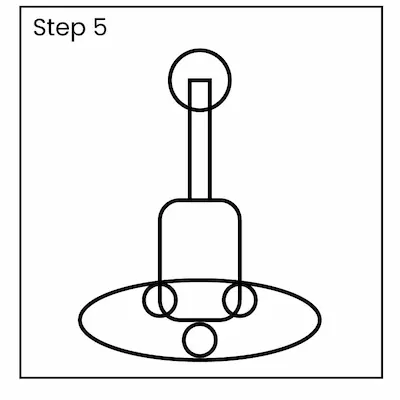
Step 6:
Include any additional details, such as the texture on the handle or labels on the buttons. You can also add shading to the joystick to give it a three-dimensional and realistic appearance.
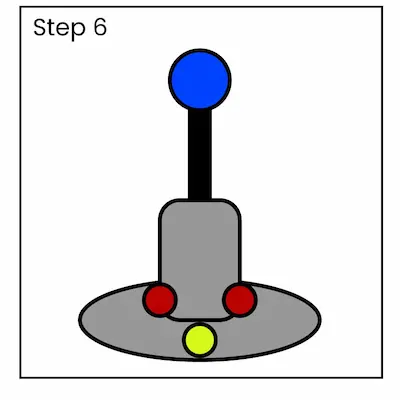
Step 7:
Practice your lines to ensure they are powerful and easy to understand. Remove any guidelines that are no longer necessary. Now, your drawing with the joystick is complete! Don’t worry if it’s not perfect the first time! Continue to practice, and you’ll see improvement with each attempt.
Theme 1: The Excitement of Control
Woohoo! Let’s discuss the topic of control! A joystick is all about providing you with a sense of control in a game, and sketching one helps you feel empowered in your artistic endeavors. The joystick’s simple design is a fantastic tool for honing your drawing skills. Mastering the art of drawing straight lines and curves will empower you to create amazing artwork. It’s a delightful reminder that being in charge, whether in a game or in your art, is thrilling and fulfilling!
Theme 2: Proportions Matter
When creating a joystick, it’s crucial to pay close attention to proportions! The size of the base, the length of the stick, and the placement of the buttons all need to be perfectly calibrated to achieve a truly authentic joystick experience. Understanding proportions is essential for creating drawings that have a sense of balance and realism. It’s similar to constructing a model or solving a puzzle—when all the pieces come together flawlessly, the outcome is amazing!
Theme 3: The Beauty of Detail
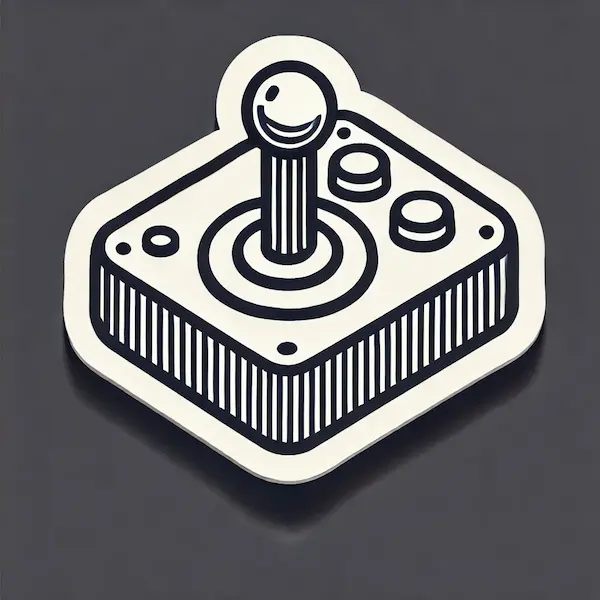
Hey there, little one! Let’s discuss the enchantment of details! Enhancing your joystick drawing with small details such as buttons, textures, or even a cable can bring it to life. Attention to detail is what sets your drawing apart and makes it captivating. Just like in a game, where small features make it more fun, adding details to your artwork makes it more exciting and realistic. It’s all about noticing the small details that have a significant impact!
Conclusion
Creating a joystick can be an enjoyable and beneficial activity for honing your artistic abilities! It’s not only about creating a gaming tool; it’s about mastering the art of line control, achieving accurate proportions, and incorporating impressive details. By being patient and attentive to details, you can create a joystick drawing that exudes a sense of excitement and readiness! Keep in mind that consistent practice leads to improvement. So, grab your pencil and enjoy creating a joystick! Every time you create art, you are improving your skills, which is an amazing success!

