How to draw an Igloo, creating an igloo is like building a snug ice dwelling, perfect for imagining staying warm in the most frigid location on the planet! Igloos have a unique structure made of ice blocks, giving them a unique, rounded, dome-like shape that is incredibly enjoyable to sketch. Let’s embark on a cool adventure and enjoy creating an igloo together! Get your pencil ready, and let’s begin!
Table of Contents
The Magic of Shapes
Creating an igloo involves grasping the concept of combining basic shapes like circles and rectangles to create a truly remarkable structure. The central structure of the igloo is a large, curved dome, while the entrance is a small tunnel. It’s fascinating to witness how these simple shapes can come together to form a structure that is both aesthetically pleasing and practical. Similar to constructing with blocks, creating a drawing of an igloo is an excellent method for honing the skill of understanding how shapes can be assembled.
The Importance of Perspective
When creating a drawing of an igloo, it’s crucial to consider perspective and how objects appear from different viewpoints. The igloo’s dome has a curved shape that can be made to appear three-dimensional, as if it’s coming to life! Ensuring the entrance is drawn at the correct angle gives your igloo the appearance of sitting on a snowy field. Understanding perspective is crucial in art as it adds a sense of realism and excitement to your drawings!
The Art of Texture
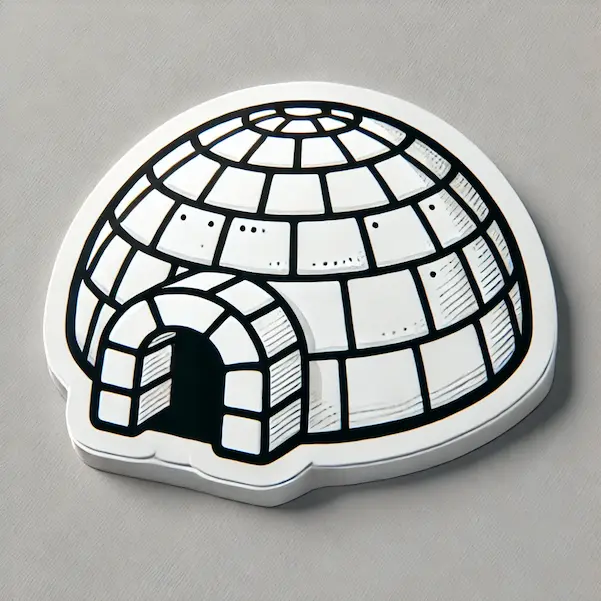
A smooth dome is not the only thing that an igloo is made of; it is constructed using ice blocks that interlock like a puzzle. Enhancing the texture of your igloo by illustrating the distinct ice blocks gives it a more authentic and captivating appearance. Texture is all about conveying the tactile experience of something through your drawing, whether it’s rough, smooth, or bumpy. Adding texture to your igloo brings it to life, giving it the appearance of a genuine, chilly shelter!

Steps: How to Draw an Igloo

Step 1:
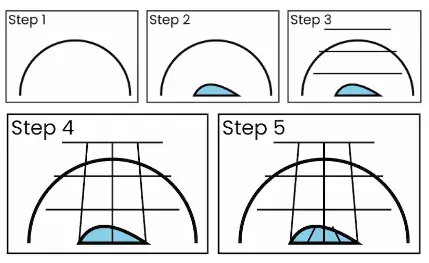
Begin by sketching a large, curved dome shape. This will be the central focus of the igloo. Imagine creating half of a large circle with a smooth and graceful stroke!

Step 2:
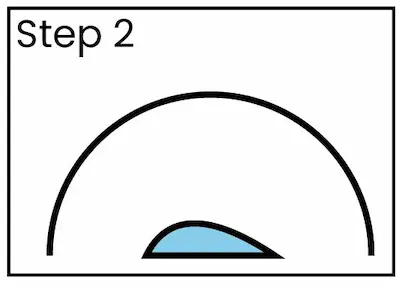
Next, create a smaller, curved tunnel shape at the bottom of the dome. This is the entrance to the igloo. Ensure that it is securely connected to the dome and has a design that appears accessible for crawling.

Step 3:
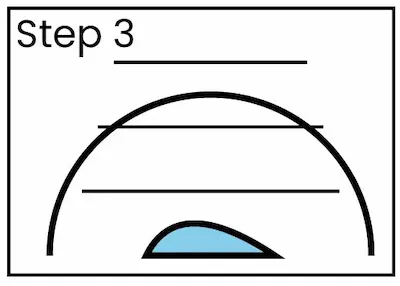
Now, it’s time to add the ice blocks! Begin by sketching horizontal lines across the dome to separate it into different sections. It would be ideal if the lines could gently curve to match the contour of the dome.

Step 4:
Create individual ice blocks by drawing vertical lines between the horizontal ones. It would be ideal if the blocks were slightly rounded to better match the curved shape of the igloo. Ensure that the blocks decrease in size as they climb the dome to convey a sense of perspective.

Step 5:
Enhance the entrance by adding complex carvings along the tunnel. This will give it the appearance of being constructed from the same ice blocks as the dome.

Step 6:
For a more wintry scene, consider adding some snow around the base of the igloo and a few snowflakes falling from the sky. You can also add shading to give your structure a three-dimensional look.
Step 7:
Practice your lines to ensure they are powerful and easy to understand. Remove any guidelines that are no longer necessary. Now, your drawing of an igloo is complete! Don’t worry if it’s not perfect the first time! Keep practicing, and you’ll improve with each attempt.
Theme 1: The Magic of Shapes
Woohoo! Let’s explore the wonder of shapes! Creating an igloo is a fantastic opportunity to witness the magic that happens when simple shapes like circles and rectangles combine to form something truly extraordinary. The rounded dome and the rectangular entrance come together to create a warm and inviting ice house! It’s a delightful reminder that even the most basic forms can come together to create something truly amazing.
Theme 2: The Power of Perspective
Having a good understanding of perspective is crucial when drawing an igloo as it adds depth and realism to your artwork. The curved lines and the way the blocks decrease in size as they ascend the dome give your igloo a three-dimensional appearance. Developing an understanding of perspective can provide a fresh outlook on the world and add a captivating and realistic touch to your drawings!

Theme 3: The Beauty of Texture
Hello there! Let’s discuss texture! Enhancing the texture of your igloo by sketching the distinct ice blocks gives it a more authentic and captivating appearance. Expressing the tactile qualities of an object is a fundamental aspect of creating art. By combining the texture of ice blocks, your igloo takes on the appearance of an authentic, frigid shelter that one could envision stepping into!
Conclusion
Creating an igloo can be an enjoyable and beneficial activity for honing your artistic abilities! Creating an ice house involves more than just simple construction. It requires a keen understanding of shapes, precise perspective, and the incorporation of captivating textures. By being patient and focusing on the little things, you’ll be able to create a drawing of an igloo that exudes warmth and is prepared for the chilly weather! Keep in mind that, with consistent practice, you will continue to improve. So, get your pencil ready and enjoy making an igloo! Every time you create a drawing, you are enhancing your skills, which is a goal to be proud of!


