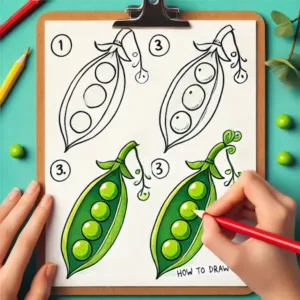
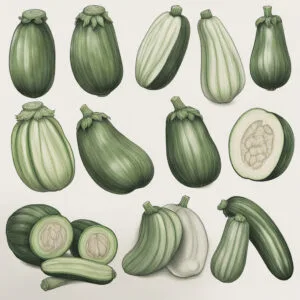
How to draw Lady Finger, One of the best ways to improve your ability to draw realistic vegetable forms and textures is to sketch a lady finger, sometimes called okra. All levels of painters find the lady finger fascinating due to its elongated shape and sharp ridges. If you want to create a realistic botanical image or a stylized one, following a step-by-step process can help you do it. You will learn what you need to know, from drawing the outline to adding shade and texture, to draw a realistic lady finger, following this tutorial.
Table of Contents
Materials Needed:
- Paper
- Pencil
- Eraser
- Markers or colored pencils (optional)
Steps by Step Guide to How to draw Lady Finger
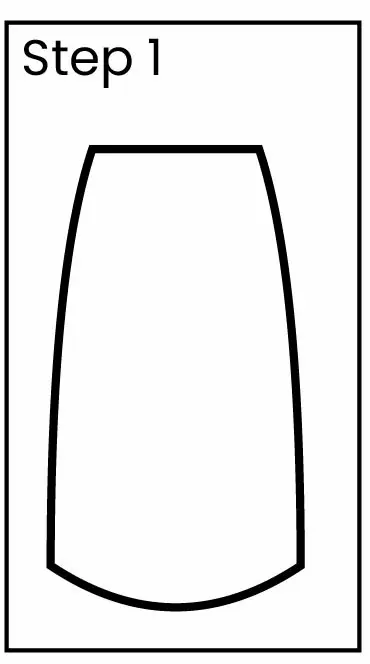
Draw the Basic Shape:
Make an oval that is long and slightly bent to begin. The lady finger will have this as its body.
Reduce the width at the bottom and widen it at the top.
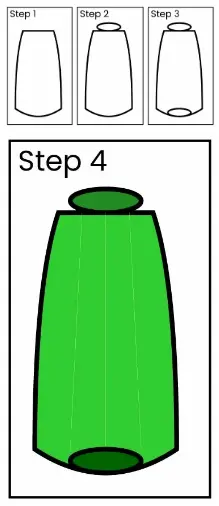
Add the Ridges:
To indicate the ridges, draw parallel lines from top to bottom throughout the length of the oval. There are usually five or six ridges on a lady finger.

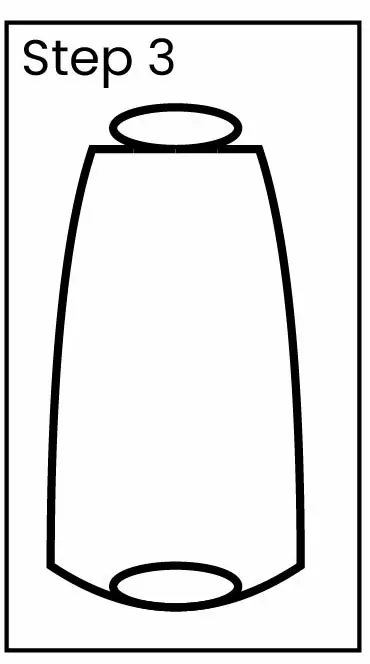
Draw the Top (Stem End):
Make a little circle at the narrow end to show where the stem attaches.
Make a star shape by drawing small lines that branch out from this circle and meet the ridges.
Detail the Ridges:
To give the ridges some texture, draw thin horizontal lines across them. You may feel the lady finger’s rough texture from here.

Draw the Bottom (Blossom End):
To mark the end of the okra pod, draw a gently curved line at the broader end. The oval’s contour should serve as a guide for this line.
Add Texture and Shading:
Carefully darken the ridges so they stand out. You want the ridges’ edges to be darker than their centers.
To make it seem like the surface is rough, scatter tiny dots and lines all over it.
Color the Drawing (Optional):
Various hues of green may be used for the body, with a slightly darker shade for the ridges and the end of the stem, if you would like to add color.
Inspiration
Learn about the color, texture, and form of actual lady fingers by seeing them in nature.
Botanical Illustrations: To observe how artists portray okra, browse extensive botanical illustrations of the vegetable.
To hone your skills in painting intricate arrangements, try including lady fingers in a still life composition among other veggies.

FAQs
Q: Do I have to be precise while drawing the ridges?
A: Although precision is key, a little leeway allows for a more organic and less robotic appearance in your drawings.
Q: The lady finger doesn’t appear very natural. What can I do to fix this?
A: Pay attention to the shading and texture. Draw a genuine lady finger and try to capture its light and shadow.
Q: What if the lady finger I drew doesn’t turn out?
A: Practice! Make use of reference photos and make an effort to notice the different ridges and texture of a lady finger.
Q: Can I use my computer to sketch a lady finger?
A: You may easily add details and modify your drawing using digital tools because of their versatility with layers and shading.
Q: What is the best way to add highlights?
A: The best spot to put the highlights is where the light is hitting the lady finger directly. To make an impact against the deeper darkened sections, keep them tiny and clear.
Conclusion
If you want to improve your drawing and observational abilities, try sketching a lady finger. Creating a thorough and accurate picture of the vegetable is possible by adopting an organized method and paying close attention to its unique characteristics. The most important thing is to practice shading and texturing methods while observing real-life sources, whether you’re utilizing digital media or classic sketching tools. The gentle elegance of a lady finger may be beautifully shown with effort and dedication. Have fun sketching!


