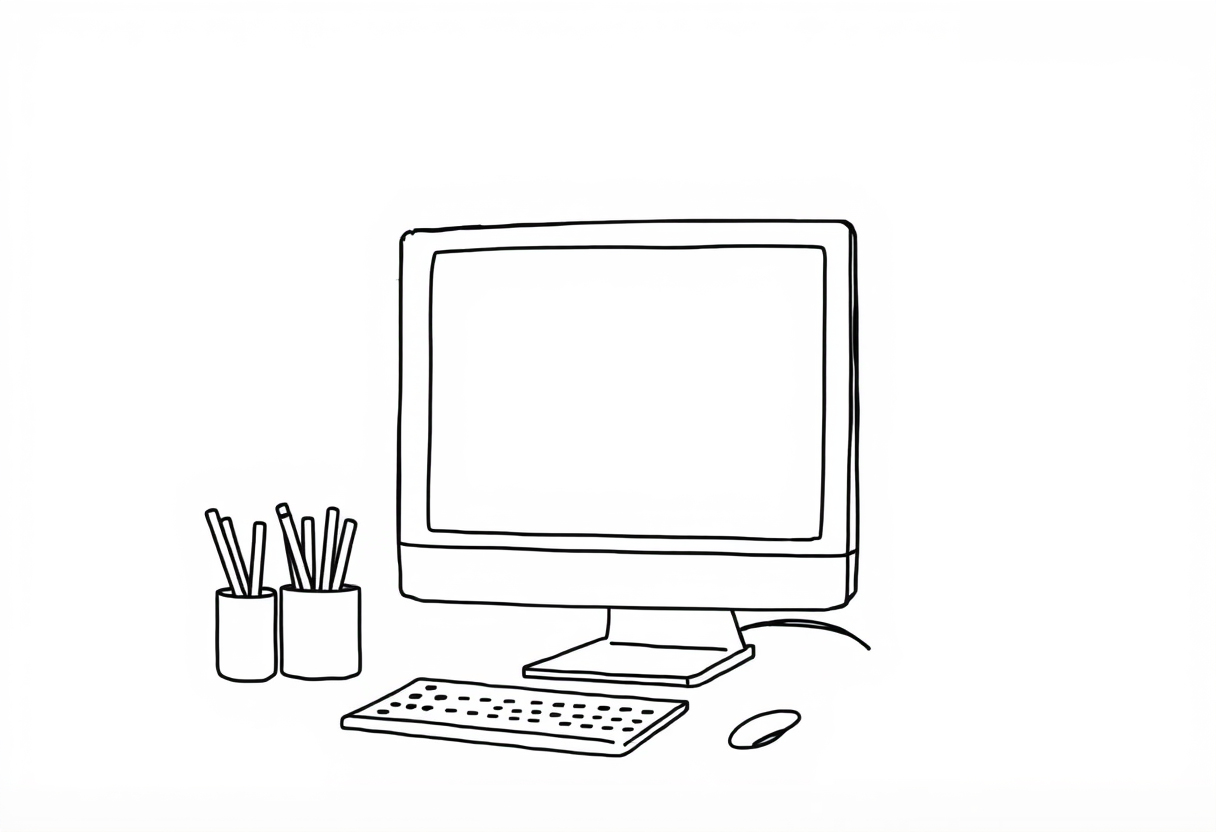
How to draw Computer, Whether it’s for schoolwork, gaming, or just chatting with friends, computers are always there to assist. Did you realize that however, that drawing on a computer is as natural as using one? Following the steps in this article will allow you to draw a computer that looks awesome. Come on, we can begin!
Table of Contents
What You’ll Need:
- A piece of paper
- A pencil
- An eraser
- Ruler (for straight lines)Colored pencils or markers
Steps: How to draw Computer

Step 1: Draw the Monitor
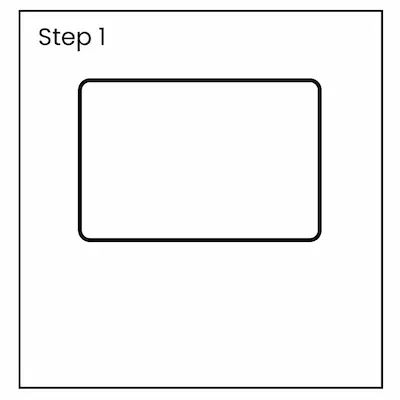
A big rectangle should be drawn in the center of the page to begin. The screen of the computer will be located on this monitor. Add reality to the screen by drawing a tiny rectangle within the larger one, with some white space between them. You can see the screen in this tiny rectangle.
Step 2: Add the Stand
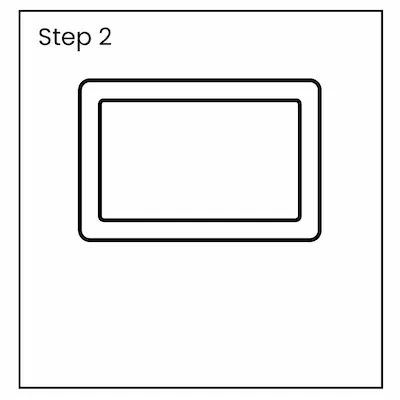
Create a tiny, centered rectangle under the screen. This is the base that the monitor will rest on. Underneath it, finish the stand’s foundation by drawing a little bigger rectangle.
Step 3: Draw the Computer Tower
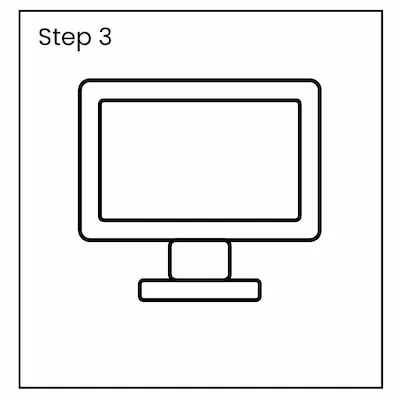
Make a tall rectangle and place it next to the screen. Here we have the computer tower, housing all the crucial components of the machine. You have the option to customize the front of the tower with elements like as a power button, vent lines, and USB port circles.
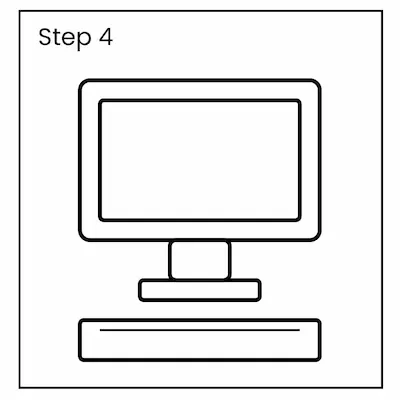
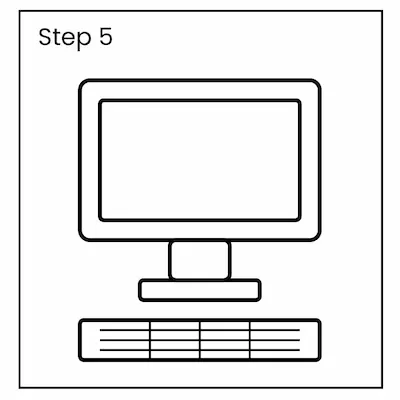
Step 4: Draw the Keyboard
Just under the screen, sketch a skinny rectangle. Here you may find the keyboard. To add realism, create little squares or rectangles within the larger area to stand in for the keys. The number pad can also be represented by a smaller rectangle drawn on the side.
Step 5: Draw the Mouse
Make a little oval and place it on the keyboard’s side. The mouse will take this form. To indicate the left and right buttons, draw a line along the center. To represent the scroll wheel, create a little circle toward the top.
Step 6: Add the Details
We may now add some more information! To personalize your computer screen, you have a lot of options. You may create a logo or brand name, connect your mouse and keyboard, or even design symbols like a happy face or your favorite game.
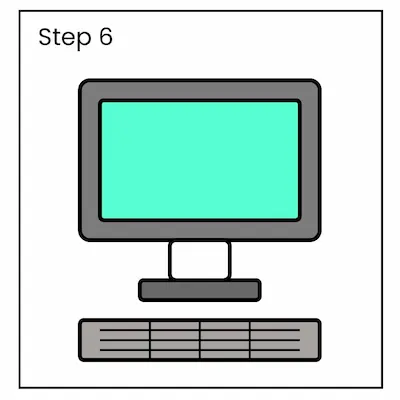
Step 7: Color Your Computer
Color your drawing to make it come to life! Feel free to choose whichever colors you want, even if most displays and keyboards are black, gray, or white. Sleek silver will give your computer an updated look, while vibrant colors will let you let your imagination run wild.
Step 8: Final Touches
Take another look at your sketch and let me know if anything else catches your eye. Maybe you’d want to sketch a computer chair or add some artistic screen patterns. Because it is your artwork, give it your own style!
Take Inspiration
Think about the computers you see every day—whether it’s the one at school, at home, or even in the movies. What do they look like? What colors are they? Use those ideas to inspire your drawing. Maybe you want to draw a super high-tech gaming computer or a colorful, fun computer that looks like it belongs in a cartoon. Let your imagination guide you!

FAQs
Is it possible to depict a laptop rather than a desktop computer?
Of course! Initiate by drawing a big rectangle for the display and placing a smaller one to the bottom for the keyboard.
Now what happens if I am without a ruler?
Just draw the lines as you want. Do your best to maintain their straightness, but keep calm if they aren’t flawless.
What is the process for making the screen seem to be switched on?
Make an image, a game, or some symbols appear on the screen. A glowing effect may also be applied to the screen.
The computer tower—is it necessary to depict it?
No way! Leave the tower out if you’d rather depict a laptop or all-in-one PC.
What if the finished product isn’t what I expected?
No worries! You need to practice drawing. If you keep at it, you’ll eventually get good at it. Enjoy yourself; that is what matters most!
Conclusion
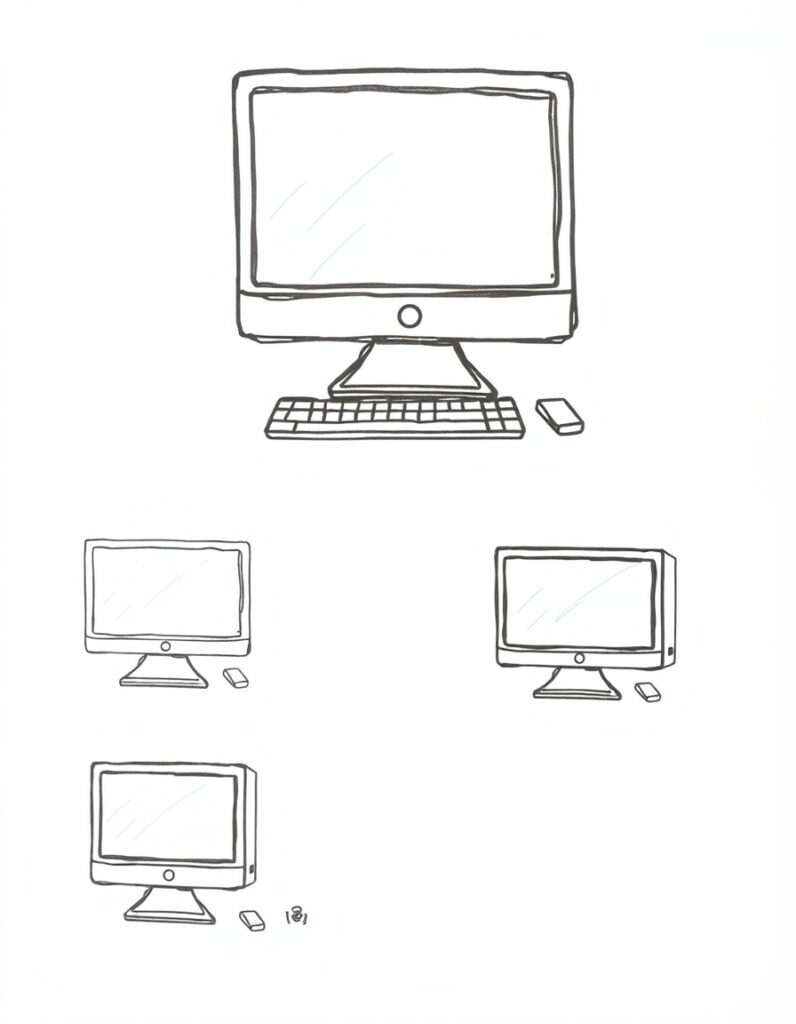
Finally, a computer that can hold its own against the real thing in terms of aesthetics! As an added bonus to learning everything about the ins and outs of computers, drawing one is a great method to hone your artistic abilities. If you put in the time and effort, you’ll soon be able to depict any number of electrical equipment.
For a fun and easy guide on how to draw a joystick, including simple steps for making its base, handle, and buttons with extra touches for a cool look, check out the tutorial here. The guide highlights fun shapes, cool proportions, and little details that make the joystick look super real and ready for some exciting gaming fun! This is a super enjoyable drawing activity that everyone can join in on, no matter their experience!

