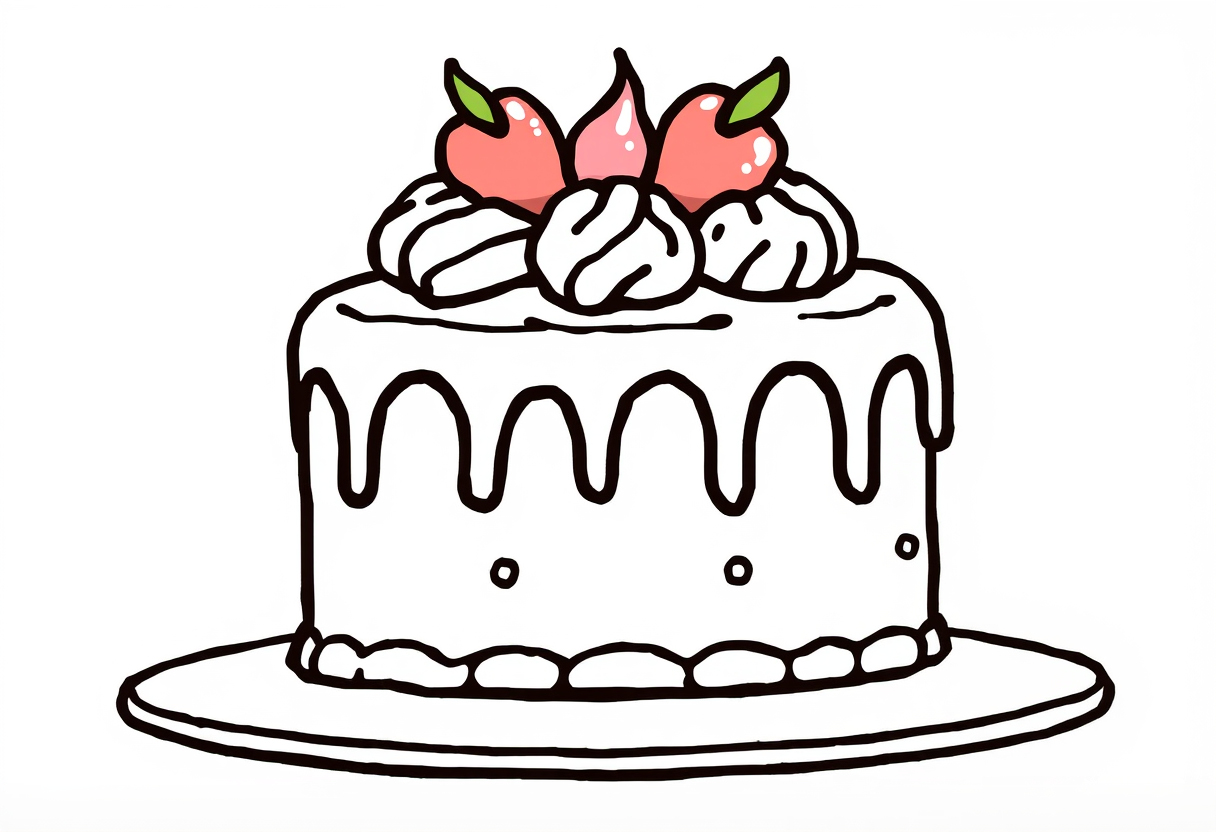
How to draw cake, Cake, isn’t it delicious? Whether it’s for a special occasion, a birthday, or maybe no reason at all, cakes are always delicious. Did you realize, however, that it is possible to create an edible cake drawing? Almost too good to eat! This detailed tutorial will teach you how to create a very sugary dessert.
Table of Contents
What You’ll Need:
- A piece of paper
- A pencil
- An eraser
- Colored pencils or markers (for frosting and decorations)

Steps: How to draw Cake
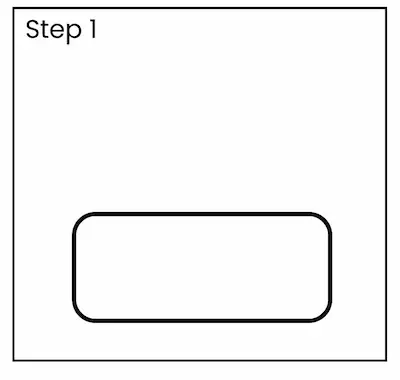
Step 1: Draw the Base of the Cake
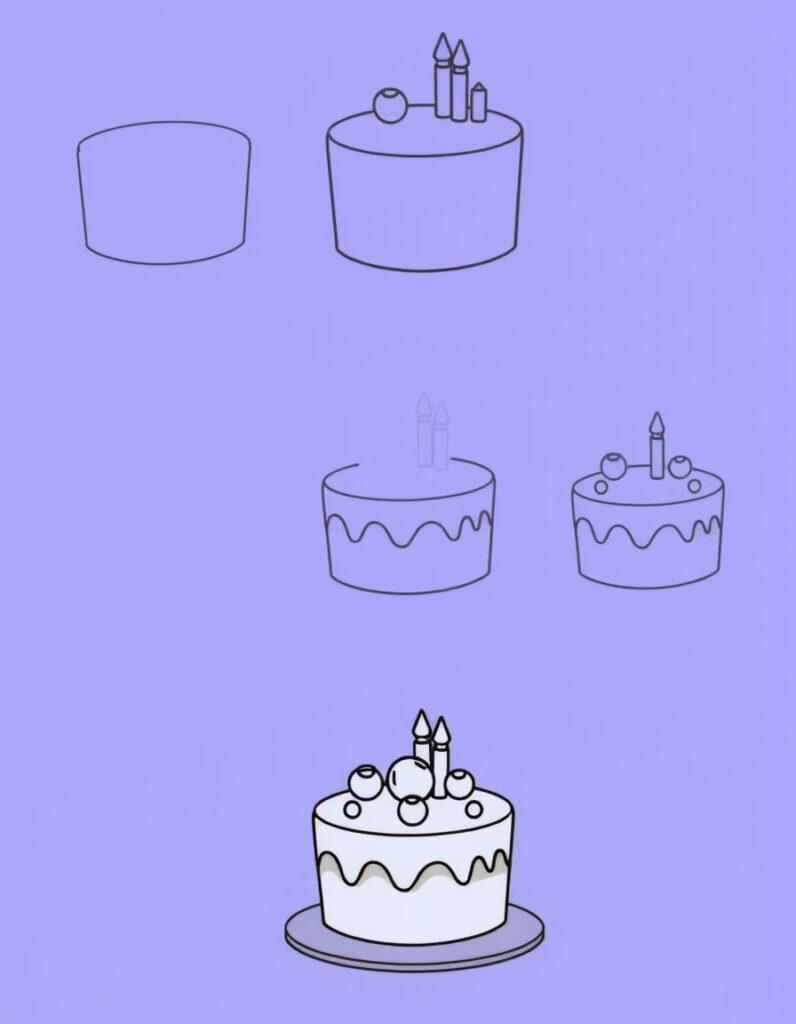
Make a large oval shape close to the paper’s edge to begin. The icing on the cake will be this. Then, from the oval’s edges, sketch two straight lines. Create the cake’s side by joining these lines with a downward-curving line. The outline of a round cake is now in your hands!
Step 2: Add the Layers
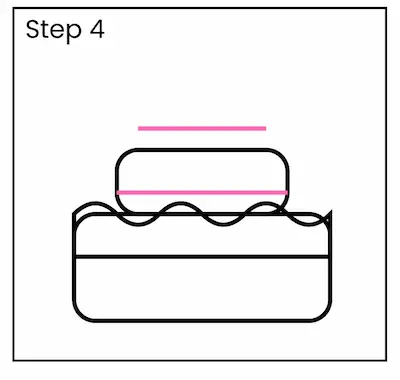
Just above the first oval, draw a smaller one if you want to build a tiered cake. To draw the edges of this layer, just follow the previous steps. Feel free to build on the layers! Make sure that every new layer is thinner than the one before it.
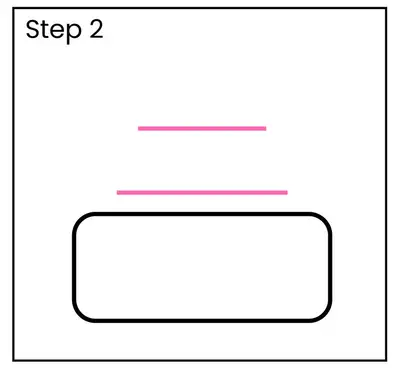
Step 3: Draw the Frosting
Without frosting, cakes are simply cakes. Along the upper border of each layer, draw wavy lines to make the icing. The icing will seem to be flowing down the edges in this way. A thick line drawn around the base of each layer may also be utilized to show the frosting that lies between them.

Step 4: Add Decorations
Let the decorating of your cake begin! Toss in some fruits, sprinkles, or perhaps some candles. Along the edges and on top of the cake, draw little stars, circles, or whatever form you desire. To add candles, sketch narrow rectangles and then put little flames on top.
Step 5: Color Your Cake
Get ready to add some color to your cake! Color the cake according to your preferred taste. A vanilla cake might have a bright yellow hue, but a chocolate cake could be a deeper brown. To make your cake stand out and look especially delicious, use frosting and decorations in vivid colors.

Step 6: Add Shadows and Highlights
Put some shadows on your cake to make it appear more realistic. Put a little shadow on the cake’s edges where light won’t be able to reach. To draw attention to the area where light reflects, you may also add a tiny white dot to the frosting.

Step 7: Final Touches
Stand back and admire your cake. Would you want to add anything else? Perhaps you would like more decorations or a more vibrant color scheme. The moment to achieve perfection has come!

Take Inspiration
Having fun and letting your imagination run wild are the most important things while sketching. Bring to mind a wonderful cake you’ve seen or one that you really enjoy. Imagine a chocolate cake adorned with strawberries or a colorfully sprinkled birthday cake. Put those thoughts into motion to create something unique in your artwork. When designing your cake, don’t be shy about putting your own spin on it.
FAQs
Is it possible to sketch many cake shapes?
Sure thing! Shapes of cakes may range from rounds to squares and even hearts. Think beyond the box!
What if I want to increase the number of layers?
Then why not? To add an unlimited number of layers, just repeat the instructions.
What are some ways to make my cake seem more lifelike?
Cakes with shadows and highlights seem more realistic and three-dimensional.
Is it necessary to add cake color?
No, however if you want your cake to seem vivacious and entertaining, paint it!
How can I change the appearance of my cake?
It’s OK! Improving one’s drawing skills requires consistent practice. If you keep doing it, you’ll get better at drawing cakes. Have a good time!
Conclusion
You made that tasty-looking cake all by yourself! And there it is! You may exercise your creativity and artistic abilities by drawing a cake. Cupcakes, wedding cakes, and other varieties of cakes are all available for your creativity. If you put in the time and effort, you’ll soon be able to draw any kind of dessert!
For a fun guide on how to draw cherries, including tips for making their shapes, adding stems, leaves and shading for a lively look, check out the tutorial here. The guide offers step-by-step instructions on shaping, adding fun highlights, and colorings, making it ideal for those just starting out and for anyone wanting to enhance their fruit drawing abilities.

