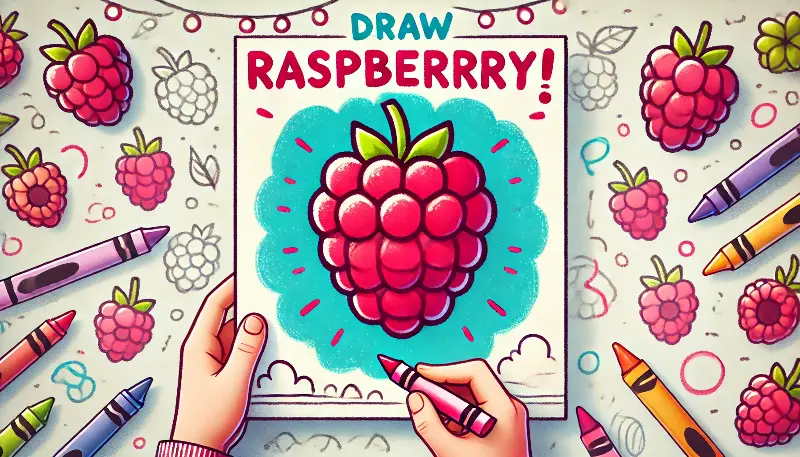
Creating art is a fantastic outlet for young imaginations, and those little, vibrant red fruits are ideal subjects for fun and colorful projects. In this blog post, we’ll explore a fun and simple guide to help little ones learn to draw raspberries step by step. This guide is crafted to be enjoyable, informative, and bursting with imaginative ideas for everyone involved in nurturing creativity.
Table of Contents
Supplies You Will Require
Before we begin, collect these fun and easy art supplies:
- Art supplies: Any type of drawing paper or even a fun sketchbook.
- A simple pencil that comes with a nice eraser for all your creative adventures.
- Art supplies, drawing tools, or coloring instruments: Select a bright red, a vibrant green, and a deeper tone for adding dimension to the raspberry.
- Dark Marker or Ink: For drawing outlines.
- Rubber: Always handy!
- Now that you have your supplies, let’s dive into the exciting part!
Fun Ideas to Dive Into While Sketching
Adding different themes can make raspberry drawings super fun and imaginative! Here are some exciting ideas to ignite your creativity:
Sunny Picnic: Illustrate a basket filled with juicy raspberries, surrounded by a cheerful picnic setting in the background.
Raspberry Character: Transform the raspberry into an adorable cartoon figure by giving it a cheerful face and playful arms.
Berry Patch: Imagine a delightful scene with lots of juicy raspberries bursting from a bush, surrounded by vibrant green leaves.
Easy-Peasy Instructions: How to Create a Raspberry Drawing
Check out this fun guide to create a raspberry that appears lifelike while being simple enough for young artists to enjoy!
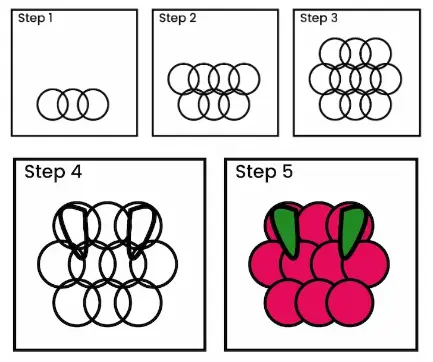
Step 1: Begin with a Round Shape
Start by creating a circle of moderate size right in the center of your paper. This will be the starting shape for your raspberry.
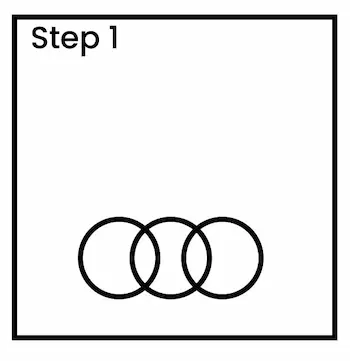
Step 2: Create the Fun Bumpy Raspberry Shape
Now, inside the circle, draw small round shapes that overlap a bit, like tiny bubbles floating around. These are the little pieces that come together to form the raspberry. Make sure they stay nice and round, and just have fun without stressing about perfection!
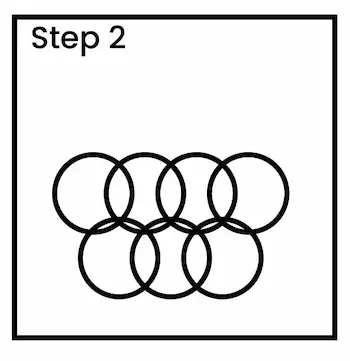
Step 3: Put on the Raspberry’s Fun Leafy Hat
At the top of the circle, make a little zigzag line to show the raspberry’s leafy part. Imagine it as a fun, prickly crown for your raspberry.

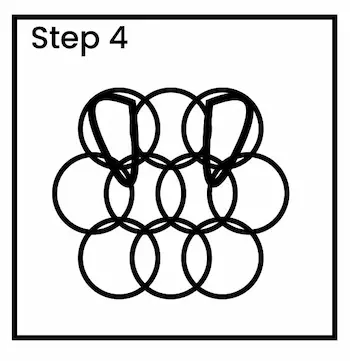
Step 4: Sketch and Clarify the Form
Once your raspberry shape is all done, grab a black marker or pen to outline your lines. This makes the drawing stand out even more!
Step 5: Add Some Color to Your Raspberry
Grab your red crayon or colored pencil and color in the bumpy bits of the raspberry! For extra fun, you can use a bolder red or purple for the shadowy spots! Color the outer part with green, and don’t hesitate to use darker shades of green to enhance the details.

Step 6: Sprinkle in Some Fun Touches (Optional)
For a fun touch, leave small white spaces in some of the “bubbles” of the raspberry to create a shiny, juicy effect. A white crayon or a colored pencil works great for this too!
Step 7: Create the Raspberry Stem (Optional)
If you’d like, you can add a tiny stem coming from the calyx to illustrate how it would dangle on a raspberry bush.
And that’s it—you’ve created a delightful raspberry!
Find Motivation
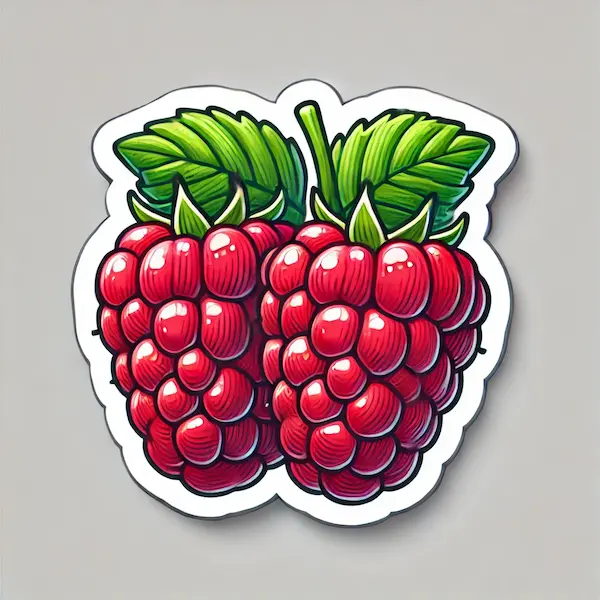
Check out these real raspberries! One of the most fun ways to learn how to draw something is by looking at it closely. Take a handful of delicious raspberries (so tasty!) or check out some pictures to see how the little round parts come together.
Explore a Garden or Market: Spotting raspberries in the wild or at a local market can spark your creativity and bring a vibrant touch to your artwork.
FAQs: How to Draw Raspberries
Q: My raspberry seems a bit lumpy! What can I do to make it better?
A: Just have fun and enjoy the process! Raspberries come in all sorts of shapes and sizes, so the little quirks in your drawing just make it even more delightful!
Q: What should I do if I don’t have any red coloring tools?
A: You can choose any color you want! Creating art is all about imagination. Have fun with bright colors like pinks and purples, or get creative and whip up a whimsical raspberry in any shade you like!
Q: What are some fun ways to make my raspberry drawing pop?
A: Consider adding a playful backdrop, such as a picnic setting, or a charming character face on your raspberry to make it more lively.
Conclusion
Drawing raspberries can be a fun and easy project that encourages creativity and artistic skills while providing an enjoyable experience. With just a few simple steps and a sprinkle of imagination, little creators can make these tasty fruits come alive on paper. From sunny drawings to a bush full of berries, or even a fun little berry character, there are so many exciting ideas to explore!
Encourage them to take their time, explore different themes, and most importantly, enjoy the process of drawing. Have fun creating, everyone!

