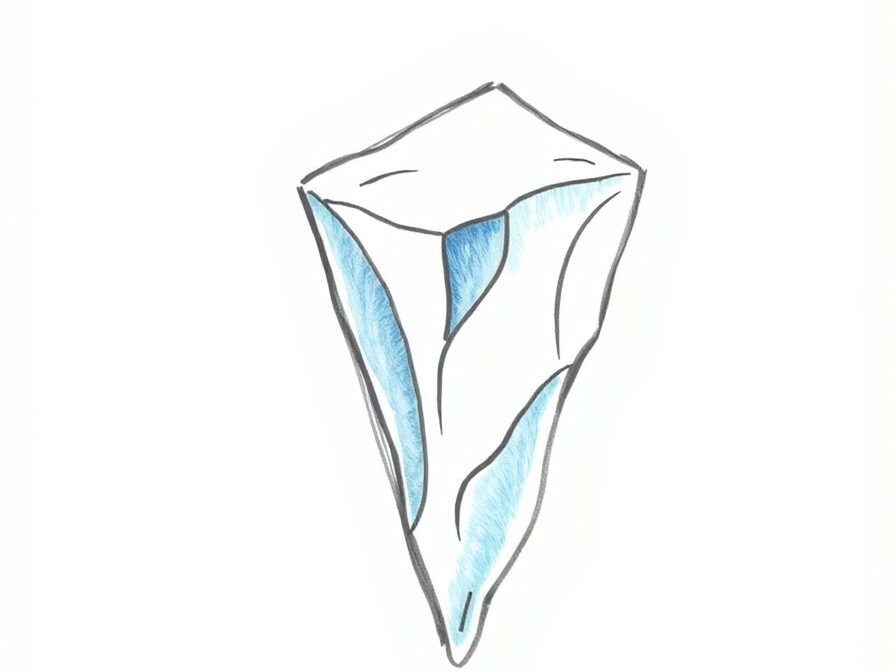
How to draw an Ice, Creating a frozen masterpiece on your canvas allows you to capture the refreshing essence of winter. Ice can have different appearances, ranging from smooth and shiny to jagged and sharp, or even frosty and textured. Whether you’re illustrating ice cubes in a glass, an icy pond, or icicles hanging from a roof, the task is to create a drawing that exudes a sense of coldness and authenticity. So, let’s embark on this exciting journey and enjoy creating icy artwork together! Get ready with your pencil, it’s time to begin!
Table of Contents
The Magic of Transparency
Creating artwork that depicts ice involves capturing its unique transparency and the way it interacts with light. Ice is transparent, which adds a fun challenge to drawing it! To create a realistic depiction of ice, it is important to use delicate strokes and employ clever shading techniques. This will help convey a sense of depth and clarity, making the ice appear more lifelike. Learning how to show transparency in your drawings can provide a fresh perspective and enhance the realism of your artwork!
The Importance of Reflection
One of the most fascinating aspects of ice is its ability to reflect light and its surroundings. Adding reflections and highlights to the surface of the ice gives it a shiny and cold appearance. These reflections can either be bright spots where the light hits or softer areas that reveal the colors of nearby objects. Being mindful of reflections adds a touch of realism to your ice drawing, making it appear as if it exists, shining in the light!
The Art of Texture
Ice can have a wide range of textures, varying from smooth and slippery to rough and frosty. Enhancing the texture of your ice drawing brings it to life, making it more authentic and captivating. Whether you’re depicting the smooth surface of an ice cube or the jagged edges of an icicle, adding texture to your artwork can make your ice appear more realistic and vibrant. The texture is all about conveying the sensation of touch, and when it comes to ice, it’s all about capturing that cool, frosty atmosphere!

Steps: How to Draw an Ice

Step 1:
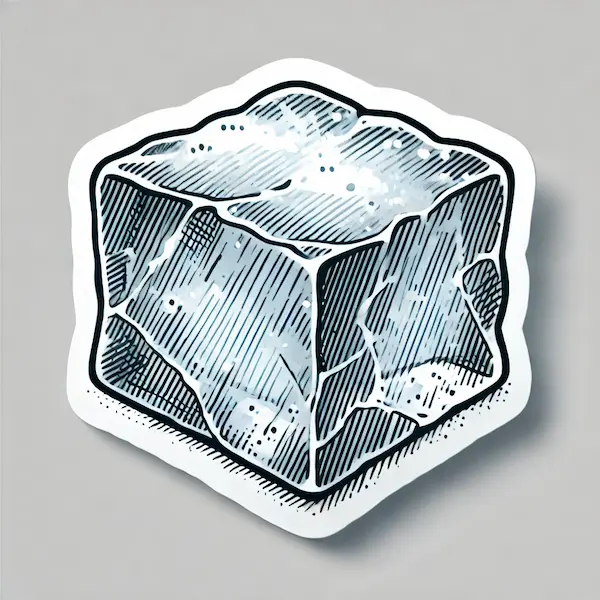
Begin by determining the type of ice you would like to depict. Is it a frozen cube, a frozen spike, or a frozen body of water? Let’s use an ice cube as an example. Start by sketching a basic square or rectangle. This is the basic shape of your ice cube.

Step 2:
To give the ice cube a more realistic appearance, you can add some perspective by drawing lines that connect the corners of the square and form a cube shape. This gives the impression of a genuine, tangible item.

Step 3:
Now, gently outline the inner lines of the ice cube. It would be ideal if these lines could align with the edges of the cube, appearing more subtle and less distinct. It is evident that the ice is transparent, allowing for clear visibility through it.

Step 4:
Enhance the visual appeal of your ice cube with a touch of shading. Begin by softly shading the areas that would be cast in shadow, using delicate strokes. Remember to leave some areas blank to indicate where the light is hitting the ice and producing vibrant highlights.

Step 5:
Now, enhance your ice cube by adding reflections and highlights. The direct sunlight on the ice illuminates these areas. Use your eraser to carefully lift some of the shading to create these glossy areas. You can also incorporate small lines or cracks within the ice to enhance its texture and create a more lifelike appearance.
Step 6:
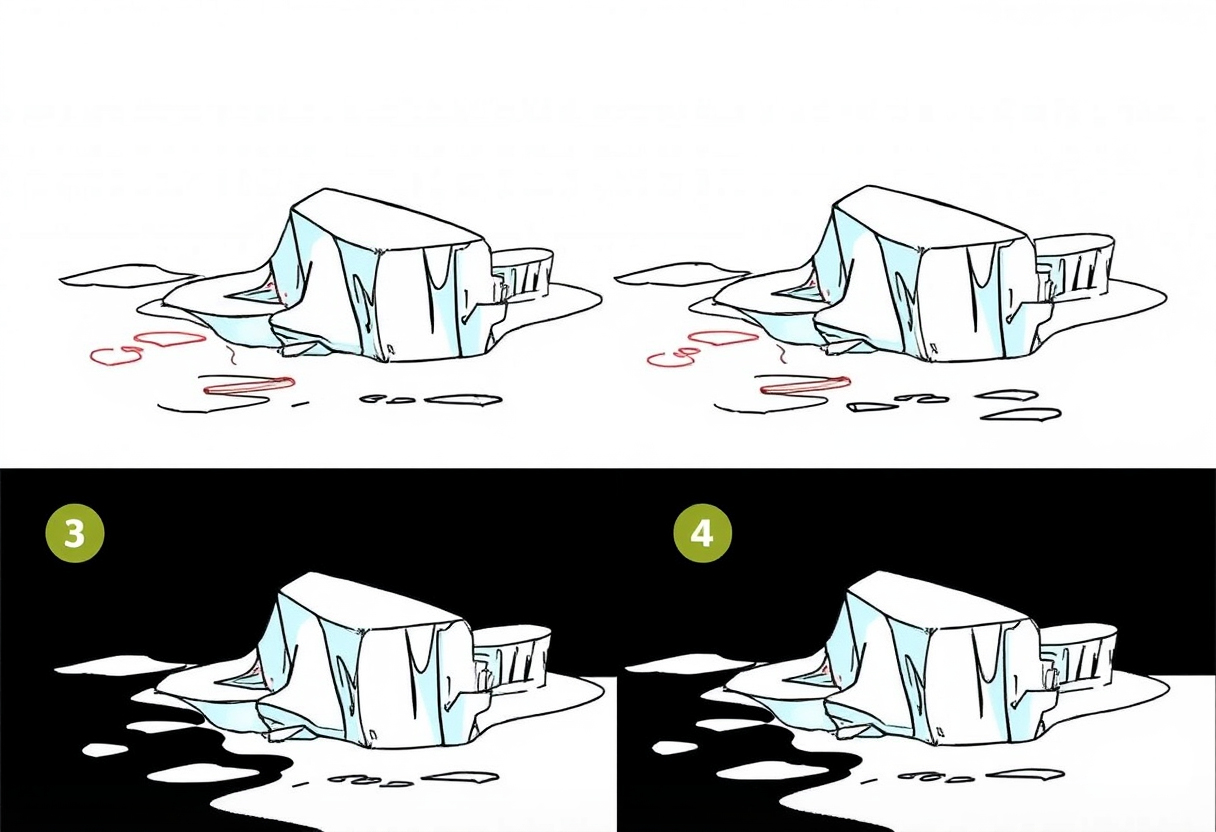
If an ice cube is in a drink or on a surface, you can demonstrate its melting by adding a few drops of water around it. This brings a playful and authentic element to your artwork!
Step 7:
Practice your lines to ensure they are powerful and easy to understand. Remove any guidelines that are no longer necessary. Now, your ice drawing is finished! Don’t worry if it’s not perfect the first time! Keep practicing, and you’ll improve with each attempt.
Theme 1: The Magic of Transparency
Hooray! Let’s discuss the concept of transparency! Creating a transparent effect can be perfected through the art of drawing ice. Emphasizing the use of delicate strokes, subtle shading, and strategic use of negative space to capture the essence of the ice. Transparency adds a touch of enchantment to art, bringing your ice drawing to life with a sense of wonder!

Theme 2: The Power of Reflection
Reflection is crucial when drawing ice as it enhances the appearance of shininess and coldness in your artwork. By incorporating vibrant highlights and gentle reflections, one can effectively capture the way light interacts with the ice, resulting in a dazzling sparkle. Understanding reflections can enhance your drawings, giving them a vibrant and lively appearance, similar to the way ice glistens on a cold day!
Theme 3: The Beauty of Texture
Hey there, little one! Let’s discuss texture! Ice can have different textures, such as smooth, rough, or jagged. Incorporating texture into your drawing can enhance its appeal and make it appear more lifelike. Texture is all about conveying the tactile experience through your drawing. With the perfect texture, your ice can exude a chilly, frosty appearance that seems poised to melt at any second!
Conclusion
Drawing ice can be a delightful and stimulating activity that can help enhance your drawing abilities! It’s not only about creating a basic shape; it’s about capturing the transparency, reflections, and textures that make ice fascinating and captivating. By being patient and focusing on the finer points, you’ll be able to create an ice drawing that appears sharp and lifelike! It’s important to keep practicing to improve. So, get your pencil ready and enjoy the process of creating ice! Every time you create a drawing, you’re honing your skills and enhancing your artwork!


