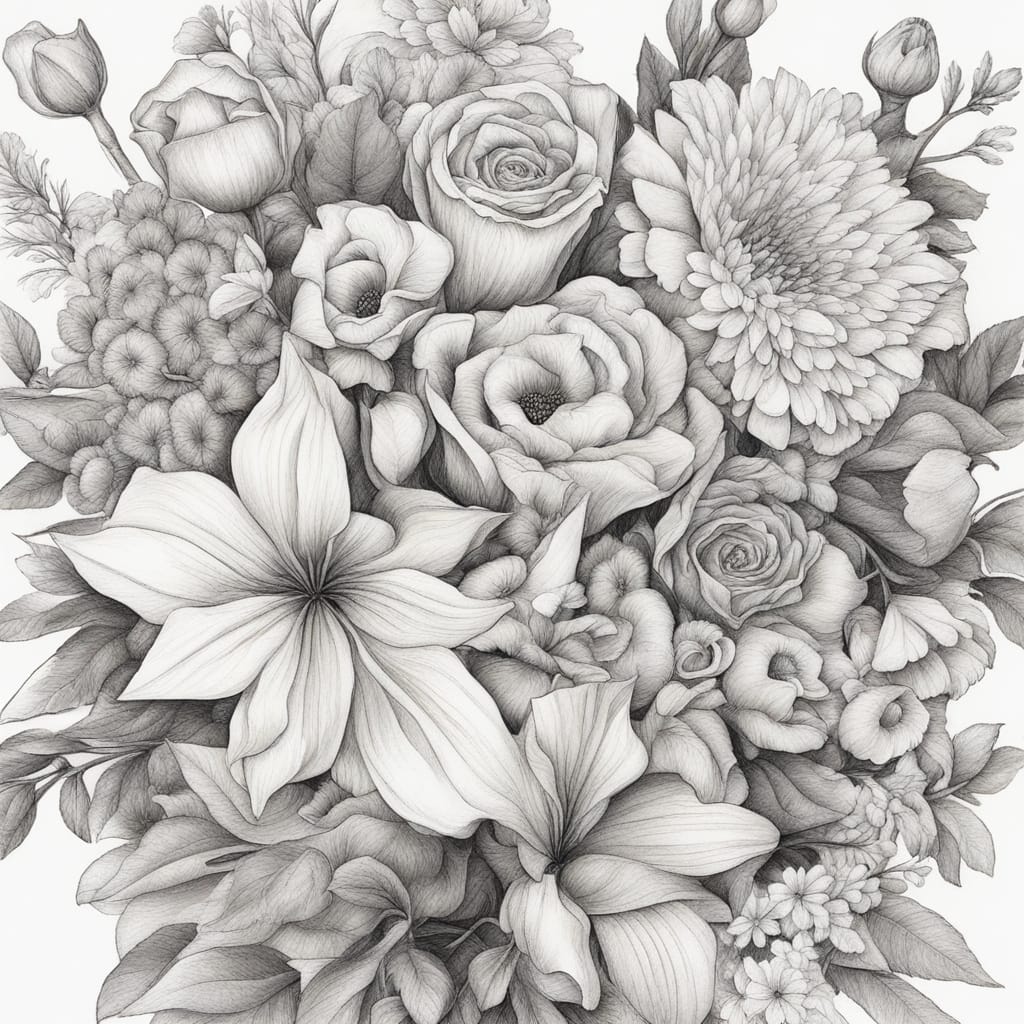
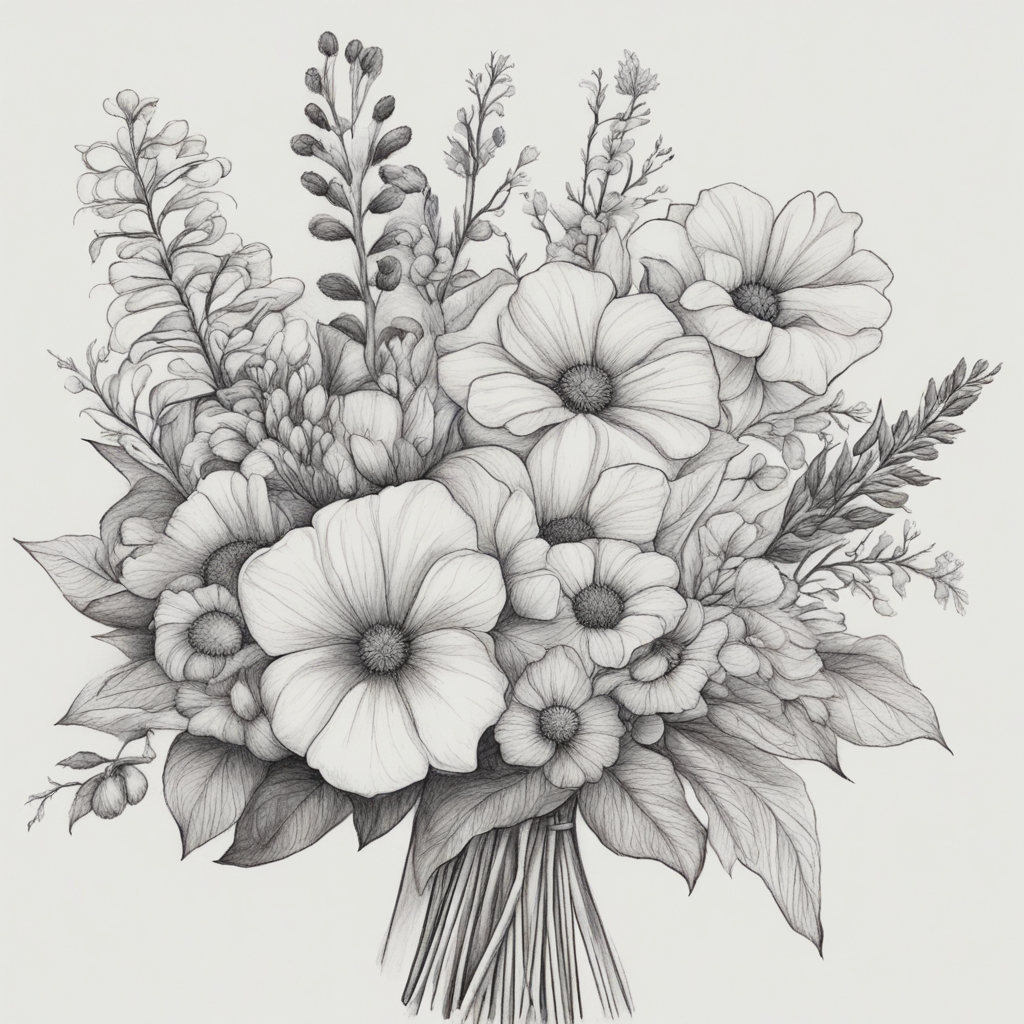
Flowers have always been a timeless source of inspiration for artists, representing beauty, love, and the elegance of nature. Creating a beautiful bouquet of flowers enables you to capture the intricate details of various blooms and produce a breathtaking work of art. Whether you’re a seasoned artist or just starting out, this step-by-step guide will assist you in capturing the elegance of a floral arrangement on paper.
Materials You Will Need
Before you start, make sure you have all the necessary materials ready.
- Consider using paper with a smooth surface that is suitable for pencil and eraser.
- Pencils: Explore a variety of pencil options, ranging from harder leads for precise sketching to softer leads for smooth shading.
- Eraser: Perfect for correcting mistakes and emphasizing important points.
- Blending tools: Tortillons, blending stumps, or even tissue paper can be used to soften and blend pencil strokes.
- Reference image: It’s not required, but having a photo or real bouquet can be helpful in understanding the shapes and details of the flowers.
Step 1: Sketch the Bouquet’s Basic Shape
Start by sketching the fundamental outline of the bouquet. Using a basic oval or circle as a reference, you can determine the size and position of the bouquet on your paper.
Step 2: Outline the Flower Blooms
Select the flowers you’d like to include in your bouquet and start sketching their outlines. Take note of the various types of blooms, as they can differ in size, petal structure, and level of detail. Begin with the biggest or focal flower and gradually expand outward.
Step 3: Add Leaves and Stems
Illustrate the connections between the flowers in your bouquet by drawing the leaves and stems. Leaves come in various shapes and sizes, while stems can be strategically arranged to achieve a pleasing overall look.
Step 4: Create the Flower Details
Explore the intricate details of each flower by carefully sketching the delicate petals and capturing any distinctive features. Take a moment to carefully observe the reference image, if you have one, and make sure to capture the unique qualities of each flower.
Step 5: Add Shading and Depth
Experiment with a range of pencils to add depth to your drawing. Try using lighter pencils for subtle shading and darker pencils for more pronounced shading. Consider shading the petals and leaves, taking into account the areas where light hits and where shadows should be.
Step 6: Blend and Soften Pencil Strokes
Utilize blending tools such as tortillons or blending stumps to create a smooth and seamless transition between pencil strokes. This step enhances the visual appeal of your drawing, making it appear more lifelike and polished.
Step 7: Highlight and Refine
Utilize your eraser to add some delicate touches to the petals and leaves. This step brings a hint of vibrancy and accentuates the shapes of the flowers. Be mindful of the light source to accurately position highlights.
Step 8: Fine-tune and Add Background (Optional)
Take a look at your drawing, make any needed changes, and consider adding a background if you’d like. An uncomplicated backdrop can elevate the overall display of your arrangement.
Tips for Success
Explore Real Flowers: If you have the opportunity, take a closer look at actual flowers to appreciate their unique shapes, intricate details, and the way they are artfully arranged in bouquets. Alternatively, you can consider using a reference image for guidance.
Begin with Ease: If you’re new to flower drawing, start with a straightforward bouquet that includes just a few blooms. As you become more self-assured, you can take on more intricate arrangements.
Emphasize Shading: Shading plays a vital role in adding depth and bringing your flowers to life with a three-dimensional effect. Be mindful of the interplay between light and shadow.
Try out Different Flowers: Drawing a variety of flowers in a bouquet lets you discover the unique shapes and intricate details that different blooms have to offer.
Make it a habit: By consistently practicing drawing flowers, you’ll improve your skills over time. Don’t let early attempts discourage you; progress comes with time and practice.

FAQs: How to Draw a Bouquet of Flowers
Is prior artistic experience necessary to create a beautiful bouquet of flowers?
No, you don’t have to be a skilled artist. With practice and patience, anyone can learn to draw a beautiful bouquet of flowers. Begin with easy arrangements and gradually progress to more intricate bouquets.
Is it possible to create a beautiful bouquet of flowers without using a reference image?
Although relying on a reference image can be beneficial for achieving accuracy, it is entirely possible to create a beautiful bouquet solely from your imagination or memory. However, it’s highly recommended to use a reference image, especially if you’re new to flower drawing. This will help you understand the shapes and details of various flowers.
Which type of paper would be most suitable for creating a beautiful bouquet of flowers?
Opt for paper with a smooth surface that is compatible with pencils and erasers, whether it’s drawing paper or sketchbook paper. Using a thicker paper can also help prevent any creases or smudges.
What is the typical time frame for finishing a bouquet of flowers drawing?
The duration required to finish a bouquet of flowers drawing varies based on the intricacy of the arrangement, your skill level, and the amount of intricacy you desire to incorporate. Creating a simple bouquet may require a few hours of your time, whereas crafting a highly detailed arrangement can be a more time-consuming process.
What’s the secret to capturing the unique beauty of various flowers in a bouquet?
Observing the unique characteristics of each bloom is crucial for capturing the likeness of different flowers. Take a close look at the different shapes, intricate details, and how each type of flower is arranged in the bouquet. Utilizing a reference image or actual flowers can be incredibly beneficial.
How can I select the perfect pencils for adding shading to a flower bouquet drawing?
Utilize a variety of pencils, ranging from harder pencils for lighter shading to softer pencils for darker shading. When it comes to achieving fine details, it’s worth considering the use of sharp pencils. On the other hand, if you’re aiming for broader shading, pencils with a slightly duller point can be more effective.
Should a background be included in a bouquet of flowers drawing?
Including a background is entirely up to you and your personal artistic taste. A plain background can enhance the focus on the bouquet, while a more detailed background can set a particular mood for your drawing.
Is it possible to incorporate some vibrant hues into a bouquet of flowers drawing?
Of course! You have the option to use colored pencils or markers to bring some vibrant hues to your bouquet. Take notice of the vibrant hues of the flowers, leaves, and other elements in the arrangement.
How can I enhance the artistic appeal and expressiveness of my bouquet of flowers drawing?
To enhance the expressiveness of your bouquet of flowers drawing, pay attention to shading, lighting, and highlights. Try out various styles and compositions to incorporate your own artistic flair.
Are there any resources available to learn more about drawing bouquets of flowers?
There are plenty of online tutorials, books, and courses available that can help you learn the art of flower drawing. These resources cover a wide range of topics, allowing you to explore different techniques for capturing the beauty of various types of blooms. Find resources that provide detailed instructions and helpful advice on making beautiful bouquets.
Conclusion
Creating a bouquet of flowers is a wonderful and fulfilling activity that lets you appreciate the natural beauty through art. Whether you’re creating a present for a cherished individual or simply savoring the artistic process, the end result will undoubtedly embody the everlasting grace of flowers. So, grab your pencils, gather your materials, and dive into the world of floral art. Enjoy your artistic endeavors!


