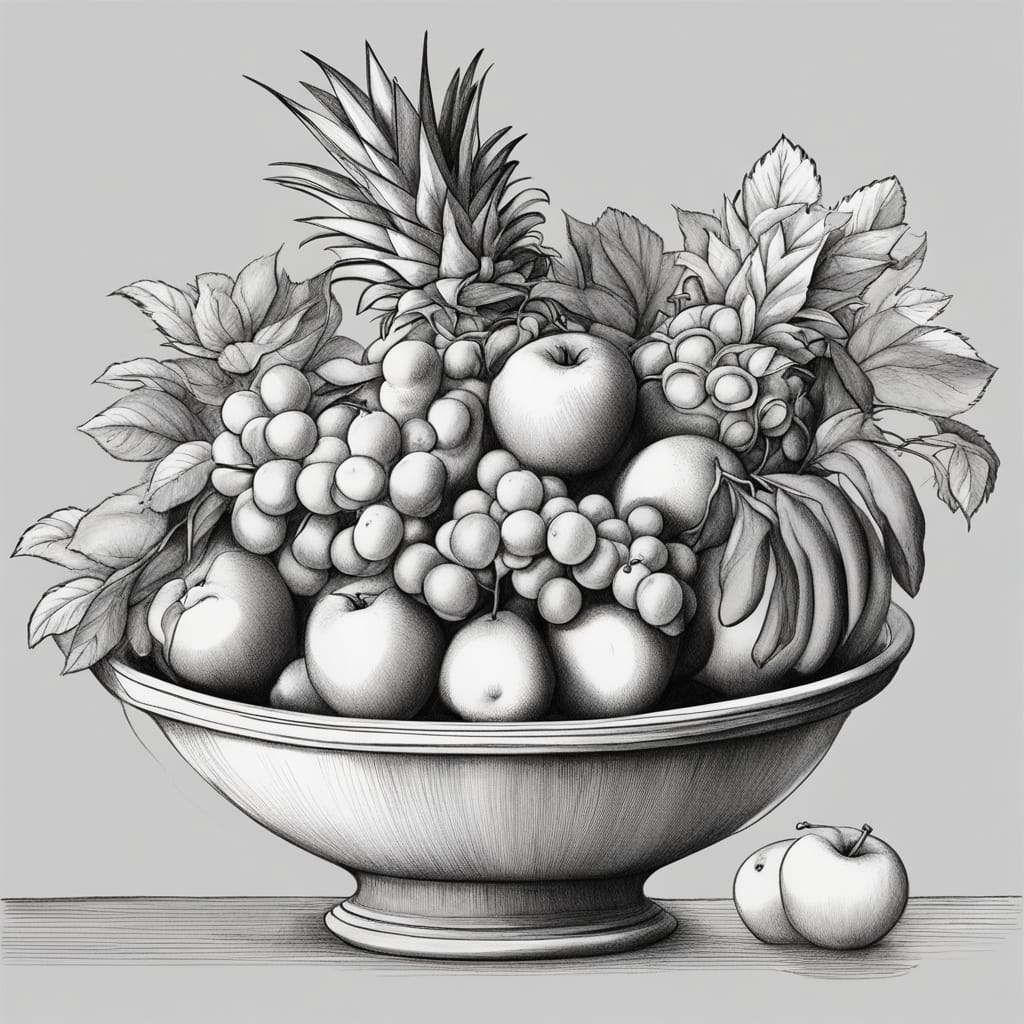
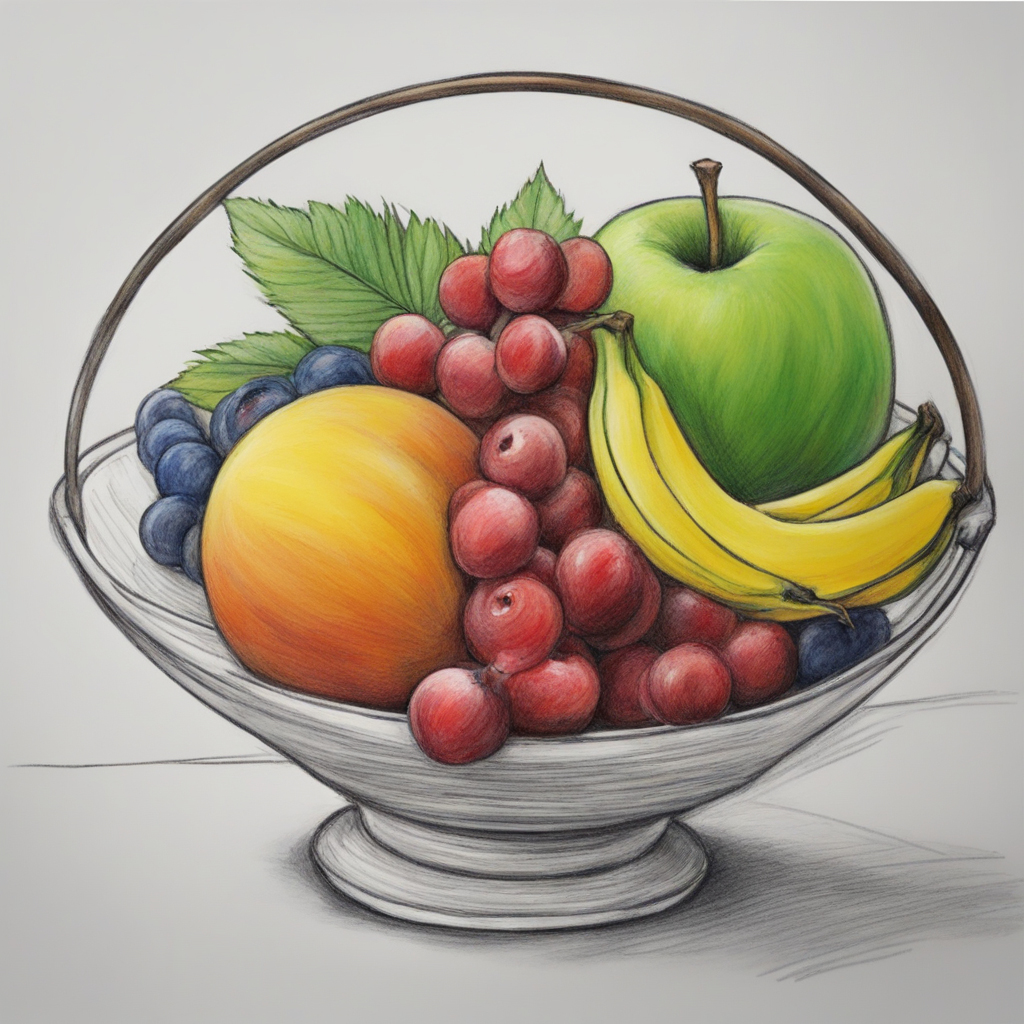
Fruit bowls can be a tasty and nutritious addition to your table, while also providing a creative outlet for artistic expression. Creating a timeless fruit bowl enables you to showcase the vivid hues and distinct textures of different fruits, all while delving into the essential concepts of still life drawing. Whether you have prior experience in art or are just starting out, this detailed guide will assist you in crafting a visually stunning work of art on paper.
Materials You Will Need
Before you get started, make sure to gather all the necessary materials:
- Consider selecting paper with a smooth surface that is suitable for using pencils and erasers.
- Pencils: Explore a variety of pencils with different levels of hardness and softness, perfect for sketching and shading.
- Eraser: Perfect for correcting mistakes and emphasising important points.
- Blending tools such as tortillons, blending stumps, or even tissue paper can be used to soften and merge pencil strokes.
- Reference image: While not required, having a photo of a fruit bowl or a real fruit bowl can be beneficial in grasping the arrangement and intricacies.
Step 1: Outline the Fruit Bowl’s Basic Shape
Start by sketching the fundamental outline of the fruit bowl. Consider using an oval or circular shape as a reference to determine the size and position of your bowl on the paper.
Step 2: Sketch the Fruit Arrangement
Begin drawing the placement of fruits inside the bowl. Choose a variety of fruits like apples, oranges, bananas, and grapes, and arrange them naturally. Take note of the sizes and positions of the fruits.
Step 3: Outline the Fruit Details
Describe the shapes and contours of each fruit. Take a look at the reference image or an actual fruit bowl if you have one, to better understand the unique features of each fruit.
Step 4: Add Shading and Depth
Experiment with various pencils to add depth to your drawing. Light shading can be achieved with a 2H pencil, while a 2B pencil is perfect for creating darker shading. Consider the placement of the fruits in relation to the light and shadows.
Step 5: Blend and Soften Pencil Strokes
Utilise blending tools such as tortillons or blending stumps to create a smooth and seamless transition between pencil strokes. This step is crucial for achieving a polished and authentic look.
Step 6: Highlight and Refine
Utilise your rubber to add some highlights to the fruits and the bowl. Take note of the direction of light to determine the appropriate placement of highlights.
Step 7: Fine-tune and Add Background (Optional)
Take a look at your drawing, make any needed changes, and consider adding a background if you’d like. An uncomplicated backdrop can elevate the overall display of your fruit bowl.
Tips for Success
Explore Real Fruit Bowls: By observing real fruit bowls, you can gain insights into the arrangement of fruits, their varying sizes, and the connections they share.
Begin with Simplicity: If you’re new to still life drawing, start with a straightforward fruit bowl arrangement. As your skills improve, you can take on more challenging configurations.
Take note of shading: Shading plays a vital role in adding depth and giving your fruits a three-dimensional look. Be mindful of the interplay between light and shadow.
Try out Different Fruits: Drawing a range of fruits lets you discover various shapes, colours, and textures.
Make it a habit: By consistently practising drawing fruit bowls, you’ll improve your skills over time. Don’t let early attempts discourage you; practise leads to improvement.

FAQ: How to Draw a Classic Fruit Bowl
Is prior drawing experience necessary for creating a classic fruit bowl drawing?
Actually, anyone can draw a classic fruit bowl, regardless of their artistic experience. This step-by-step guide is designed to be accessible to artists of all levels, including those who are just starting out. You can begin with easy arrangements and gradually progress to more intricate fruit bowls.
Is it possible to create a traditional fruit bowl drawing without relying on a reference image?
Although utilising a reference image can be beneficial for precision, it is entirely possible to create a timeless fruit bowl solely relying on your imagination or recollection. However, it is highly recommended to use a reference image, especially if you are new to still life drawing. This will help you better understand the arrangement and capture all the intricate details.
Which type of paper would be most suitable for creating a timeless fruit bowl drawing?
Choose drawing paper or sketchbook paper with a smooth surface. It should be appropriate for pencil and rubber work, perfect for young artists. Opting for a more substantial paper can help minimise the risk of creasing or smearing.
What is the typical duration for finishing a classic fruit bowl drawing?
The duration needed to finish a traditional fruit bowl illustration may differ based on the intricacy of the composition, your expertise, and the level of intricacy you desire to incorporate. A basic fruit bowl might require a couple of hours to complete, whereas a more intricate design can take even more time.
How can I select the perfect pencils for creating shading in a timeless fruit bowl artwork?
Utilise a variety of pencils, ranging from harder pencils for lighter shading to softer pencils for darker shading. Make sure to sharpen your pencils carefully to achieve precise details, and use slightly duller points when you want to create broader shading.
Should a classic fruit bowl drawing include a background?
Including a background is completely up to you and your personal artistic taste. A plain background can help draw attention to the fruit bowl, while a more intricate background can create a specific atmosphere.
Is it possible to incorporate some vibrant hues into a traditional illustration of a fruit bowl?
Of course! You have the option of using coloured pencils or markers to bring some vibrant hues to your timeless fruit bowl illustration. Take note of the vibrant hues of the fruits and the bowl.
How can I enhance the artistic quality and expressiveness of my classic fruit bowl drawing?
To enhance the artistic quality of your traditional fruit bowl drawing, pay attention to shading, lighting, and highlights. Try out various styles and compositions to incorporate your own artistic flair.
Are there any resources available to learn more about drawing still life subjects such as classic fruit bowls?
There are numerous online resources, books, and courses available that delve into the art of still life drawing, exploring different techniques for capturing a wide range of objects in both realistic and imaginative ways. Find resources that provide detailed instructions and helpful advice for creating impressive still life artwork.
How can I enhance my drawing skills for classic fruit bowls or still life in general?
Enhancing your drawing skills for still life subjects, such as classic fruit bowls, requires practise. Consistent practise, careful observation of tangible objects, and studying the creations of fellow artists can assist in honing your abilities and cultivating your distinct artistic flair.
Conclusion
Creating a timeless fruit bowl is a delightful and fulfilling artistic pursuit that enables you to depict the splendour of nature and inanimate objects on paper. Whether you decide to craft a present for a cherished individual or just enjoy the creative journey, the end result will surely bring about a feeling of youthfulness and energy. Alright, let’s get ready to start! Grab your pencils and gather all your materials, because we’re about to embark on a wonderfully creative adventure. Enjoy drawing!


