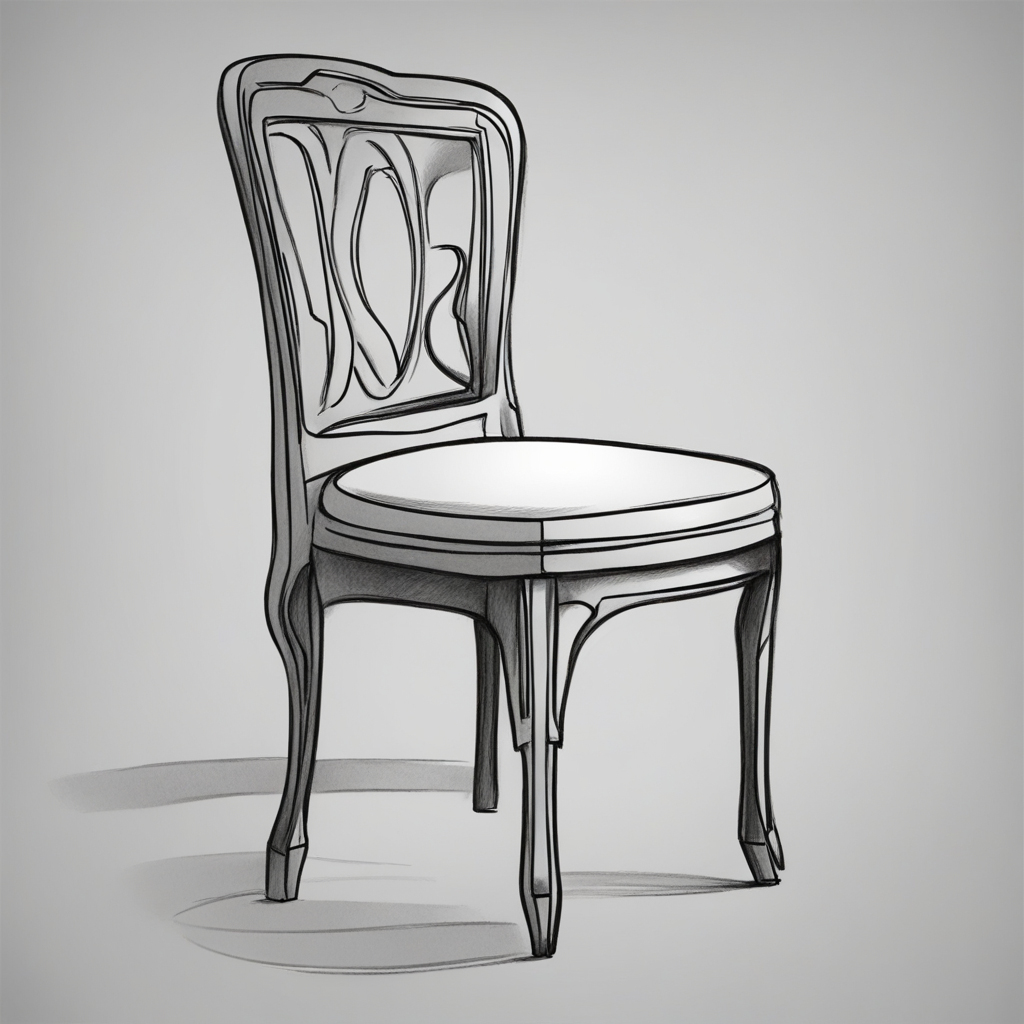
Drawing is an amazing way to express your creativity and capture the beauty of ordinary things. One object that can serve a practical purpose while also being visually appealing to sketch is a chair. Creating a chair may appear straightforward, but there are subtle details to take into account that can elevate your artwork. In this detailed guide, we’ll delve into the art of drawing a chair with precision and flair.
Table of Contents
Materials You’ll Need:
Prior to beginning, it is crucial to gather the necessary materials. Here is a list of the items you will need:
- Choosing between drawing paper or a sketchbook
- Pencils of different hardness levels, ranging from 2H to 6B
- Eraser
- Measure
- Compass (if you want to)
- Image of a chair for reference
Step 1: Observation and Preparation
When it comes to drawing a chair, it’s important to start by closely examining your reference image. Pay attention to the chair’s overall shape, the angles, and any distinctive design elements. Grasping these details is essential for a precise portrayal.
Step 2: Basic Outline
Start by sketching a basic rectangle to create the seat of the chair. This will be the basis for everything. Opt for a gentle pencil, such as 2H, to allow for effortless adjustments down the line. Make sure the rectangle matches the chair in your reference image.
Step 3: Adding Legs
After securing the seat, it’s time to attach the legs. Typically, chairs are equipped with four legs. To ensure accuracy, employ a ruler to draw vertical lines that extend from each corner of the seat to the ground. Be sure to carefully consider the angles and spacing, as they play a crucial role in ensuring the chair’s stability.
Step 4: Backrest and Details
Now, attach the backrest. Depending on the chair’s design, the backrest can have a curved or straight shape. Make sure to replicate this shape with precision, ensuring it aligns perfectly with the seat. If necessary, a curved backrest can be created using a compass.
Step 5: Refine Your Lines
By now, you should have the fundamental structure of the chair. Approach your lines with the enthusiasm of a young artist, using a slightly darker pencil like a 2B to give your drawing a touch of definition and make it stand out.
Step 6: Shading and Texture
To give your chair a more lifelike appearance, incorporate shading to depict the interplay of light and shadow. Take a close look at your reference image and notice the areas that are darker or lighter. Then, make sure to shade your drawing accordingly. Experiment with different pencils to achieve a variety of shading effects. Utilize softer pencils for darker areas and harder ones for lighter sections.
Step 7: Final Touches
After you’ve finished shading your chair, take a moment to step back and evaluate your drawing. Make any necessary corrections or adjustments. Pay attention to any intricate details, such as the unique patterns in the wood grain, if your chair happens to have them.

FAQs
Is it necessary to be a seasoned artist in order to sketch a chair?
No way! Sketching a chair is a rad way to kick off your artistic journey, especially if you’re just starting out. It’s a super chill topic that lets you flex your basic drawing skills.
Is it necessary to use a reference image when drawing a chair?
It’s super important to use a reference image, especially if you’re a beginner at drawing chairs. Having a reference image is super helpful for getting a clear idea of the chair’s proportions, details, and overall shape.
What kind of chair is ideal for someone new to drawing?
For newbies, it’s a solid move to kick things off with a basic chair design. Seek out chairs with simple forms and clean lines. As you become more confident, you can level up to more intricate designs.
How can I nail drawing a curved backrest with precision?
Getting the hang of drawing a curved backrest can be a little tricky. To achieve a totally rad curve, you have the option of using a compass for precision or just going with the flow and freehanding it until you’re totally stoked with the outcome. It might require a bit of experimentation, so don’t get down if it’s not flawless the first time around.
Can I switch to using a pen for darker lines instead of a darker pencil?
For sure! Using a pen or fine marker for darker lines is totally legit. It can give you some sick, clean lines that really make your chair drawing pop. Just make sure to handle it with caution, as it can be less forgiving than pencils when it comes to errors.
Are there any cool tricks to level up my chair drawing game?
There are a bunch of cool tricks you can check out to level up your chair drawing. Using different techniques like cross-hatching, stippling, and blending with blending stumps or tortillons can give your artwork a lot of depth and texture. Try out these techniques to see which ones vibe with your style.
Conclusion
Creating a chair may seem deceptively simple, but it requires a keen eye for detail and an understanding of proper proportions. With dedication and practice, you can create a chair drawing that is both precise and visually engaging. Feel free to unleash your inner artist and challenge yourself by sketching a chair. Keep in mind that consistent practice is the secret to honing your artistic abilities.
For a fun guide on how to draw buildings, you can find a step-by-step tutorial here. This guide offers fun tips and techniques for mastering architectural sketching, making it a fantastic choice for young artists eager to enhance their skills in capturing structures!


