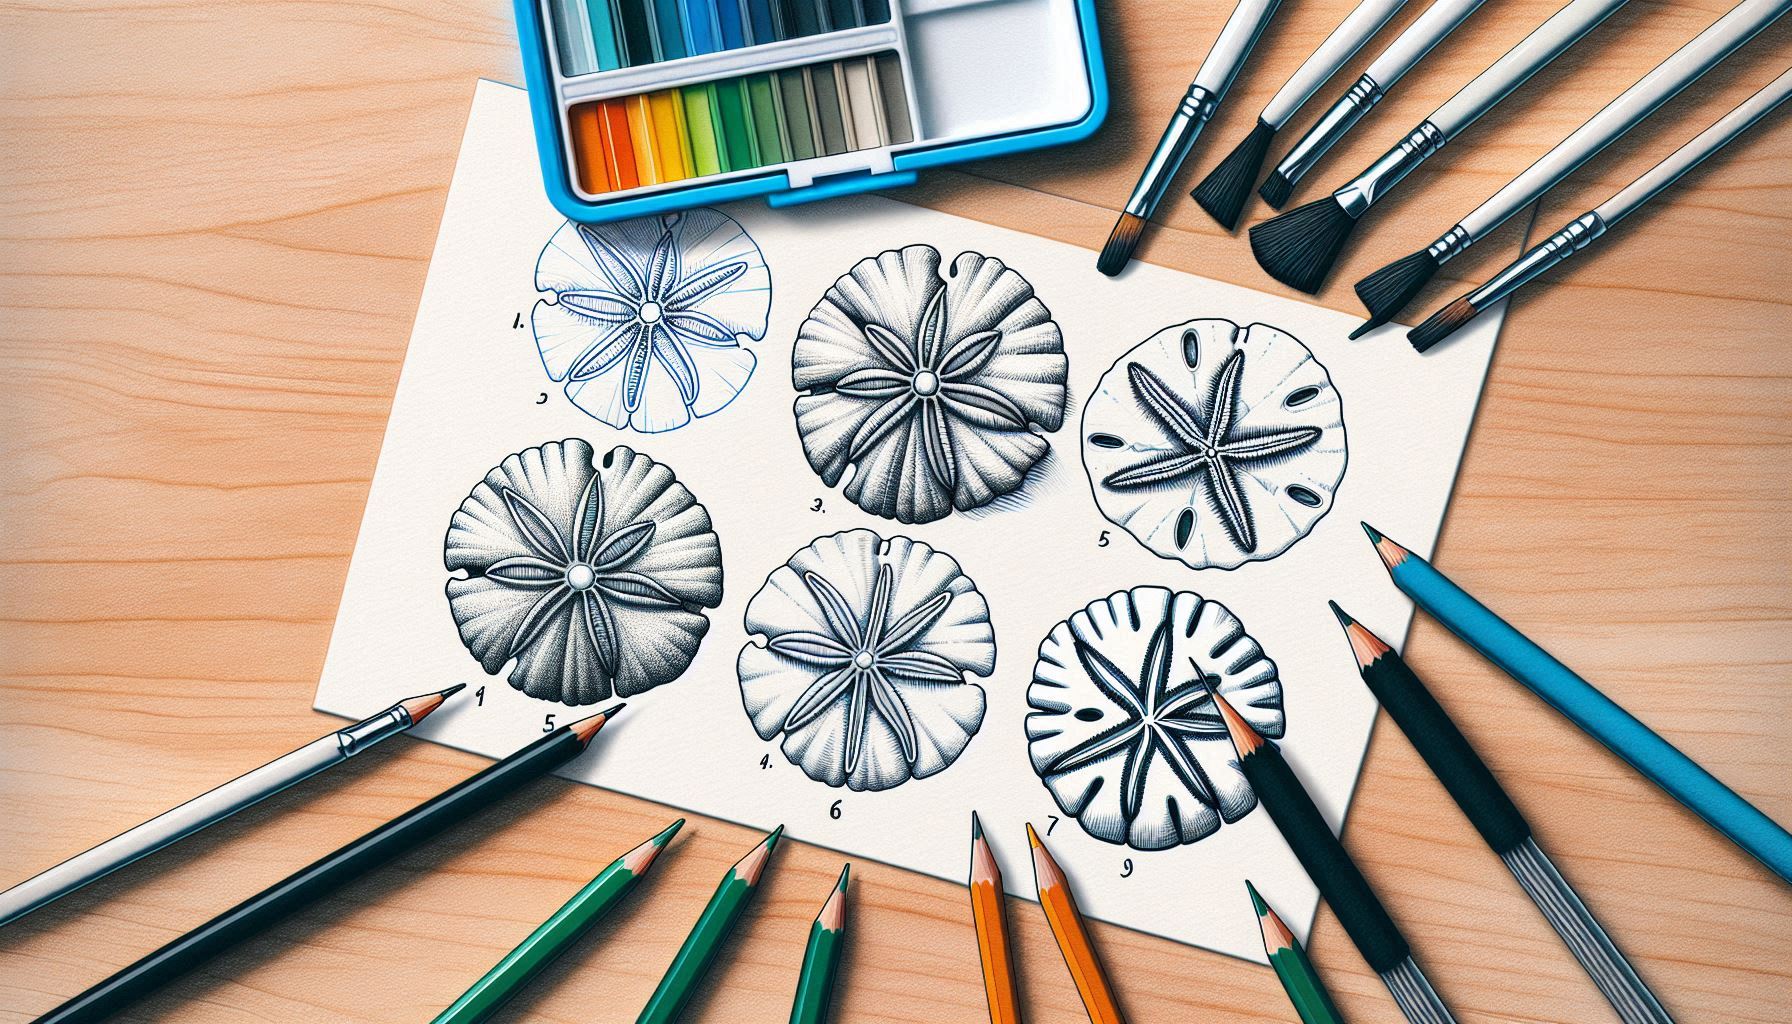
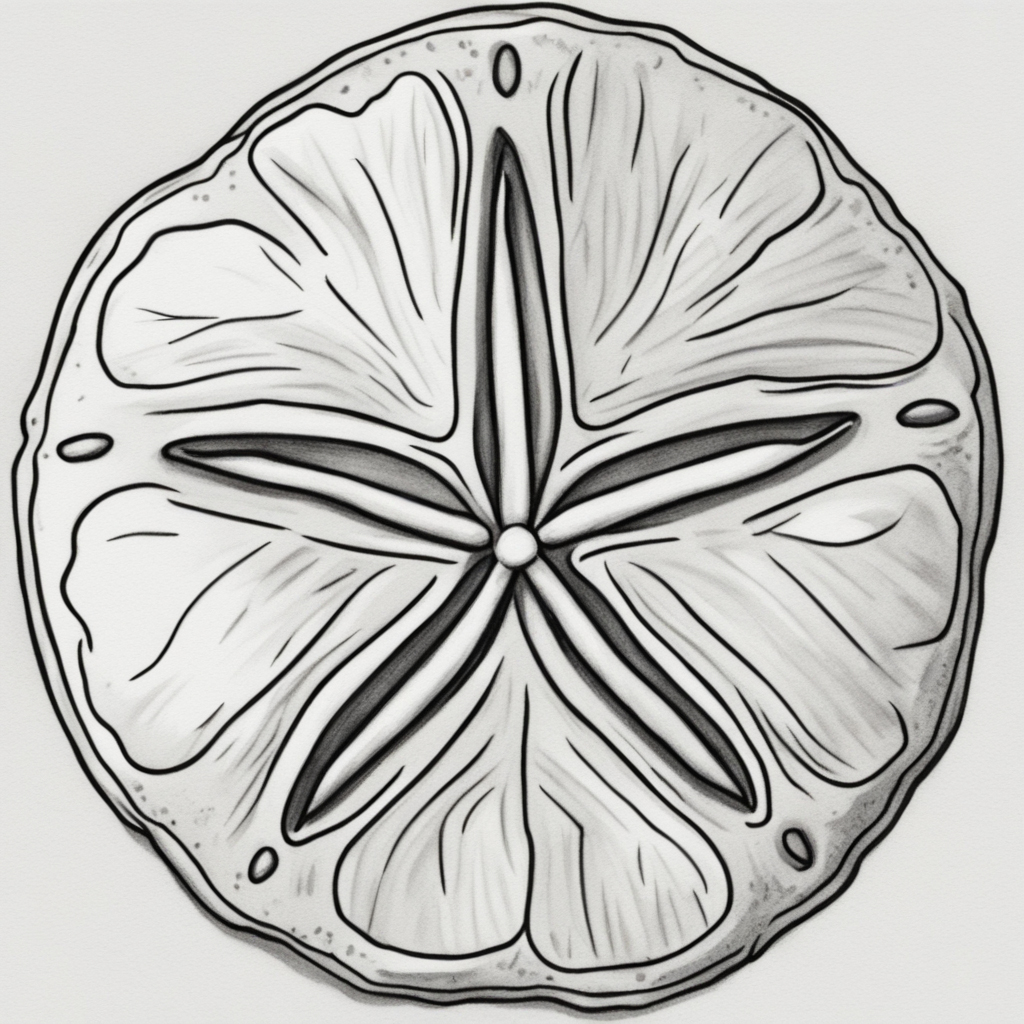
Creating a sand dollar illustration can be a fun and educational experience for children! Sand dollars are fascinating marine creatures that are part of the echinoderm family, closely related to sea stars and sea urchins. Their body is flat and round, with a unique star-shaped pattern on the surface that looks like a coin. Sand dollars can be found washed up on sandy beaches, which makes them an intriguing topic for young artists. In this step-by-step guide, we’ll walk you through the process of creating your very own sand dollar drawing.
Table of Contents
Types of Materials Utilised
Before we get started, make sure you have all the necessary materials ready.
Surface: Opt for a tidy and even area to create your masterpiece.
Pencils: Explore a variety of pencils with varying lead hardness (HB, 2B, 4B) to achieve a wide range of shades and textures.
Make sure to have a rubber nearby for any necessary corrections.
Step-by-Step Guide
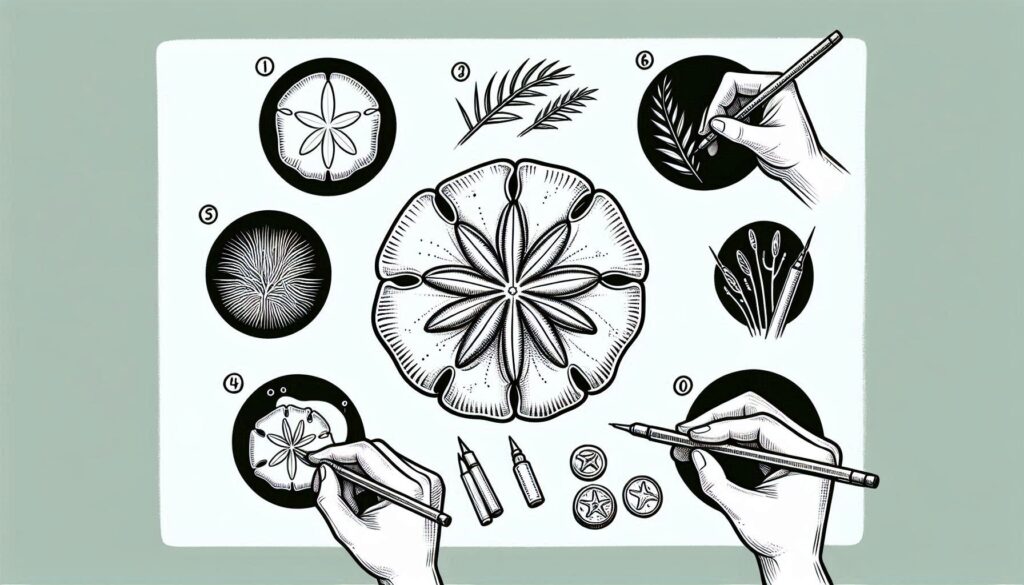
Here are some easy steps to help you draw a sand dollar:
Simple Shape: Start by sketching a circle to depict the main body of the sand dollar.
Include a smaller circle within the initial one to form the central disc.
Petals (Doves): Sand dollars have five petal-like features known as “doves.” Create five curved lines that extend outward from the centre of the disc.
These lines should extend outward and gently curve back in, resembling the delicate shape of flower petals.
Exploring the Doves:
Enhance the doves by adding some texture with small bumps or ridges along their edges.
Don’t forget to include the star-shaped pattern on the surface of sand dollars when describing them.
Centre of the Disc and Mouth: Locate the mouth area in the middle of the disc. Sand dollars have a tiny opening on the underside.
Include some additional lines or dots near the mouth to depict sensory structures.
Coloring: Sand dollars usually have a pale grey or off-white hue.
Opt for soft, pastel shades for the body and doves. Adding hints of darker shades can provide more depth to your artwork.
Adding shading and highlights will help create depth in the doves and central disc. Enhance the curves with the addition of shadows.
Make sure to leave certain areas lighter to show highlights.
Refine the details by removing any unnecessary guidelines.
Make sure to double-check your proportions and make any necessary adjustments.
Frequently Asked Questions (FAQs)
What Are Sand Dollars?
Sand dollars are fascinating creatures that inhabit the shallow coastal waters.
They utilize their small spines to navigate the depths of the ocean and conceal themselves within the sandy terrain.
How Sand Dollars Feed?
Sand dollars primarily consume small particles of algae and organic matter found in the water.
Their feeding structure, known as Aristotle’s lantern, allows them to scrape food from the ocean floor.
Do Sand Dollars Bring Good Luck?
Absolutely! Sand dollars are frequently collected by beachcombers and utilised for various crafts and decorations.
They are often seen as symbols of good fortune and abundance.
Find Inspiration
Take a look at some captivating images of actual sand dollars to ignite your artistic inspiration. Take notice of their star-shaped patterns and delicate features.
Conclusion
Congratulations! You’ve mastered the art of drawing a sand dollar. Remember to enjoy yourself and try out different shades. Discover the magic of the beach through your creative expressions! 🌊🎨
Feel free to share your sand dollar drawing with us! If you have any additional inquiries, feel free to ask. Enjoy your drawing! 😊
For a delightful and simple guide on how to draw a sea cucumber, you can find step-by-step instructions here. This fun tutorial makes it enjoyable for young creators to learn about these fascinating marine creatures while exploring their creativity!

