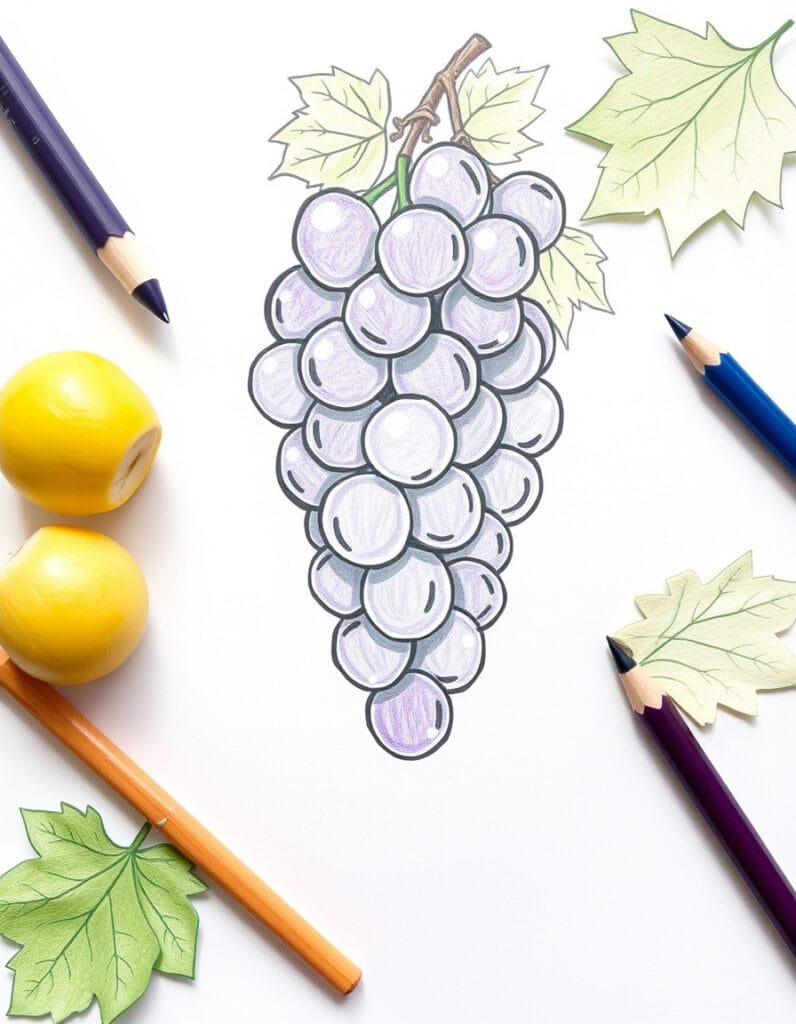
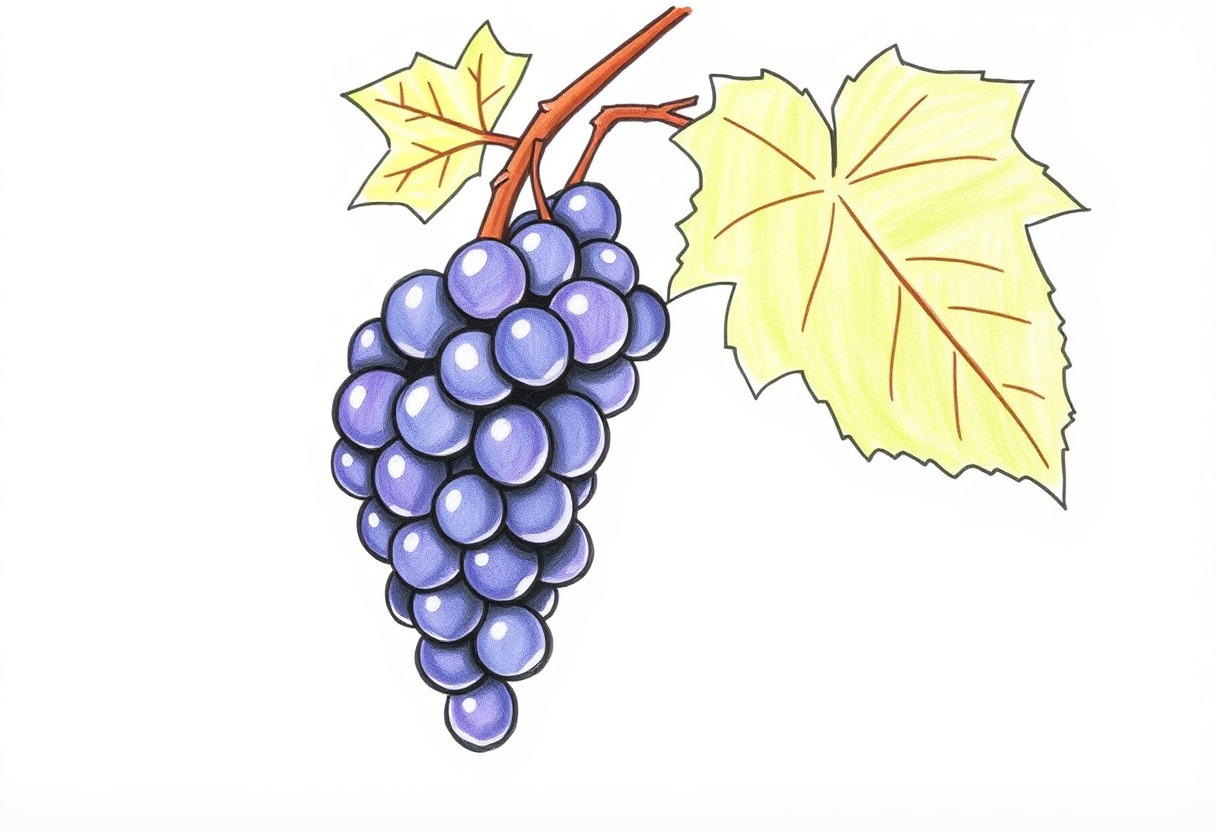
How to draw grapes—capturing the rounded edges and grouped arrangement of grapes in a drawing may be a fun challenge. This step-by-step tutorial will assist you in drawing realistic grape bunches on paper, regardless of your level of experience. You’ll discover what supplies are required, get ideas from several grape varietals, and, in the end, have a lovely grape drawing to display.

Table of Contents
Materials Needed:
Before you begin, gather these materials:
- Drawing paper
- Pencil (preferably HB or 2B)
- Eraser
- Colored pencils or markers (optional for coloring)
- Reference images of grapes (helpful for details)
Inspiration:
Examine many grape varieties to get ideas:
- Green or red grapes, each having its unique hues and textures
- Wine grapes with tight clusters, such as Chardonnay or Cabernet
- Concord grapes are distinguished by their greater size and deep purple color.
- For your sketch, select the variety that best appeals to you.

Step-by-Step Guide to How to Draw Grapes:

Step 1: Outline the Bunch Shape
Start by using a pencil to lightly sketch the general outline of your grape cluster. Since grapes usually grow in clusters, sketch down the overall shape you like to see for your bunch.

Step 2: Draw Individual Grapes
Next, illustrate individual grapes inside the bunch. To get a natural effect, use oval or circular forms with slightly different diameters. To demonstrate depth and dimension, leave some space between the grapes.

Step 3: Add Details
Give each grape further features, including emphasizing the areas that catch the light to produce highlights. Because grapes seem glossy, shading should also represent this glossiness for added realism.

Step 4: Draw the Stems
Draw thin lines from the top of each grape to the middle of the bunch to add stems to each grape. To illustrate how grapes are organically grouped, stems may slightly overlap.

Step 5: Refine and Shade
To improve your drawing, apply shade and darken the outlines to give it more depth. To add shadows and make your painting look three-dimensional, shade slightly under each grape.

Step 6: Optional Coloring
Carefully apply color to your grapes if you’re using colored pencils or markers. Combine hues to depict the organic variance in grape tones, ranging from rich purples to vivid greens.

Step 7: Final Touches
Add any last details to finish your design, such as more highlights or shade, or make any necessary adjustments to the dimensions.
Conclusion:
You can improve how to draw grapes your shading and observational abilities while producing a stunning work of art by drawing grapes. You now know how to sketch realistic grape bunches that accurately depict their distinct texture and arrangement by following this step-by-step tutorial. Try out many grape varietals and love the artistic process of illustrating the abundance of nature.
For a fun and easy guide on drawing a banana, with simple steps for making the outline, shaping it just right, and adding some shading for a lifelike look, check out the tutorial here. This guide is packed with fun tips, from sketching the peel lines to adding vibrant textures and colors, making it an awesome resource for those just starting out and for anyone wanting to have a blast practicing their fruit drawing skills.


