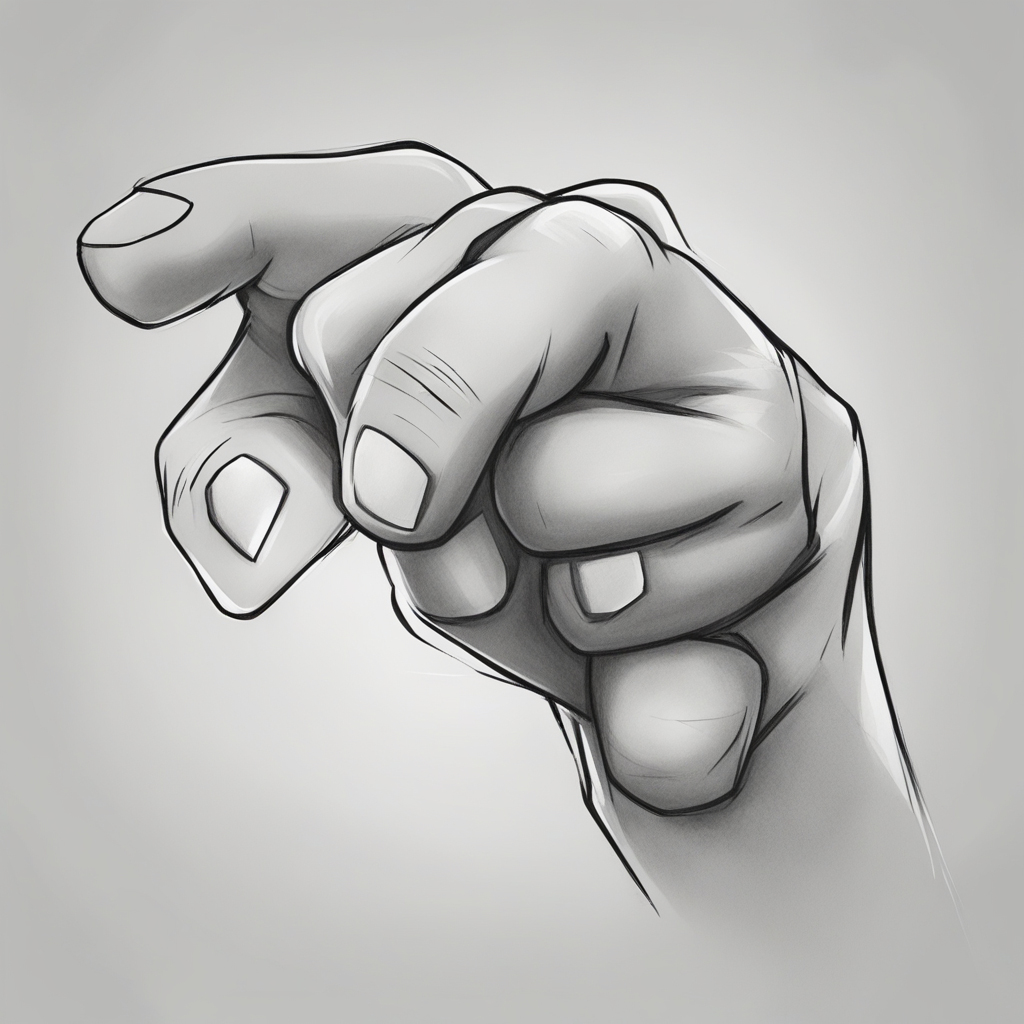
Hi there, would-be creatives! Today, we’re exploring the dynamic realm of sketching and concentrating on the fist, a representation of force and strength. As we go step by step to capture the spirit of a clinched fist, get ready to pour your imagination into every stroke. Let’s make every line matter, whether it’s for a superhero illustration or a self-portrait demonstrating resolve!
Gather Inspiration: Let’s look for ideas for our first drawing before getting too technical. To you, what does a closed hand mean? Is it a representation of resiliency, success, or harmony? Think for a moment about the feelings you would like your artwork to evoke. Let your inspiration drive your artistic vision, whether it comes from a moving movie scene, a memorable sporting event, or your personal experiences.
Table of Contents
Supplies Required:
Make sure you have everything you’ll need for this inspiring creative project:
- Paper: A blank canvas waiting to hold the power of your work.
- Your favorite drawing instrument for shading and outlining is charcoal or pencils.
- Eraser: A reliable ally for polishing your writing and fixing errors.
- Blending stump (optional): To blend and shade your pencil lines nicely.
- Your creativity is propelled forward by your imagination.
- Feel good vibes: Have a good attitude—this drawing is an ode to fortitude and perseverance!
Step-by-Step Guide:
Step 1: Fundamental Overview
Start by drawing the fist’s basic outline. Start with the basic outline, paying particular attention to the curve of the knuckles. Right now, don’t worry about the finer details; we’re just laying the framework.
Step 2: Details of the Knuckles
Add more definition to the knuckles to refine them. Keep in mind that a clenched fist has projecting knuckles, which gives the impression of power and dynamic. Take note of each knuckle’s size and spacing.
Step 3: Anatomy of the Fingers
Draw the knuckles tightly closed with your fingertips. Keep in mind that fingers nearest to you will appear larger than those farther away, so pay attention to perspective. Capture each finger’s curvature, emphasizing the joints.
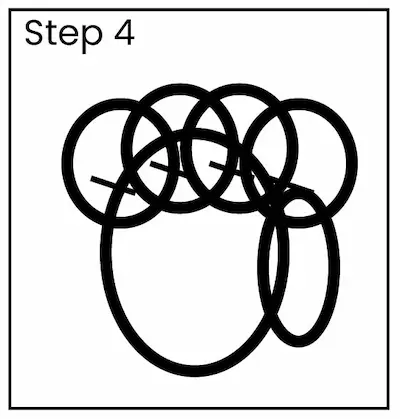
Step 4: Aligning Thumbs
Add the thumb, making sure it genuinely encircles the fingers. The angle of the fist will determine where the thumb is positioned. It could partially conceal itself under the fingers to highlight how tightly clasped the hand is.
Step 5: Explain the Hand
Draw attention to the wrist and easily connect it to the fist. Think about the hand’s anatomy and the way the tendons and muscles flow into the wrist. This will make your drawing look more realistic overall.
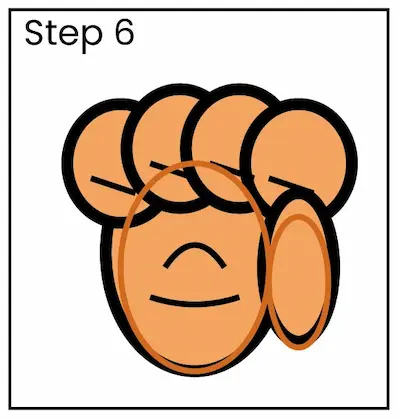
Step 6: Shading for Depth
To give your fist more depth and dimension, start shading. Determine the source of light and adjust the shadows accordingly. Observe the places where shadows naturally appear, such as under the knuckles and in between the fingers.
Step7: Enhance and Include Texture
Add finer details to your drawing, such as veins, skin texture, and any scars or calluses. Your fist is more authentic because of these minor details. Try several shading techniques to get a surface that is dynamic and lifelike.



FAQs:
Q1: How can I add additional movement to my fist?
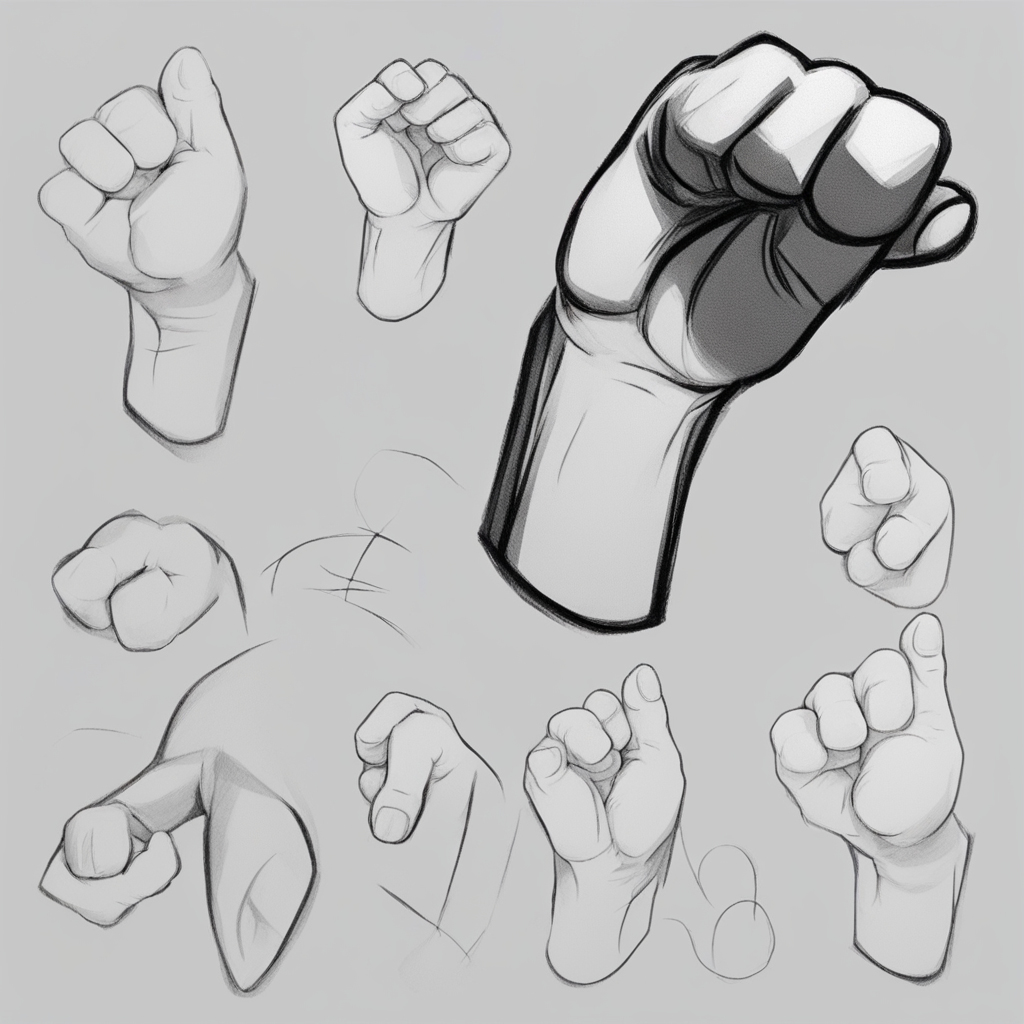
Pay attention to the placement of the fingers and knuckles to add movement. To give the fist a sense of movement and stress, change the finger angles. Try out a variety of stances to see which one best communicates the strength you wish to project.
Q2: Should I make my skin more wrinkled?
Of course! Skin creases and wrinkles enhance the realistic quality of your drawing. Particularly in the vicinity of the joints and knuckles, pay attention to the places where the skin naturally folds. Your closed fist seems more authentic thanks to these small features.
Q3: I’d like to draw a fist from a different angle?
Of course! Art’s diversity is what makes it so beautiful. Try experimenting with various viewpoints to push yourself and give your artwork more variation. Every viewpoint, whether it is a side profile or a frontal view, presents a different chance for artistic expression.
Conclusion
In conclusion, congrats to all of the artists! You’ve done a great job at bringing a powerful symbol to life on paper. Capturing the physical form of a clenched fist is important, but so is conveying the strong emotions it stands for. Continue to experiment, hone your craft, and add that special something to your artwork. Your creative journey is an ode to imagination and tenacity; never stop feeling good!
Check out this super fun and simple guide to learn how to draw a brick with easy steps! This fun guide provides easy-to-follow instructions, allowing young creators to enhance their drawing abilities while discovering how to make this important building material!

