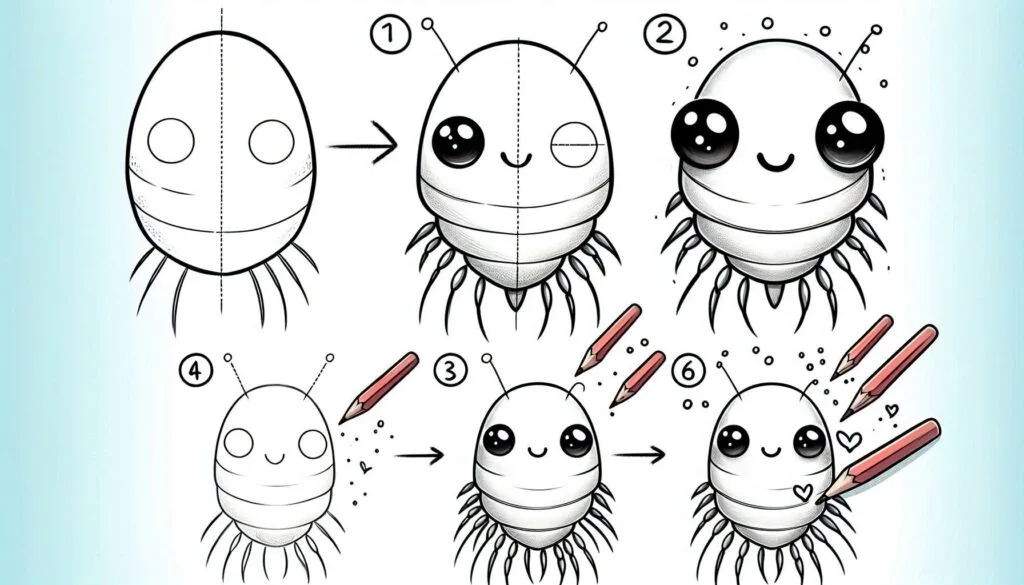
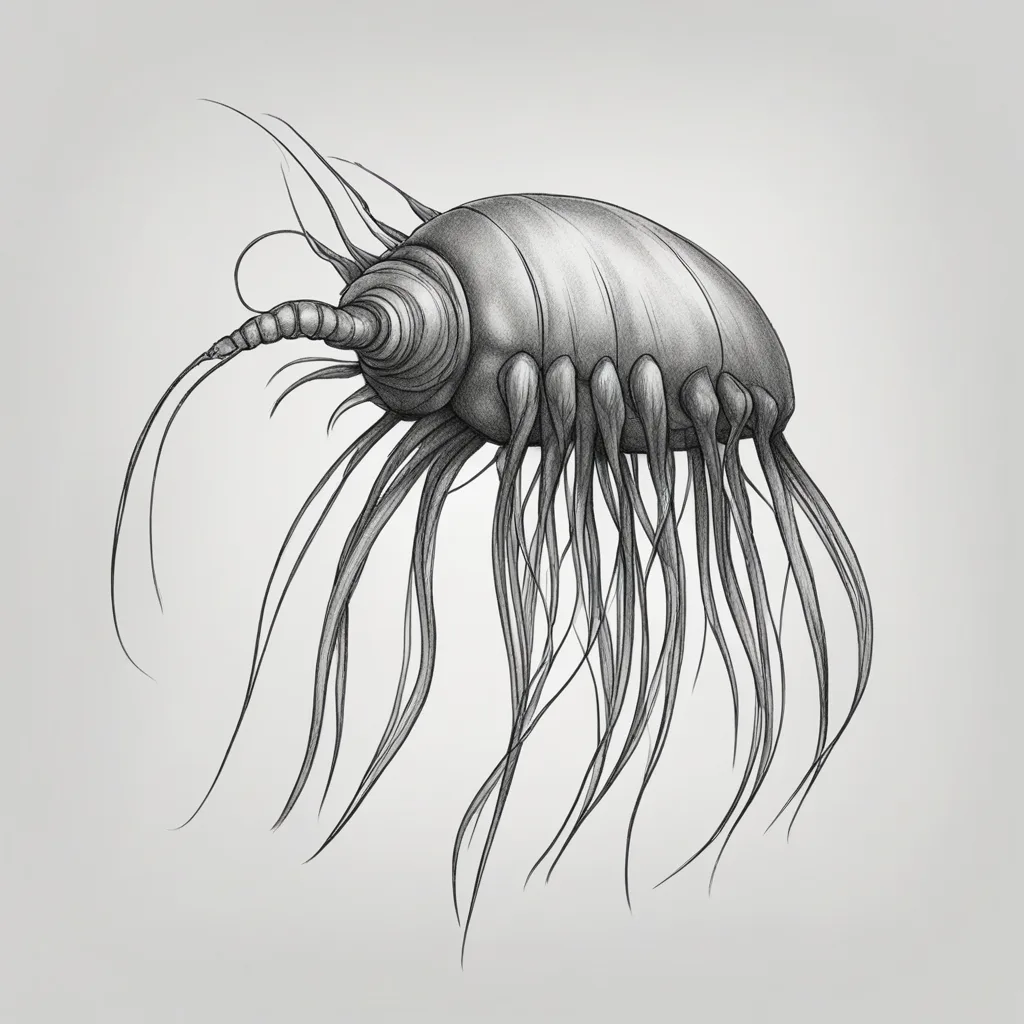
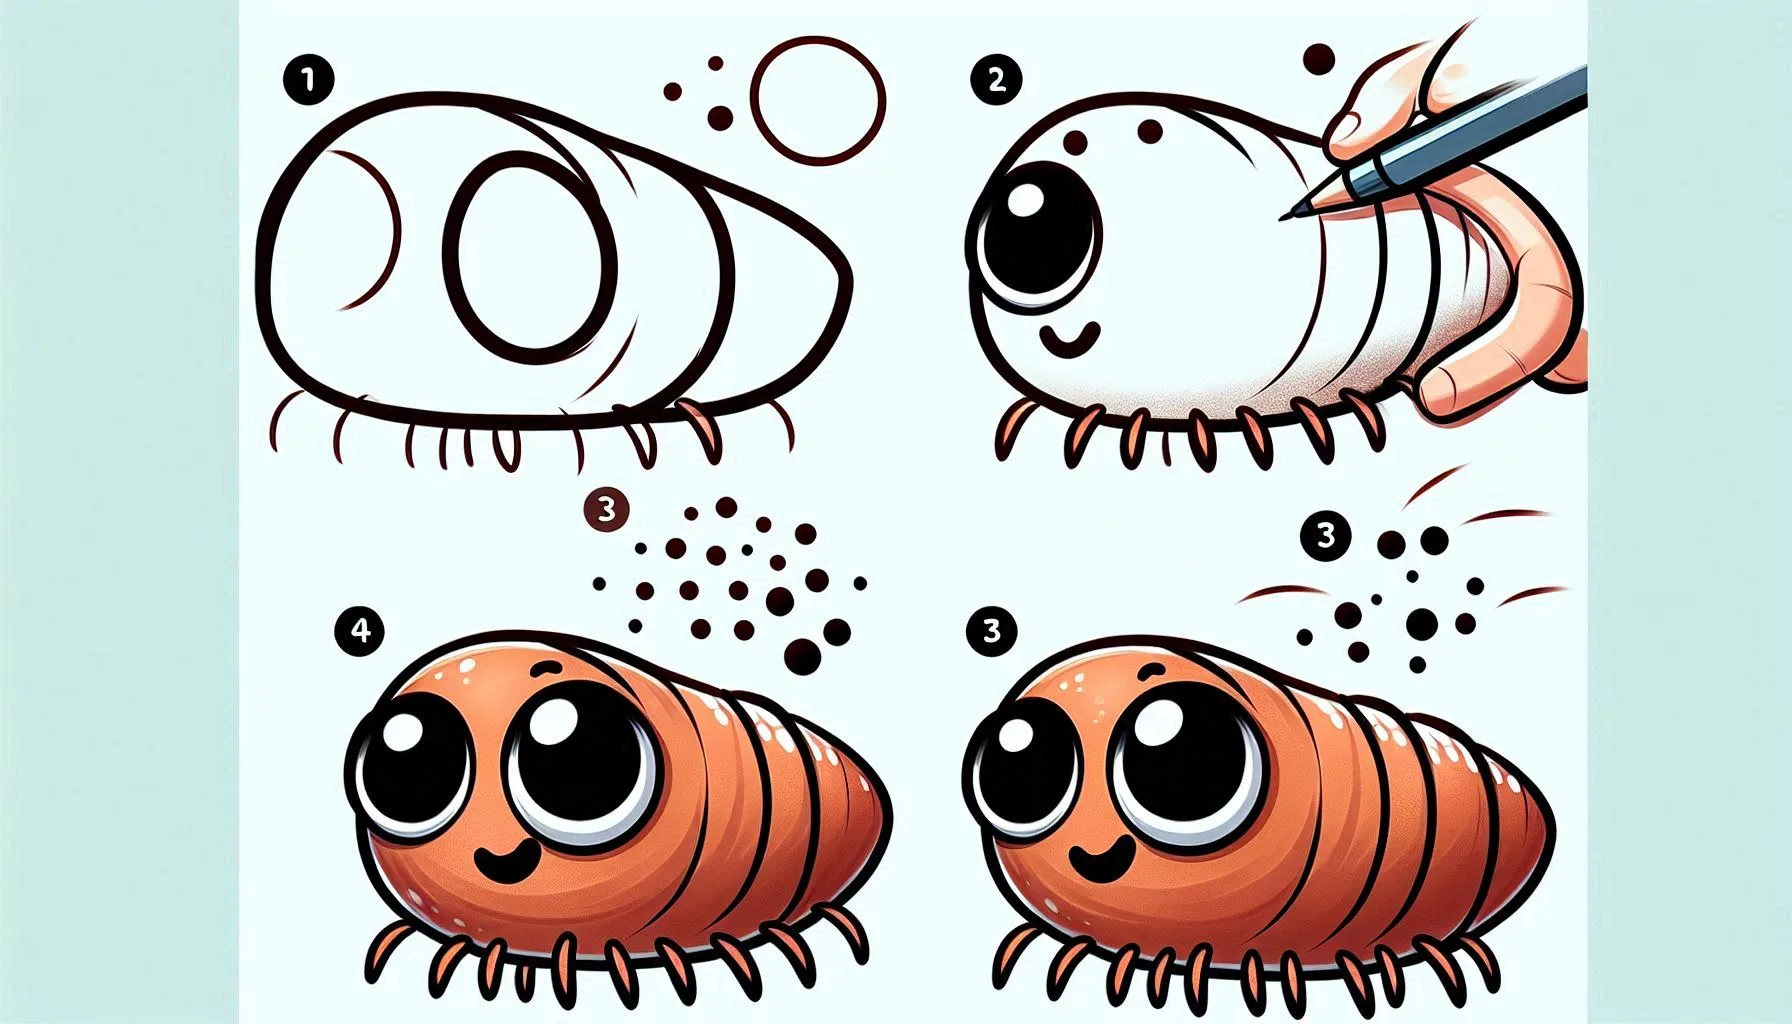
Creating a drawing of a copepod can be quite thrilling as these small, water-dwelling organisms possess captivating forms and distinct characteristics. Copepods, those little crustaceans, can be found in just about any body of water. They’re pretty important for keeping aquatic ecosystems in balance. Their distinctive physical features, including a rounded head, segmented body, and long antennae, make them a fascinating subject to sketch. Let’s explore the process of drawing a copepod step-by-step and create an engaging work of art. Get ready with your pencil, it’s time to begin!
The Delight of Sketching Shapes that are small and have intricate details
Copepods may be small, but their intricate shapes are fascinating to explore and capture in drawings. Exploring these forms is an excellent method to enhance your focus on specifics and polish your artistic abilities.
The Joy of Incorporating Delicate Features
Copepods possess delicate antennae, legs, and body segments that contribute intricate details to your drawing. Enhancing these features adds a touch of realism to your artwork and highlights the intricate details of these small beings.
The Joy of Exploring Aquatic Life
Exploring the world of aquatic life through drawing can be an exciting and educational experience. It allows us to appreciate the incredible diversity of creatures that inhabit our oceans, lakes, and rivers. Studying and drawing copepods allows you to discover an entirely different realm beneath the surface of the water!
Steps: How to Draw a Copepod
First, begin by drawing the head and eyes. Begin by sketching a small, rounded oval shape for the copepod’s head. Within the head, sketch two small circles to represent the eyes. Copepods often have large eyes relative to their size, which gives them a unique appearance.
Next, let’s move on to step 2: drawing the antennae. Starting from the top, sketch two slender lines that gently curve outwards to create the antennae. The antennae can have a gentle wave to mimic the copepod’s natural movement in water.
Step 3:
Illustrate the Body Segments. Create a lengthened oval shape that connects to the head to form the thorax, which is the central section of the copepod’s body. Next, create multiple smaller sections that extend from the thorax to shape the abdomen. It is important for these segments to gradually narrow as they approach the tail.
Step 4:
Attach the legs. Sketch a few delicate, gracefully arched lines that reach out from the sides of the thorax and abdomen to depict the legs. Ensure that multiple lines are drawn on each side to accurately depict the numerous small legs of copepods.
Step 5:
Now let’s add the tail. Finish off the abdomen with a tail that splits into two slender, sharp tips. The tail should have small bristles or hairs, which assist the copepod in navigating through the water.
Step 6:
Enhance with additional elements and create a more tactile experience. Incorporate delicate, subtle lines along the body segments to enhance the texture and achieve a heightened sense of realism. You can also add small bristles on the legs and antennae to capture the intricate details of the copepod’s anatomy.
Step 7:
Create an outline for your drawing. Look for a darker pencil or pen to outline your drawing, enhancing the visibility of the lines. Remove any extra guide lines to tidy up your drawing.
Step 8:
Add some color to your copepod! When it comes to coloring copepods, opt for light shades such as pale blues, greens, or grays to create a subtle shading effect. Using darker colors will help draw attention to the eyes and antennae.
Theme 1: Exploring the Delight of Creating Intricate and Intriguing Shapes
Let’s discuss the delight of creating intricate and detailed drawings! Copepods may be small, but their intricate shapes are captivating to sketch. By directing your attention towards these intricate shapes, you can produce a meticulous and captivating artwork. It’s fascinating to witness the way these tiny forms combine to create a one-of-a-kind and stunning creature!
Theme 2: The Thrill of Incorporating Delicate Details
Hello there! Let’s discover the joy of incorporating intricate details! Copepods possess delicate antennae, segmented bodies, and minuscule legs, which make them a captivating subject to sketch. By incorporating these intricate elements, you can enhance the authenticity of your artwork and highlight the intricacy of these tiny beings. It’s all about capturing the small intricacies that make the copepod so special!
Theme 3: Exploring the Fascinating World of Aquatic Life
Let’s explore the exciting world of aquatic life! Drawing copepods is a fantastic way to explore the incredible diversity of life in water and gain a deeper understanding of aquatic ecosystems. Exploring the fascinating world beneath the surface allows you to gain a deeper appreciation for the small creatures that have significant impacts on our oceans, lakes, and rivers.
Conclusion
Creating a drawing of a copepod can be an enjoyable and beneficial exercise for honing your skills in capturing intricate shapes and delicate details. By following these steps and adding your own creative touches, you’ll create a beautiful and intricate drawing. Keep practicing and you’ll improve your drawing skills and gain a deeper understanding of the captivating world of aquatic life. So grab your pencil, have a blast, and create a copepod that’s bursting with intricate features and irresistible charm!


Check out this super fun and simple guide to learn how to draw an isopod with easy step-by-step instructions! This fun tutorial offers easy steps, allowing young creators to dive into their imagination while discovering fascinating sea animals!


