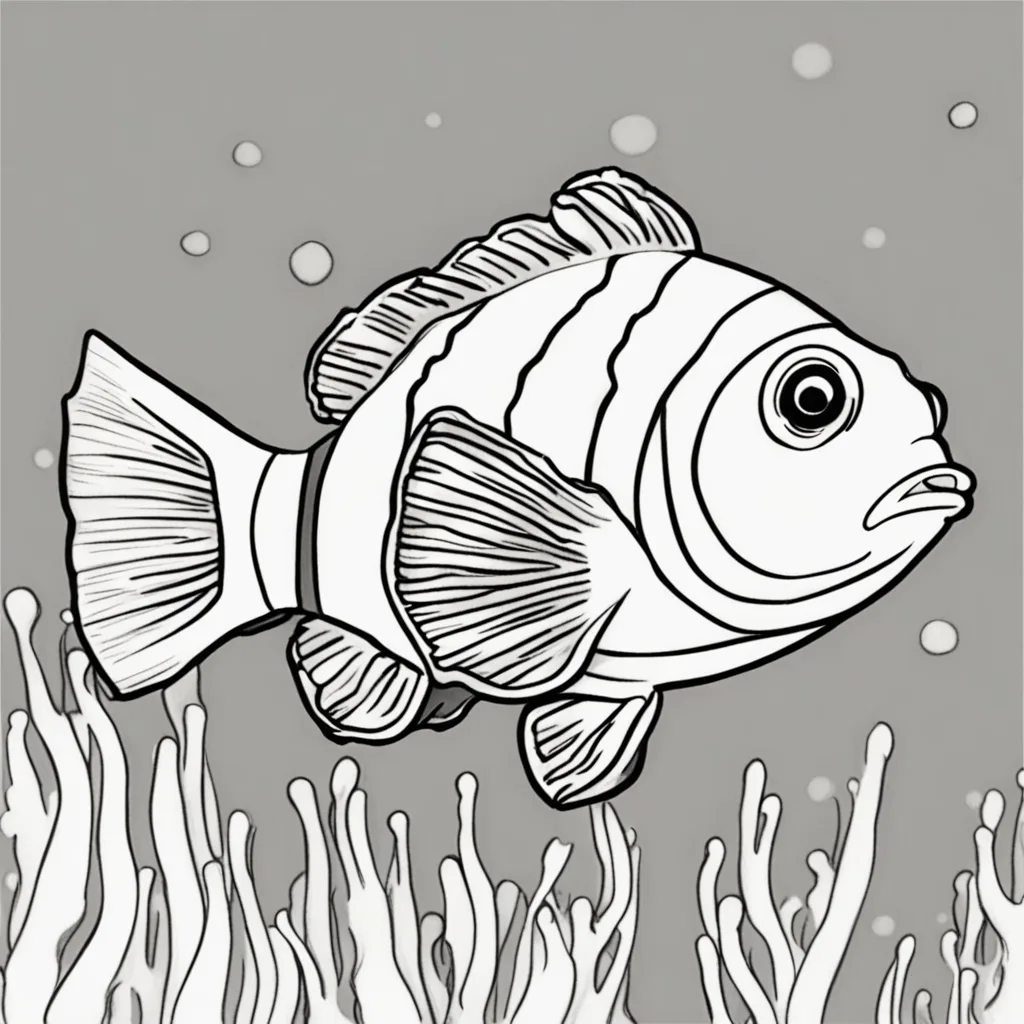
Creating a clownfish drawing is a wonderful way to capture the vivid hues and distinct markings of this beloved ocean creature. Famous for their vibrant orange and white stripes, clownfish are not just visually stunning but also quite easy to sketch. In this guide, we’ll take you through the process of drawing a clownfish, with a focus on capturing its unique characteristics and adding a touch of artistic creativity. Let’s embark on this vibrant artistic journey!
The Fascination of Clownfish Anatomy
Clownfish are recognized for their vibrant orange hue, eye-catching white stripes, and gracefully curved fins. By familiarizing yourself with these features, you’ll be able to produce drawings that are both precise and captivating. By exploring the clownfish’s anatomy, one can truly appreciate the charm and distinctiveness of this beloved reef fish.
The Joy of Capturing Vibrant Colors
Creating a clownfish drawing requires capturing its vibrant hues and unique patterns. This can be an enjoyable and imaginative challenge, improving your drawing skills and your knack for working with color. The more you emphasize these characteristics, the more vibrant and authentic your clownfish drawing will appear.
Discovering the Fascinating World of Clownfish Through Art
Clownfish display a wide range of patterns and hues, each possessing its own distinct characteristics. Exploring different color combinations and patterns while drawing clownfish can be quite exciting. This theme highlights the educational element of art and the opportunity to explore different facets of marine life through creative expression.
Steps: How to Draw a Clownfish
First, start by drawing the body.
Begin by sketching the fundamental outline of the clownfish’s body. Start with a stretched-out oval shape that has a gentle curve at the top and narrows towards the end. Clownfish have a slightly rounded body, so be sure to capture this shape. Create a small rounded section at the front for the head.
Step 2: Incorporate the Head and Facial Features
Place the head at the front of the body, giving it a gentle curve and a petite, tapered snout. Include a small, curved line to represent the mouth, placed close to the snout. Create a small circle for the eye, positioned slightly above the mouth. Clownfish have a unique black line encircling their eyes, so you can add a small, curved line around the eye to portray this characteristic.
Step 3: Now let’s add the fins.
Clownfish possess a variety of fins that greatly contribute to their distinctive appearance. When drawing the dorsal fin, create a gently undulating, triangular shape on the upper part of the body. Include the pectoral fins (located on the sides of the body) as gently curved, fan-shaped structures that extend outward. Make sure to draw the pelvic fins, which are positioned right behind the pectoral fins, with smaller and more rounded shapes. At last, create the tail fin with a gently split shape that stretches out from the back of the body.
Step 4: Perfecting the Form
Opt for a darker writing utensil to trace over your initial drawing and enhance the form of the clownfish. Refine the contours of the body, head, and fins. Make sure the fins have a smooth, graceful look. Remove any unnecessary guidelines or overlapping lines to tidy up your drawing.
Step 5: Incorporate the Stripes and Patterns
Clownfish have a unique appearance with their eye-catching white stripes. Create multiple curved, white stripes that run horizontally across the clownfish’s body. Ensure that the stripes are evenly distributed and flow along the body’s natural contours. Enhance the visual appeal by incorporating shading or delicate lines to depict the texture of the stripes.
Step 6: Add some vibrant colors to your clownfish!
Now it’s time to add some vibrant hues to your clownfish! Opt for a vibrant orange hue for the body, complemented by crisp white stripes. Accentuate the eyes and fins with bold black outlines. Add some color to the fins by using a combination of orange and white that complements the body. Enhance the artwork by incorporating shading techniques that bring depth and dimension to the piece. Be mindful of the interplay between light and shadow, as it adds a realistic touch.
Theme 1: Exploring the Fascinating Anatomy of Clownfish
Exploring the anatomy of a clownfish allows for a closer look at its rounded body, vibrant stripes, and unique fins. Understanding these features allows for the creation of a rich and intricate portrayal. Understanding the intricacies of clownfish anatomy can greatly improve your artistic abilities and deepen your understanding of these magnificent creatures.
Theme 2: Embracing the Joy of Capturing Lively Colors
The vibrant hues and intricate designs of a clownfish provide an enjoyable challenge for artists. Mastering these details demands imagination and expertise, making it an excellent activity for exploring different shades. Find joy in the process of bringing these vibrant hues to life in your artwork.
Theme 3: Discovering the Fascinating World of Clownfish Through Art
With a wide range of patterns and hues to choose from, drawing clownfish offers the opportunity to explore their diverse and captivating beauty. Exploring various color combinations and textures can add visual interest and educational value to your artwork. This theme focuses on the excitement of exploring different aspects of marine life through art.
In conclusion
Creating a clownfish drawing is a delightful and vibrant activity that lets you appreciate the beauty and liveliness of this beloved reef fish. By following the steps in this guide and paying attention to its anatomy, colors, and patterns, you can create a detailed and captivating clownfish drawing. Embrace the artistic process and let your imagination soar as you bring this delightful fish to life on paper!


Check out this fun and simple guide for drawing a salmon, complete with easy step-by-step instructions! This fun tutorial offers easy steps, allowing young creators to dive into their imagination while discovering the wonders of this amazing fish!


