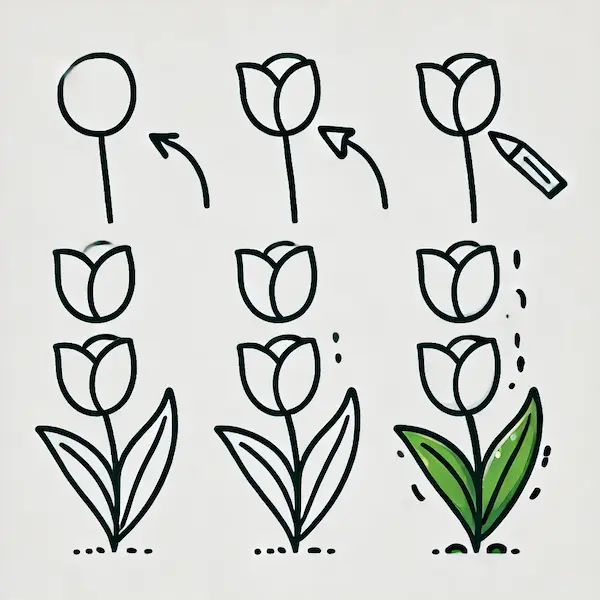
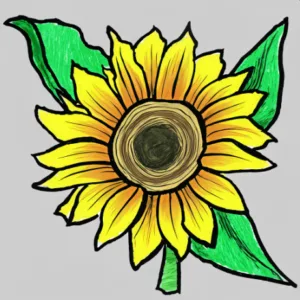
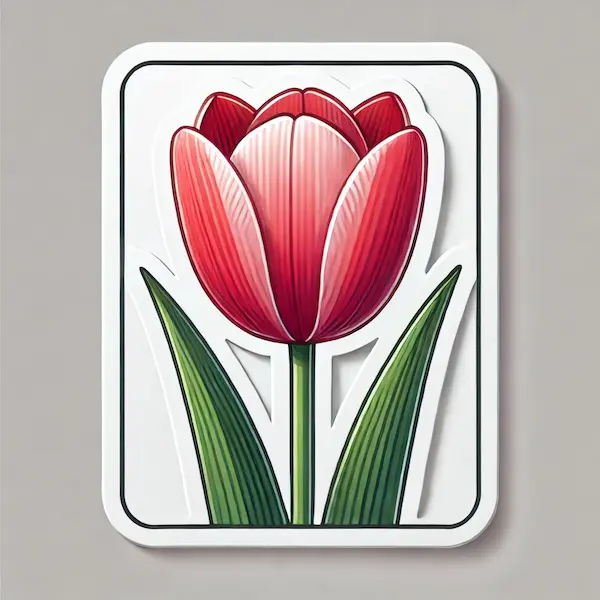
Tulips are among the most recognizable and lovely flowers of spring, celebrated for their graceful, cup-like petals and vibrant, joyful hues. Creating a tulip is a fantastic art project for young ones since it’s easy to do while still allowing for lots of imaginative expression. In this step-by-step guide, we’ll show young artists how to easily draw a tulip, making it fun and engaging. Whether it’s for a school art project or just a fun afternoon, learning how to draw a tulip will help young ones build confidence in their artistic skills.
Table of Contents
Supplies Utilized
To begin creating a tulip, collect these fun supplies:
Any type of drawing paper is perfect for fun creations!
A regular HB pencil for making the first drawing.
Fixer: To correct any oopsies or polish the artwork.
Fun Art Supplies: Use vibrant shades such as red, pink, yellow, or purple for the tulip, and a cheerful green for the leaves and stem.
Black Marker (optional): Use it to outline and finish the drawing for a neat appearance.
Ideas for Tulip Sketching
Tulip drawings can fit into a variety of exciting themes that young ones can discover:
Tulip Garden: Imagine a vibrant field filled with tulips of all shapes and shades, showcasing the delightful charm of a garden bursting with color and life.
A lone flower in a container: Draw a tall, graceful flower in a simple vase, showcasing its charm and elegance.
Tulip with Dewdrops: Sprinkle little dewdrops on the petals to give a vibrant, morning feel, making the drawing come alive.
Colorful Spring Scene with Flowers: Put the tulip in a lively spring setting filled with fluttering butterflies, chirping birds, and a sunny blue sky for a joyful backdrop.
Step-by-Step Instructions on How to Draw a Tulip for Young Artists
Let’s have fun drawing a lovely tulip with these easy steps!
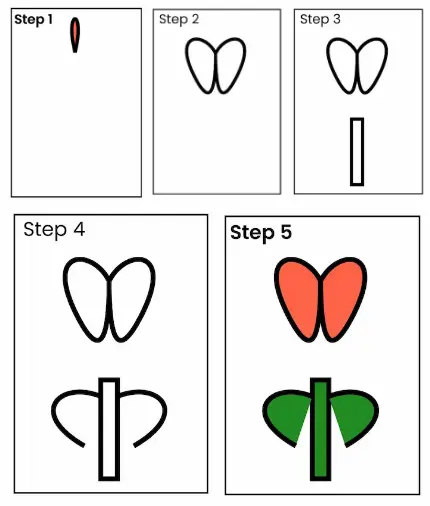
Step 1: Create the Bottom Shape of the Tulip
Begin by sketching a tiny, inverted “U” shape close to the upper part of your paper. This will be the foundation for the tulip’s fun, cup-shaped design.

Step 2: Make the Petals
From the bottom, create two soft, curved lines that rise up and come together at a point at the top. These two lines create the lovely outer petals of the tulip. Next, include two additional lines inside the first, bending them outward to create the inner petals. The petals of the tulip fit snugly together, so make sure to draw them close to achieve that fun layered look.

Step 3: Create the Cup Shape
To finish the tulip’s classic look, draw a gentle curve at the bottom of the “U” shape, linking the outer petals together. This will create the foundation of the tulip flower and make it look nice and plump.
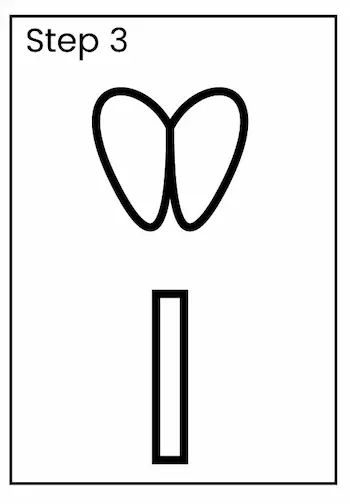
Step 4: Make the Stem
From the bottom of the flower, draw a straight line going down to show the stem. Tulip stems are tall and graceful, so create a line that is delicate and flowing.

Step 5: Time to Add the Leaves!
On both sides of the stem, sketch two big, stretched-out leaves. Tulip leaves are long, a little wavy, and have a pointy tip at the end. You can shape the leaves however you want, making them wide or narrow to create the perfect look for your tulip. They ought to bend a bit outward and upward, resembling the form of actual tulip leaves.

Step 6: Add Fun Details to the Petals and Leaves
To make your tulip more fun, draw some light lines down the middle of each petal, following their natural shape. These lines will make your tulip look even more lifelike! For the leaves, include lines that flow from the stem to the tips, mimicking the way veins naturally appear.
Step 7: Add Some Color to Your Tulip
Now it’s time to bring in some fun colors! Tulips are available in a bunch of bright colors, like red, yellow, pink, purple, and even white! Pick your most loved color for the petals and play with various shades to create a fun look—darker hues at the bottom of the petals and brighter ones at the tips. For the stems and leaves, use different shades of green, adding bright spots and darker areas for a lively effect.
Step 8: Include Fun Background Elements (Optional)
To make your drawing more exciting, consider adding fun background elements like extra flowers, green grass, or a cheerful blue sky! Adding butterflies or ladybugs can make your spring scene around the tulip even more cheerful and fun!
Find Your Spark
Here are some ways to spark creativity for tulip drawings:
Explore a Garden: Observing tulips in a garden or park can spark creativity for little ones, encouraging them to notice colors, shapes, and the growth of tulips.
Art Books: Many creative art books feature examples of flower drawings that can inspire young artists to explore various techniques for drawing tulips.
Flower Photos: Exploring images of tulips, whether in books or online, can help young ones appreciate the variety of colors and shapes that tulips can exhibit.
Shifting Seasons: Embrace the arrival of spring and the vibrant colors of blooming flowers to create delightful drawings of tulips in a lively, natural setting, showcasing the freshness of the season.
FAQs: How to Create a Tulip Drawing
- Is it simple to draw a tulip?
Absolutely! Tulips consist of simple shapes such as curved lines and ovals, making them a delightful and enjoyable flower to draw. - Which colors work well for drawing tulips?
Tulips are available in so many fun colors—red, yellow, pink, purple, orange, and even more! Little ones can pick their favorite color or blend various shades to make a one-of-a-kind tulip. - What are some ways to enhance the realism of my tulip?
To make your tulip look super real, pay attention to shading and adding some fun texture! Apply deeper colors at the bottom of the petals and leaves, while using brighter hues at the tips to create a sense of dimension in your drawing. - Is it possible for me to create other flowers alongside my tulip?
For sure! Tulips are so pretty when they grow next to other cheerful spring blooms like daffodils or lilies. Creating a bunch of flowers in one artwork can make it more lively and captivating. - What steps can I take if I mess up?
Oopsies are just a fun part of creating art! Just grab an eraser to correct any mistakes and continue on your adventure! Sometimes oopsies can spark surprising fun in your art projects!
Case Study: Creative Flower Class
A local art center hosted a tulip drawing class for young artists aged 5-10. The instructor guided the little ones step-by-step on how to draw tulips using simple shapes. After learning the basics, they were encouraged to experiment with different colors and backgrounds.
Result:
Boosted Self-Esteem: The little ones were thrilled with their finished artwork, feeling a sense of accomplishment in their skill to create a lovely flower.
Imagination: Many young artists added their own unique touches to their tulips, such as combining colors and including other flowers or insects in their artwork.
Skill Development: The step-by-step approach helped them develop fine motor skills and learn about shapes, proportions, and shading.

