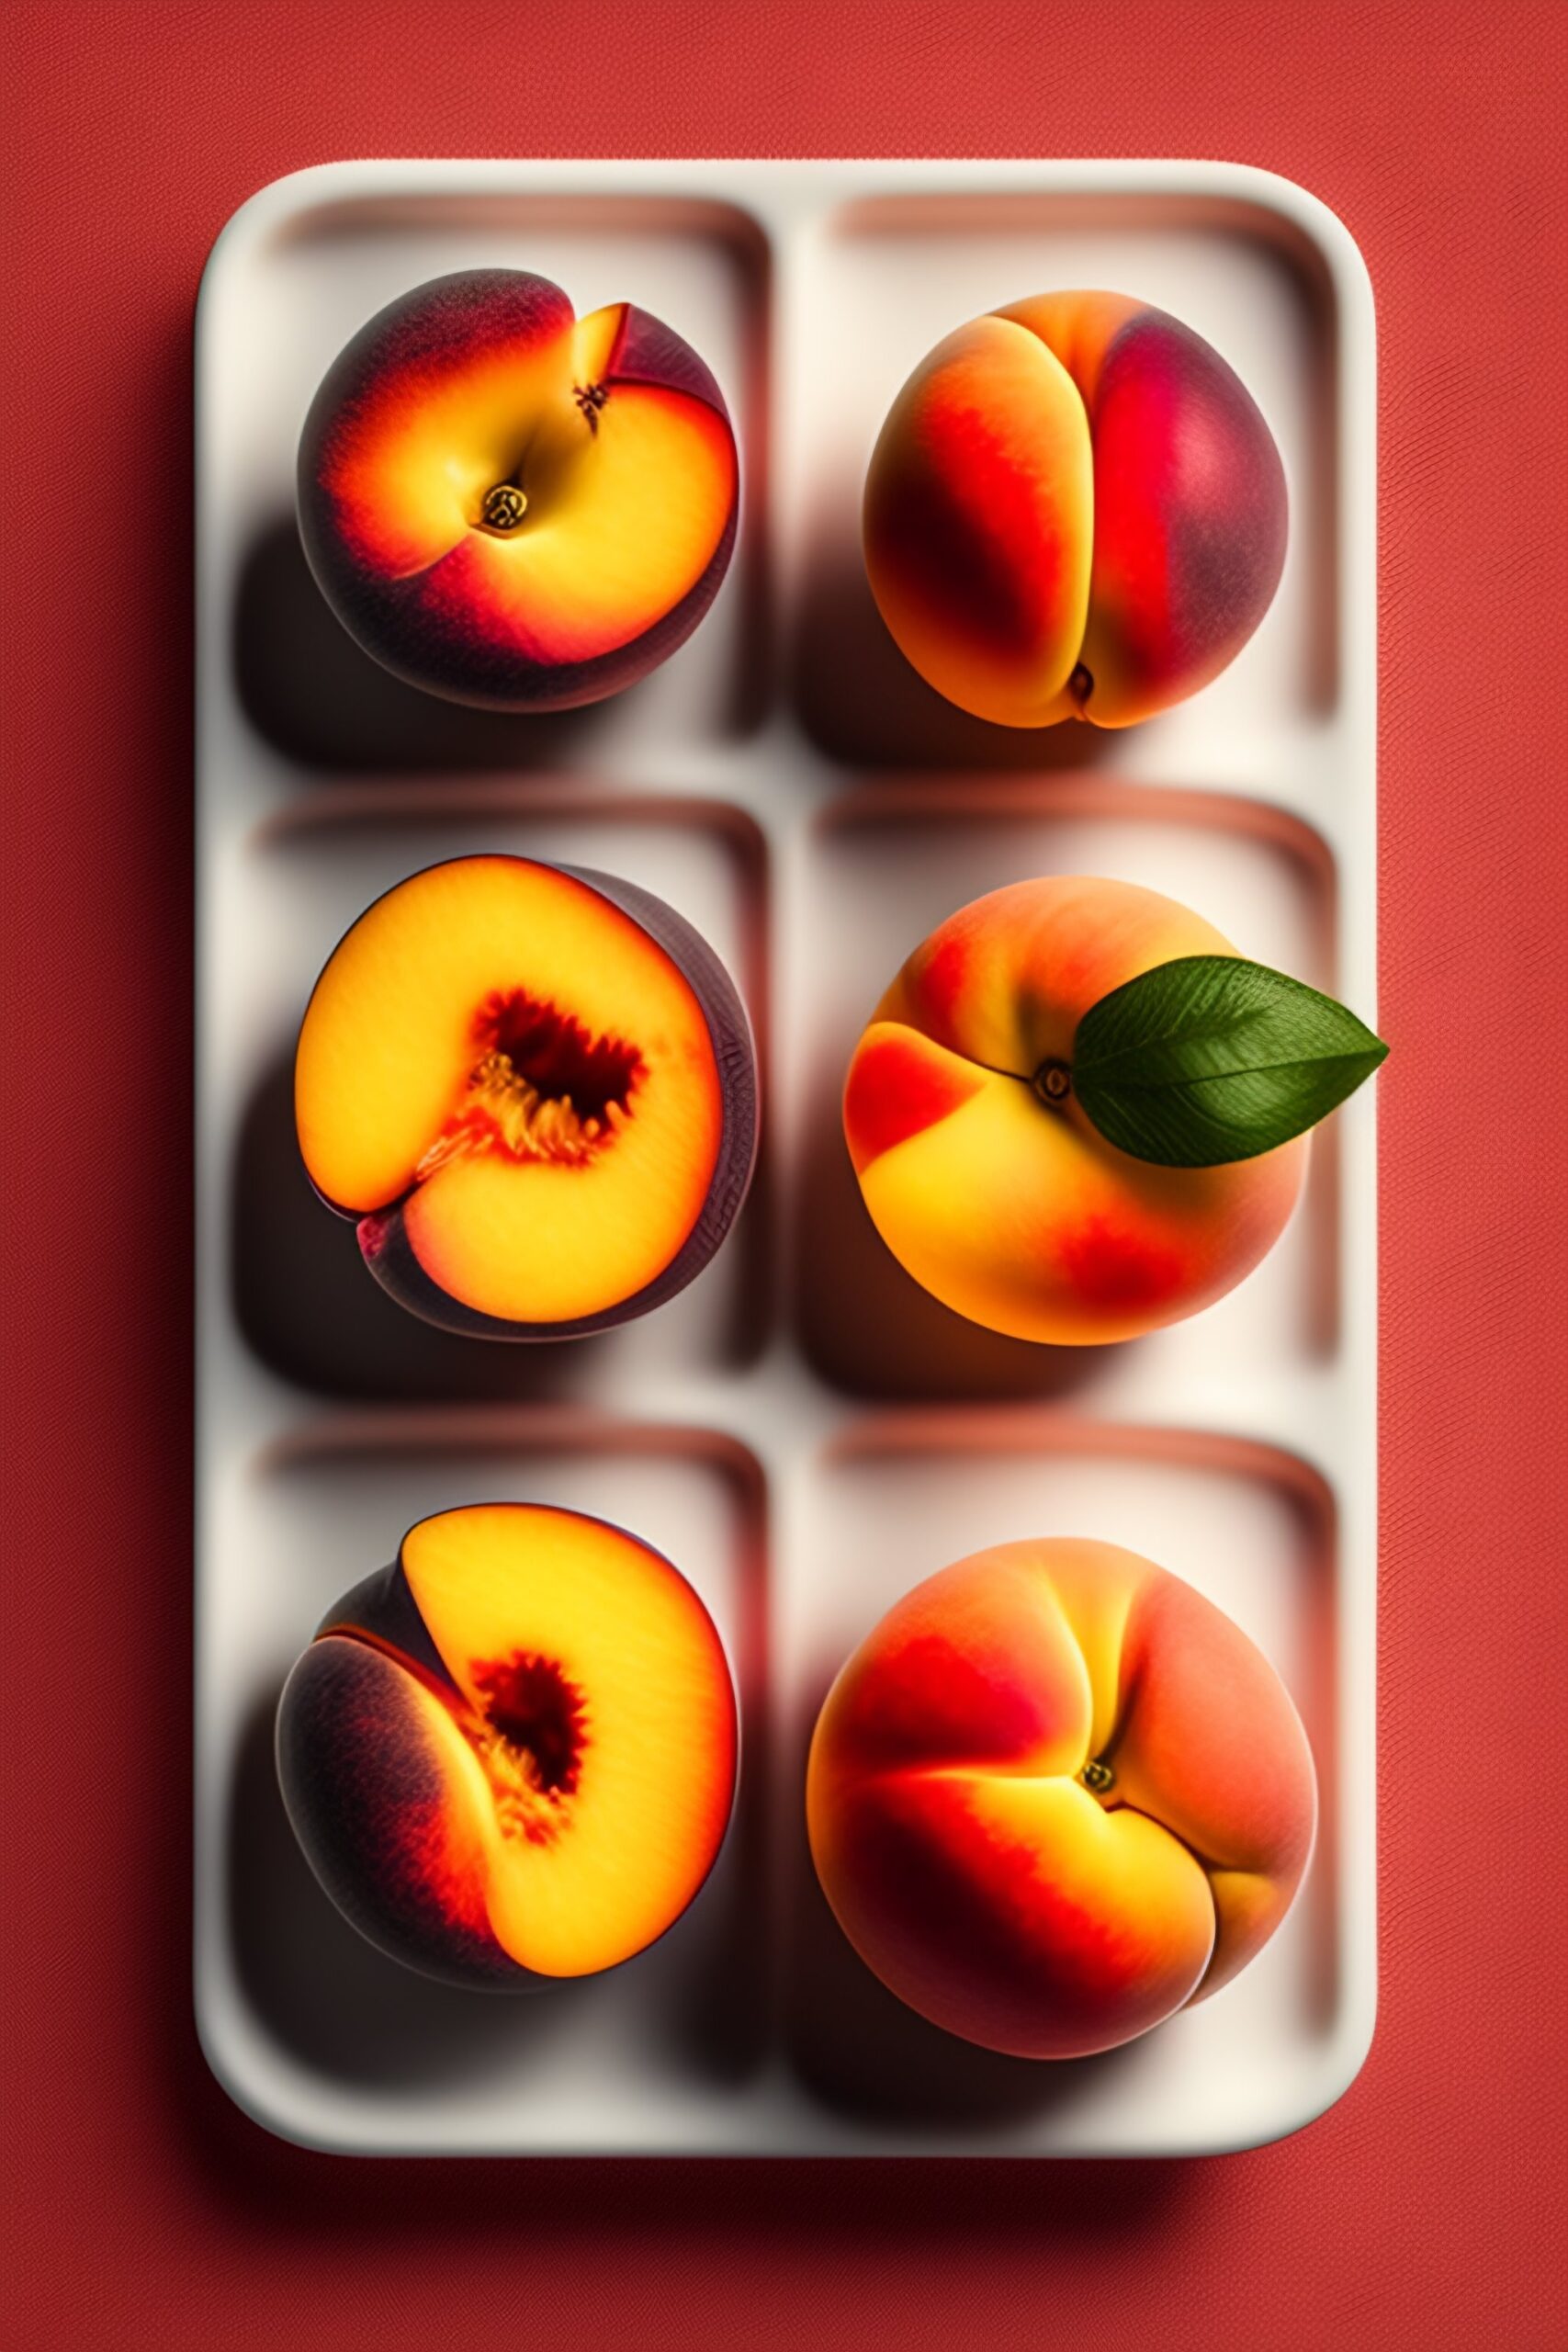
Drawing can be a fun and creative activity for anyone, especially those who are just starting out. Exploring the world of fruits through drawing can be a great way to begin your artistic journey. One fruit that stands out for its visual appeal and delightful taste is the peach. In this easy-to-follow tutorial, we’ll guide you through the process of drawing a lifelike and delicious peach.
Table of Contents
Required Materials:
- Choosing between drawing paper or a sketchbook
- Pencils (HB or 2B for sketching, and a darker pencil for final lines)
- Eraser
- Optional blending tool
Step 1: Start by sketching the basic shape
Start by sketching a slightly elongated circle or oval shape in the middle of your paper. This shape will be the central part of the peach. It’s perfectly fine if the shape isn’t perfectly round, as peaches often have unique contours.
Step 2: Creating the indentation.
To create a more lifelike look for your peach, you can add a slight depression at the top to represent where the stem would be. This will help clarify the location where the peach is attached to the tree.
Step 3: Incorporate the Seam
Now, sketch a gentle curve that begins at the highest point of the dent and continues along the peach’s side. This line represents the natural seam or crease that runs along the fruit.
Step 4: Draw the Colouring
Peaches have a smooth, delicate texture. To capture this, create delicate, brief, and gently arched lines that trace the shape of the peach. These lines will give the fruit’s surface a soft and textured appearance.
Step 5: Apply the Colour Gradation
Peaches have a stunning colour gradient that transitions from light to dark. To accomplish this, utilise your pencil to add shading to the peach. Begin by gently adding a soft peach or pink tint to the entire surface. Then, slowly deepen the shading towards the indentation and along the seam to add depth and dimension.
Step 6: Enhance the Brilliance
To enhance the appearance of your peach, add a highlight on the opposite side of the shading. Remember to leave a small, curved area unshaded to capture the beautiful play of light on the fruit’s surface.
Step 7: Perfect the Finer Points
Now, enhance the main lines and shading with a darker pencil to give them more definition. You can also utilise a rubber to tidy up any stray marks or lines.
Step 8: Mix (Optional)
If you’re looking to achieve a smoother, more realistic look, you can try using a blending tool or your finger to gently blend the shading. This will help create smoother transitions between light and dark areas.
Step 9: Include the Leaf (Optional)
If you want to finish your peach drawing with a leaf, simply add a small, elongated shape at the top of the peach. Adding veins to the leaf can enhance its level of detail.
Step 10: Complete Your Drawing
Take a careful look at your drawing and make any necessary changes. Make sure the shading, details, and proportions meet your preferences. Once you’re happy with it, your peach drawing is finished.


FAQs How to draw peach
Which type of paper would be ideal for drawing a peach?
Feel free to use any kind of drawing paper or sketchbook for this project. However, using a heavier paper with a tooth (texture) can enhance shading and blending results.
Can coloured pencils be used to draw a peach?
Indeed, coloured pencils are a fantastic choice for creating a beautiful peach drawing. They offer a wide range of vibrant colours that can bring your artwork to life. Opt for peach tones such as pink, orange, and brown to achieve the desired outcome.
Is there a particular sequence for shading the peach?
Begin by applying a gentle base layer of color, and then gradually deepen the shades in areas where shadows naturally appear, like near the indentation and along the seam. Keep in mind that peaches have a gradient, with the darkest areas typically found near the stem and the seam.
Can I explore different colours and patterns when drawing a peach, or should I aim for a realistic representation?
Feel free to let your imagination run wild! While this guide emphasises the process of drawing a realistic peach, art provides a platform for individual creativity and self-expression. Feel free to explore various colours and patterns to create a one-of-a-kind, artistic representation of a peach.
Is it possible to utilise a reference image to ensure accuracy?
Using a reference image can be extremely beneficial, particularly if you’re aiming for a realistic outcome. Look for photos of peaches and use them as a visual guide to get accurate proportions and shading.
How can I achieve a smooth, luxurious texture on the peach?
To achieve a soft and velvety texture, try using short and slightly curved lines for your shading technique. Adjust the line density to create a gradient effect from the surface to the highlighted area. This method will give the peach’s skin a fuzzy appearance.
Is there a particular sequence for adding the leaf?
You have the flexibility to incorporate the leaf at any stage of your drawing. It’s usually a smart approach to start by drawing the peach and then adding the leaf as a final detail.
What steps can be taken if an error is made during the process of drawing the peach?
Errors are bound to occur in artistic endeavours, and that is completely acceptable. Using a rubber will help you rectify any mistakes or smudges. If an error is significant, you always have the option to begin anew on a clean sheet of paper.
How can I make my peach drawing more eye-catching?
Perhaps you could try changing up your background. A carefully selected background can elevate your peach drawing. You might also consider incorporating multiple peaches, each in different stages of ripeness, for added visual interest.
Can I hang up my peach drawing?
Definitely! Once your peach drawing is finished, you can frame it and proudly showcase it as a beautiful piece in your home, or you might even think about gifting it to someone who truly values your artistic skills.
Keep in mind that art is all about expressing yourself, so don’t hesitate to customize these steps to match your own unique style and preferences. Enjoy your artistic endeavors!

Conclusion
Creating a lifelike depiction of a peach may appear challenging at first, but with dedication and perseverance, you can master the art of capturing the intricate details of this delicious fruit. As you explore various shading techniques and pay attention to details, you’ll notice a continuous improvement in your artistic skills. So, get ready to unleash your creativity and enjoy making a succulent peach drawing that looks absolutely delicious!


