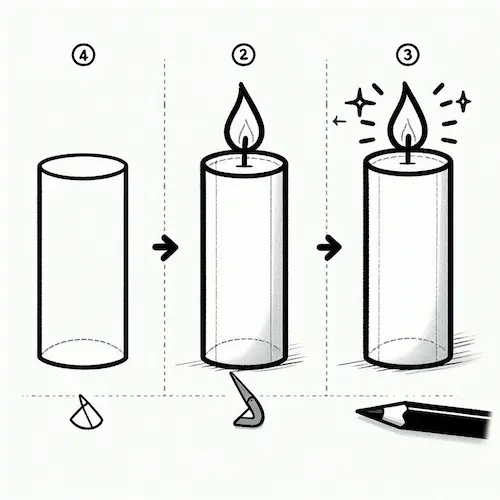
Creating a candle 🕯️ is a fun activity that allows you to explore basic shapes, shading, and the interaction of light and shadow. Candles shine with a soft light and a calming appearance, perfect for creating drawings that evoke a snug, tranquil vibe. Here’s a fun guide to help you draw a candle, from the basic shape to the flickering flame and little highlights. 🌟✨
Table of Contents
Step by Step: How to Draw a Candle
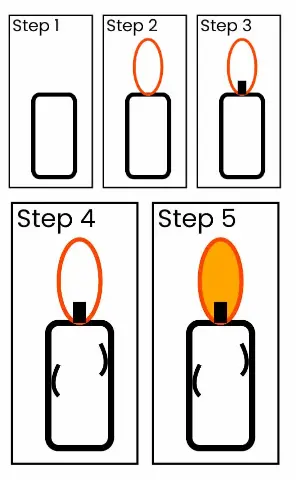
Step 1: Begin with the Candle Shape
Sketch the Shape of the Candle Body:
- Start by drawing a basic upright shape for the candle’s main part. Make two tall, straight lines that stand a little distance apart. Next, join them together with a smooth, curved line at both the top and the bottom.
- Start with gentle strokes to allow for easy changes later on.
Place the Upper Part of the Candle:
- For a candle that’s burned down a bit, draw a curved line along the top edge of the cylinder to show where the wax has melted. This can appear as a gentle curve resembling a shallow “U” shape.
- Sketch a tiny circle or oval at the top to create the base of the wick. 🔥
Sketch the Wick:
- At the very top of the candle, make a little straight line going up for the wick. This line should be slim yet bold enough to catch the eye, as the wick is usually a deep black or dark gray.

Step Two: Add the Spark
Sketch the Simple Flame Outline:
- Begin at the wick and create a long, teardrop shape for the flame. The bottom of the flame should be broader and smoothly narrow to a tip at the top.
- Make the shape a bit wavy to give the flame a lively appearance, as if it’s playfully flickering. 🔥
Include Extra Layers of Inner Glow:
- Draw a smaller teardrop shape inside the main flame to show the hottest part, which is often lighter or almost white.
- You can add another, even tinier teardrop near the wick for extra fun!

Step Three: Make the Wax Drips and Fun Details
Apply Wax Drips Down the Side of the Candle:
- Sketch some playful, wiggly lines flowing down from the top of the candle to give it that fun, melted wax look.
- Make each drip a little unique for a fun, melted appearance. Some drips can be longer and others shorter to mix things up a bit.
Perfect the Wax Drips:
- Join each wax drip to the candle body with gentle, flowing lines, creating a harmonious blend with the surface.
- Include some tiny, rounded forms at the tip of each drip to create the impression that the wax is becoming thicker as it cools down.

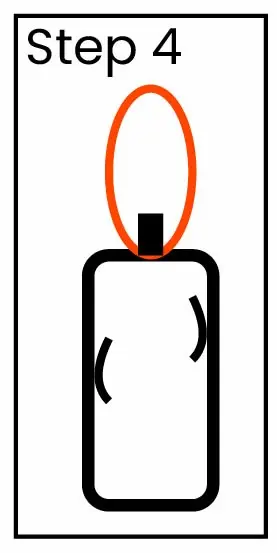
Step 4: Adding Fun Shadows and Bright Spots for a Lively Look
Color the Candle Body:
- Figure out where the light is coming from, as it will be shining from the candle flame. Make sure to darken the side of the candle that’s away from the flame to create a nice, rounded appearance.
- Apply a gentle, gradual shading method to depict the round shape, ensuring the area close to the flame remains a bit brighter. 🎨
Create Shadows from the Wax Drips:
- Add a soft touch of color around the edges of the wax drips to create a sense of depth and help them pop against the main candle body.
- Add a bit of darker shading where the wax drips touch the candle surface, since this spot would catch less light.
Color the Candle:
- Color the wick with a deep hue, nearly black, to ensure it pops against the glow of the flame.
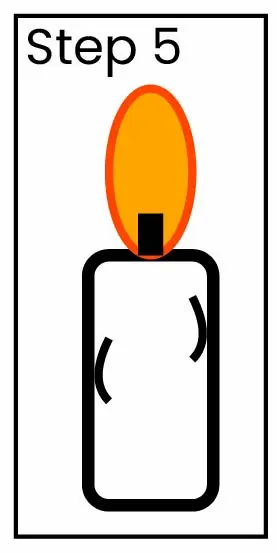
Step 5: Ignite the Spark
Enhance the Flame with Vibrant Hues or Shadows:
- To create a lifelike appearance, the outer section of the flame should be a gentle yellow or orange, while the inner section appears nearly white or a light yellow.
- Gently color the outer parts of the flame while leaving the middle bright to represent the warmth. 🔆
Make it Shine Bright:
- To create a glowing effect for the flame, gently shade around its edges using soft strokes, blending outward for a smooth look.
- This fun “glow” effect brings a cozy vibe to your drawing, making the candle appear as if it’s truly shining bright! ✨
Shine a Light on the Candle’s Glow:
- Put little pops of color along the edge of the candle that’s nearest to the flame. A few thin, bright lines or small spots of white will make the candle look shiny and fun!
- Grab an eraser to gently add a soft glow along the edge of the candle and on spots where light would naturally bounce off.
Step 6: Sketch the Shadow of the Candle
Make a Ground Shadow:
- Sketch a shadow under the candle to help it feel grounded on the surface. The shadow should stretch a little away from the flame and be the darkest near the candle base.
- Make sure to use gentle shading and smoothly blend the shadow outward for a natural appearance.
Include a Gentle Glow from the Fire:
- To create a magical atmosphere, add a gentle shadow or glow around the candle’s sides, as if the warm light from the flame is playfully lighting up its surroundings. 🌟
Step 7: You Can Choose to Do This If You Want: Include a Decorative Holder or a Fun Backdrop
Sketch a Candle Holder:
- For a timeless vibe, include a basic candle holder or a metal stand. This can be a fun dish or a playful holder around the base.
- Color the holder based on the material you want to show, such as metal or ceramic. Apply deeper tones beneath the candle where it connects with the holder. 🕯️
Include a Setting or Atmosphere:
- To create a warm atmosphere, add soft, dark shading around the candle to highlight the flame.
- Make sure the background is soft and gentle so the candle shines bright and captures all the attention.
Fun Ideas for Making Your Candle Drawing Unique
- Play Around with Candle Shapes: Have fun creating various candle shapes, such as long, skinny taper candles or cute, round votives! 🕯️
- Experiment with Different Flame Sizes: A tiny flicker can create a soft and cozy vibe, while a big, lively flame makes it seem like the candle is full of excitement.
- Brighten Up with Cheerful Hues: When incorporating colors, use gentle oranges and yellows for the flame and a cozy beige or ivory for the candle body. 🌈
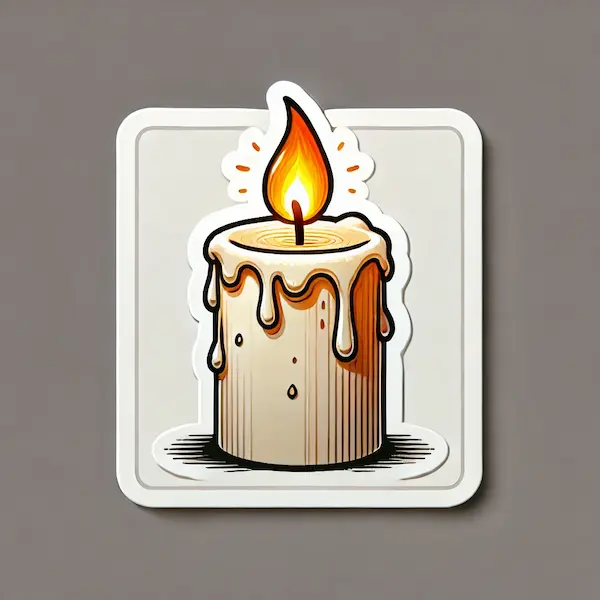
Sketching a candle focuses on capturing the soft, warm glow that lights up the surroundings. By following these steps and adding your special flair, you’ll create a delightful and lovely candle drawing that brings joy and serenity to your artwork. Have fun creating! 🎨🕯️

