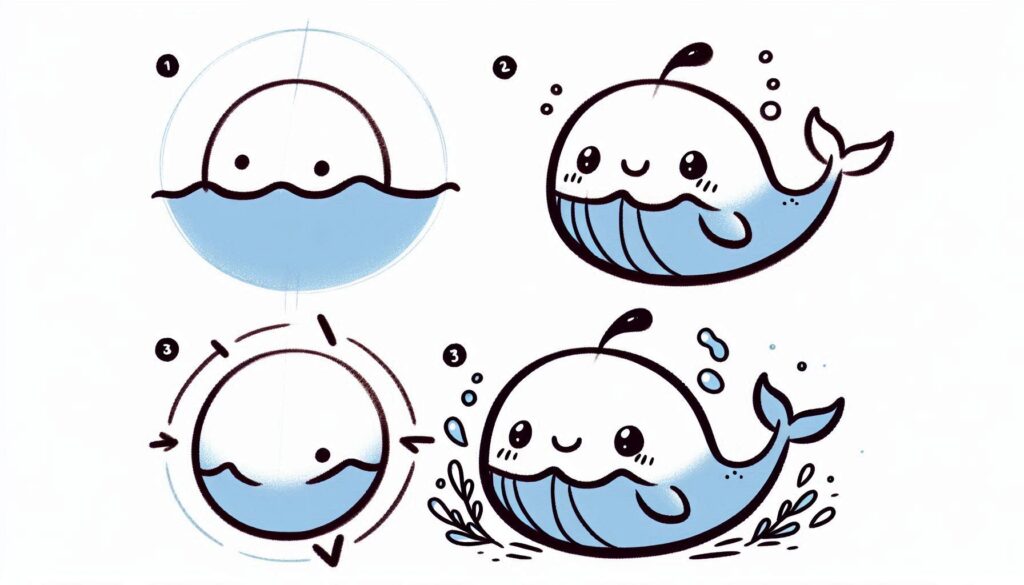
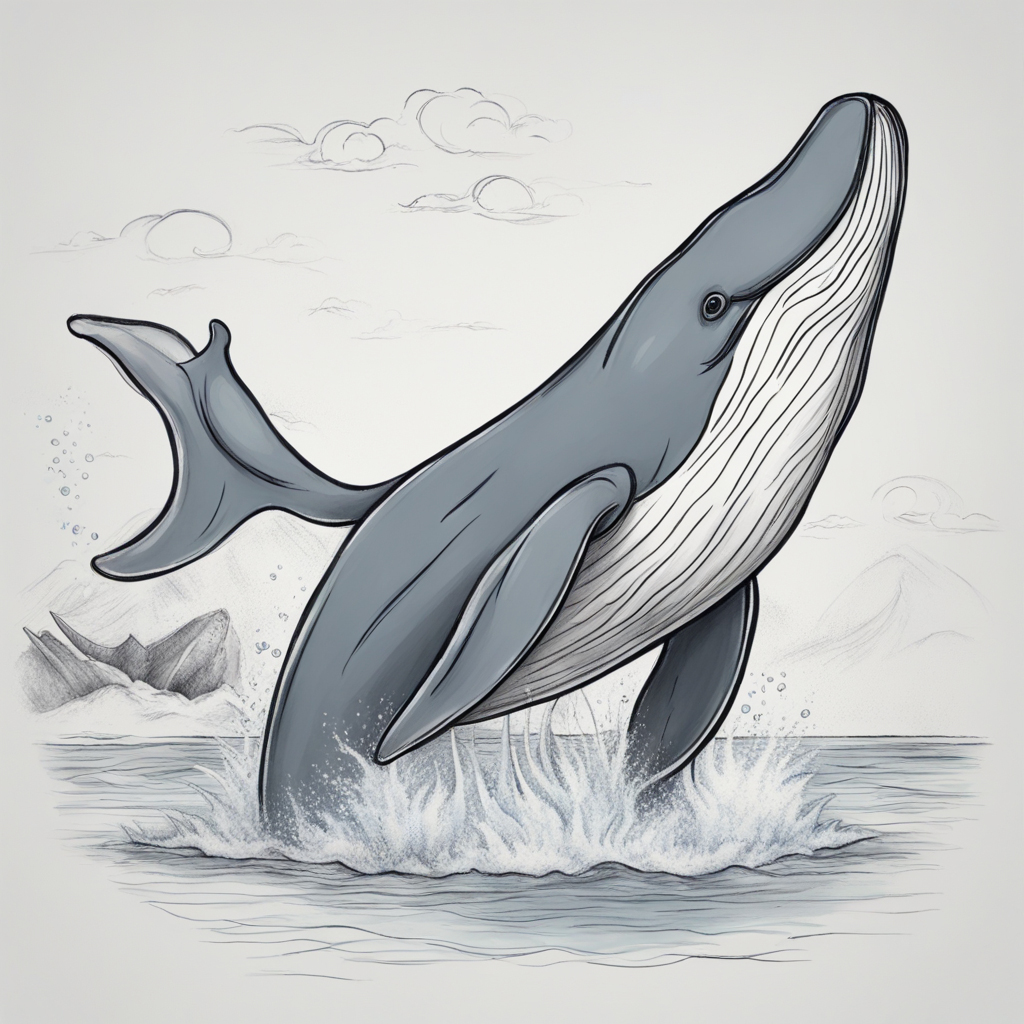
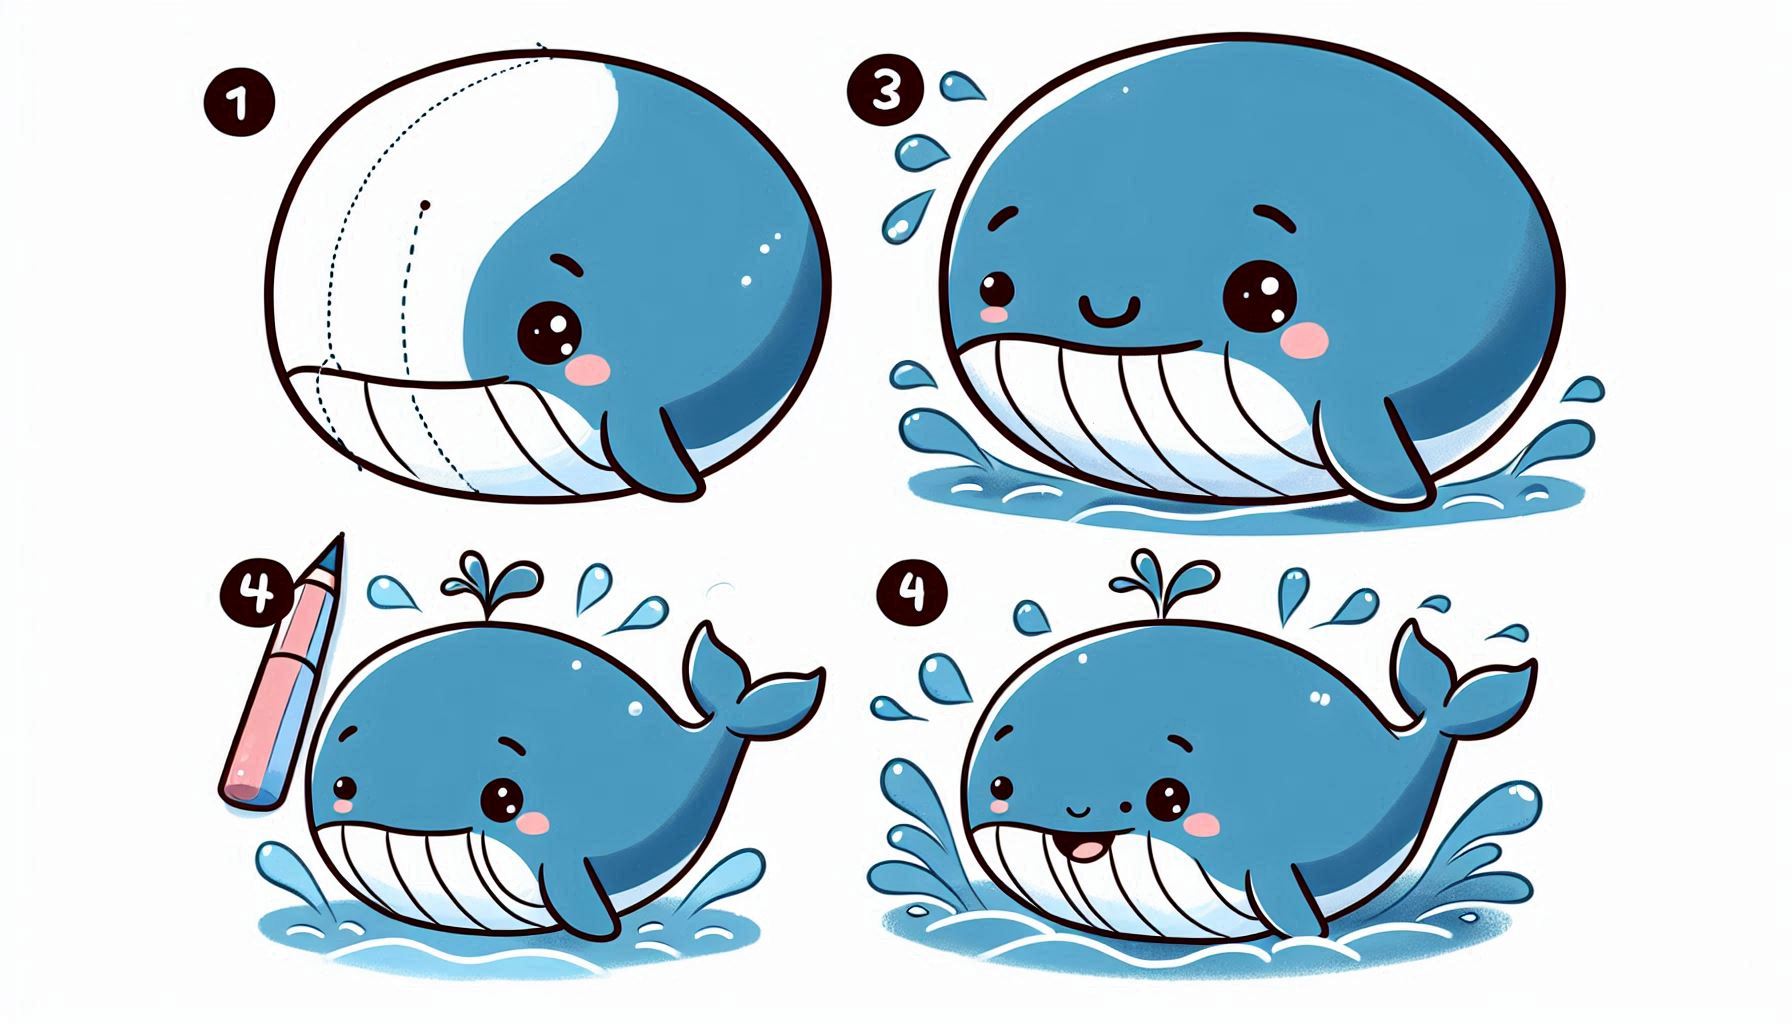
How to draw whale, Creating a masterpiece of a whale is a thrilling journey as these majestic sea creatures possess a captivating and elegant allure. Whales provide a wonderful chance to hone your skills in capturing the beauty of form and movement, with their majestic bodies, graceful fins, and serene expressions. Let’s explore the process of drawing a whale step-by-step and capture the essence of this magnificent creature on paper. Get ready to unleash your creativity and make a big impact with your artwork!
Table of Contents
The Joy of Creating Oversized Artwork
Whales have large, smooth bodies that are enjoyable to draw. Their size and shape make them a fascinating subject, and mastering the art of sketching these magnificent creatures will enable you to truly capture their awe-inspiring presence.
The Challenge of Incorporating Graceful Fins
Whales possess elegant, flowing fins and tails that contribute to their gracefulness. Practicing drawing these features can help improve your ability to create smooth, curved lines and capture the fluidity of movement. It’s an enjoyable challenge to create the illusion of your whale gracefully moving through the water!
The Delight of Incorporating Expressive Details
Whales possess unique characteristics such as their blowholes, tail flukes, and smooth skin texture. Enhancing these details in your drawing can truly bring your artwork to life, capturing the gentle and serene nature of the subject.

Steps: How to Draw Whale
Step 1:
Begin by sketching a sizable, stretched-out oval to represent the whale’s body. This will be the focal point of your drawing and will assist you in achieving accurate proportions.
Step 2:
Include a smaller oval shape towards the front of the large oval to create the whale’s head. Connect the head to the body with a graceful, flowing line to achieve a seamless transition.
Step 3:
Now let’s add the tail. Draw a curved line from the back of the body to form the tail. The tail splits into two flukes at the end. Include curved lines in the tail to show the texture and distinctness of the flukes.
Step 4:
Draw the fins. Extend two curved lines from the sides of the body to create the pectoral fins. It is recommended that the fins have a wide shape and gradually narrow towards the ends. Add a slightly larger, curved fin on the top of the body to create a dorsal fin.
Step 5:
Include the blowhole. Create a small, oval-shaped opening on the top of the whale’s head. This is where the whale breathes, and it’s a crucial feature to include.
Step 6:
Now, let’s add the finishing touch by drawing the mouth. Incorporate a subtle curve towards the front of the head to create the whale’s mouth. Whales possess a sleek, gracefully curved mouth that contributes to their tranquil appearance.
Step 7:
Now it’s time to add the eyes. Create a small, circular eye on the side of the whale’s head. Position it just behind the blowhole, ensuring it captures the gentle expression of the whale.
Step 8:
Enhance the texture of the whale’s skin. Create some graceful, flowing lines along the body to convey the whale’s sleek and polished skin. Whales frequently display a subtly ribbed appearance, so include a few lines to capture this unique texture.
Step 9:
Enhance your drawing by outlining it with a darker pencil or pen, which will make the lines more prominent. Remove any extra guide lines and perfect the details to give your whale a neat and polished appearance.
Step 10:
Add some color to your whale! Consider using shades of blue or gray for the body, and incorporating lighter tones on the underside to create a sense of depth and dimension. Using a slightly darker shade for the fins and tail will help accentuate the intricate features.
Theme 1: Exploring the Joy of Creating Oversized Shapes
Yay! Let’s discuss the joy of creating big shapes! Whales have impressive, sleek bodies that provide an interesting and fun artistic challenge to capture. By emphasizing these large shapes, you can effectively capture the awe-inspiring presence of the whale and ensure accurate proportions. It’s fascinating to witness the way these massive structures combine to form a stunning and lifelike whale!
Theme 2: The Excitement of Incorporating Graceful Fins
Hello there! Let’s dive into the exciting world of adding flowing fins! Whales possess fins and tails that contribute to their graceful and smooth motion. Practicing drawing these features will improve your ability to create smooth, curved lines and capture the graceful movement of the whale as it glides through the water. It’s an enjoyable method to give your whale the appearance of effortless movement!
Theme 3: Emphasizing the Delight of Incorporating Expressive Details
Let’s explore the excitement of incorporating vibrant details! Whales possess unique characteristics such as blowholes, tail flukes, and smooth skin texture that make them captivating subjects for drawing. By including these specific details, your whale truly comes alive, showcasing its gentle and tranquil nature. It’s all about capturing the majestic and calming essence of your whale, just like it is in the ocean!
Conclusion
Creating a whale illustration can be an enjoyable activity that helps improve your ability to depict large forms, graceful fins, and intricate features. By following these steps and adding your own creative touches, you’ll create a stunning drawing of a whale. Keep in mind that with practice, your drawing skills will improve, allowing you to create realistic sea creatures. So grab your pencil, enjoy yourself, and create a whale that exudes elegance and charisma!

For a delightful and simple guide on how to draw an elephant, you can find step-by-step instructions here. This fun tutorial offers easy-to-follow instructions, allowing young creators to dive into their imagination while discovering more about these gentle giants!


