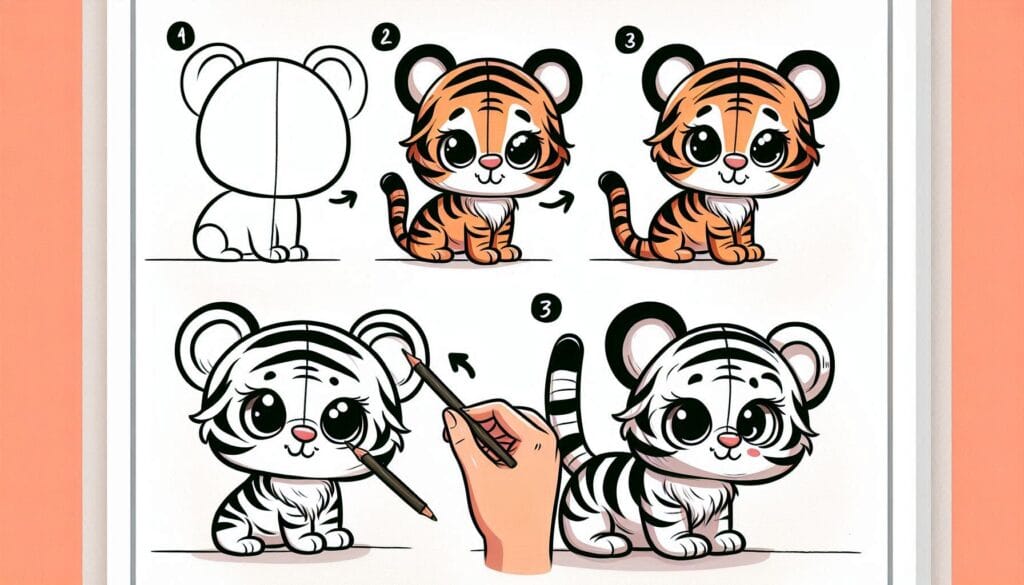
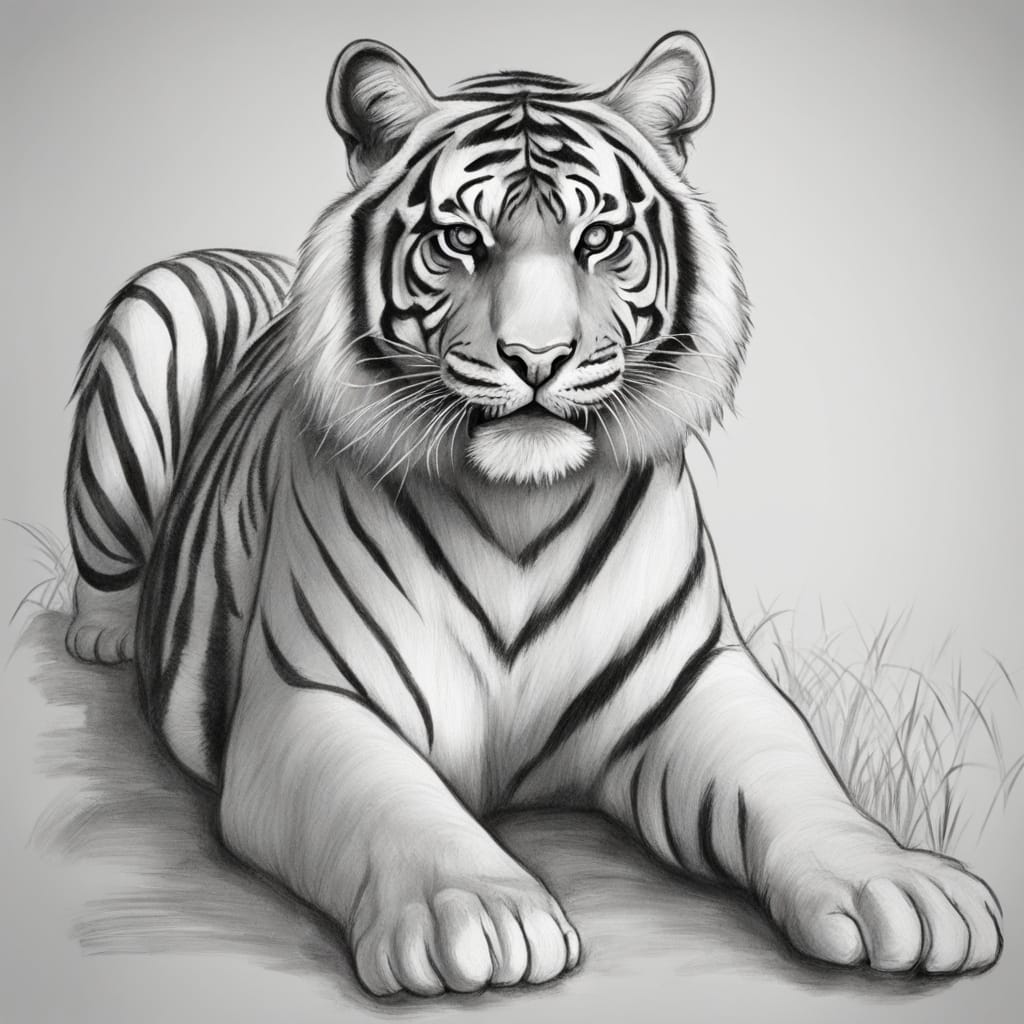
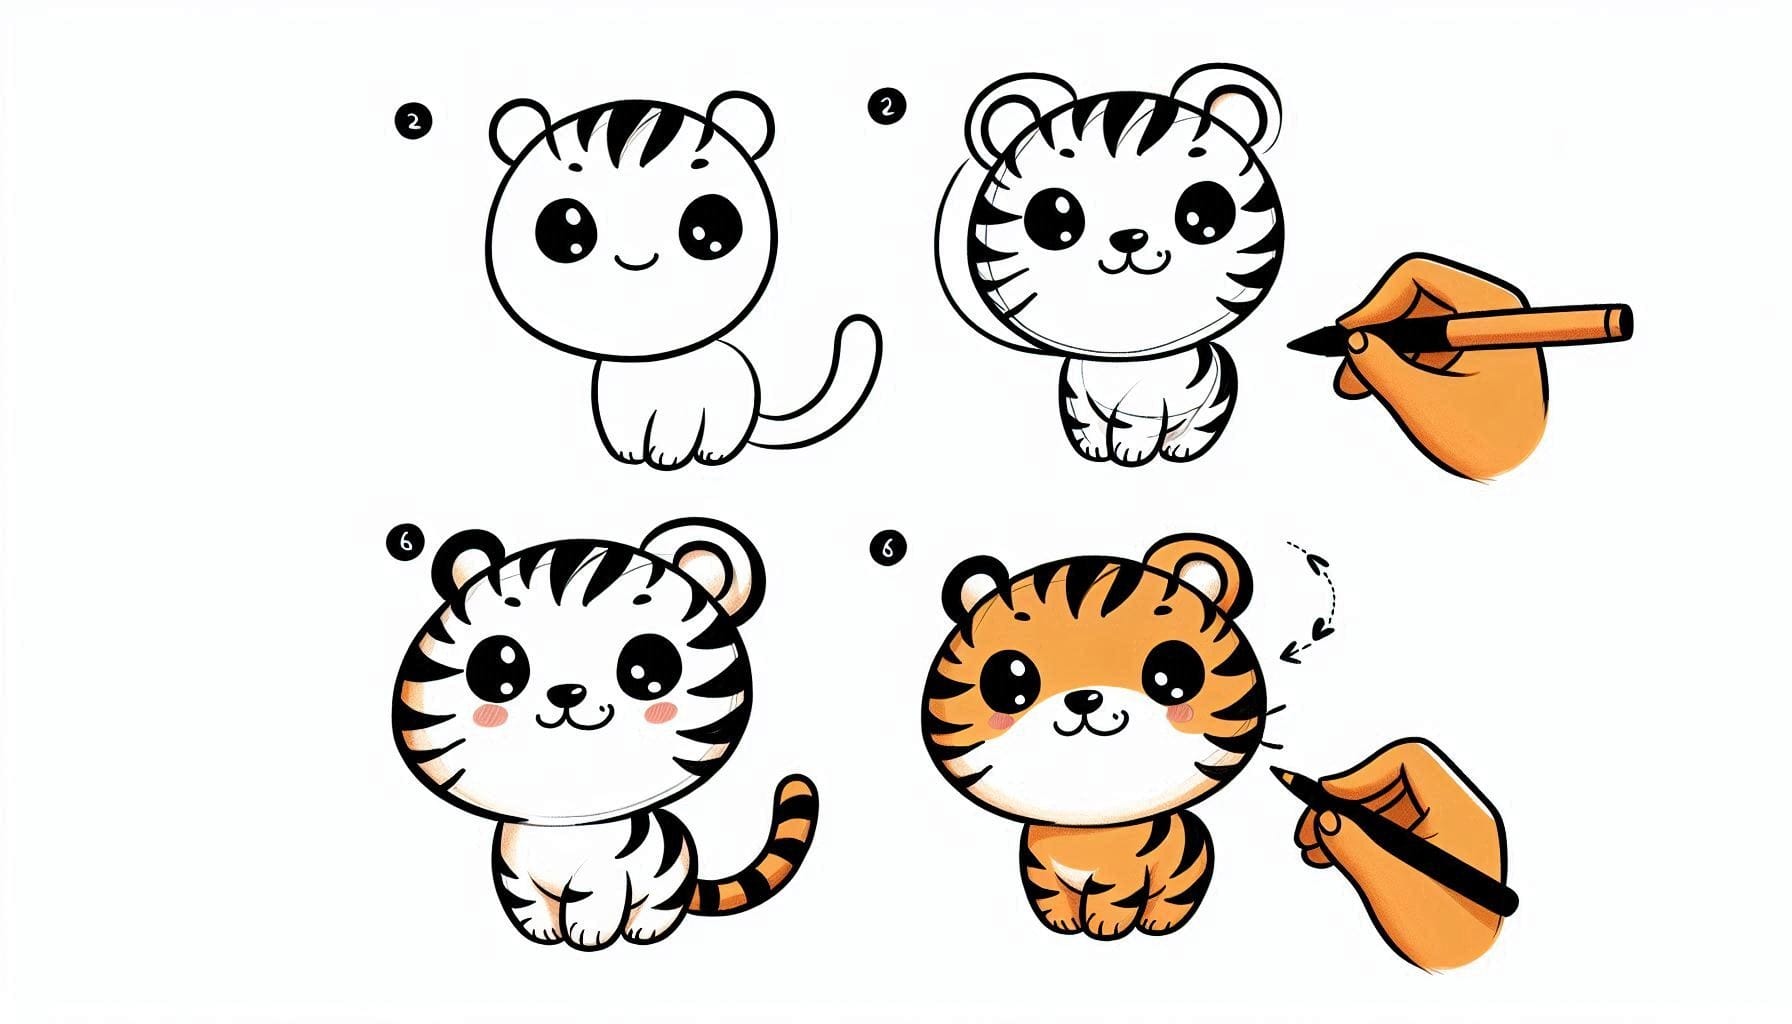
Creating a tiger drawing can be quite thrilling as these incredible creatures possess remarkable characteristics, such as their distinctive stripes, strong physique, and piercing stare. Whether you’re interested in capturing the power of a roaring tiger or the tranquility of a resting one, this guide will assist you in drawing a tiger step-by-step. Let’s have a blast creating a magnificent feline masterpiece on paper! Get ready with your pencil, and let’s begin!
Table of Contents
The Thrill of Drawing Bold Stripes
Tigers are famous for their distinctive and daring stripes. Creating these patterns is an enjoyable method to enhance contrast and incorporate intricate details that bring your tiger to life. It’s truly amazing to witness how these basic stripes can magically turn your drawing into a lifelike representation of a tiger!
The Challenge of Capturing a Powerful Stance
Tigers possess a robust and well-developed physique that showcases their immense strength and remarkable agility. Creating a tiger in a dynamic pose, such as crouching or stalking, allows for the exploration of movement and strength in your artwork. It’s an incredible method to bring your drawings to life and infuse them with vibrant energy!
The Art of Adding Expressive Features
Tigers possess eyes that are full of expression, ears that are sharp, and a face that exudes majesty, all of which reflect their fierce and majestic nature. Practicing drawing these features can enhance your ability to capture emotions and personality, infusing your drawings with life and character.
Steps: How to Draw a Tiger
Step 1:
Begin by sketching a sizable oval to represent the tiger’s body. This will be the focal point of your drawing and assist you in achieving accurate proportions.
Step 2:
Create a smaller circle connected to the top left of the oval to represent the tiger’s head. Connect the head to the body with two gracefully curved lines, ensuring an effortless transition between the two shapes.
Step 3:
Place two small triangles on top of the head to create the ears. Create a slightly curved and pointy shape to capture the tiger’s alert expression.
Step 4:
Let’s focus on the facial features. Begin with two almond-shaped eyes that are slightly tilted upwards, giving the tiger a focused expression. Place small circles within the eyes to represent the pupils, and include a small white spot to create a shine. Create a small “Y” shape for the nose and extend two curved lines downward for the mouth, finishing with a small “W” shape for the lips.
Step 5:
Draw the front legs. Sketch two gently arched lines that extend downwards from the front of the body. Incorporate some gentle curves towards the lower part to depict the muscles and joints. Add a paw at the bottom of each leg by drawing small ovals for the toes.
Step 6:
Let’s focus on drawing the hind legs. Begin by drawing two curved lines that extend downward from the back of the body. Adjust the hind legs to have a thicker top and gradually narrow down towards the paws. Include some curves to depict the muscular structure and use small ovals to outline the toes on the paws.
Step 7:
Attach the tail. Create a lengthy, gracefully arched line that extends from the rear of the body. The tail should have a thick base and gradually narrow to a point. You can create a curved tail to add a sense of motion.
Step 8:
Now comes the exciting part—adding the stripes! Create strong, flowing stripes across the tiger’s body, face, and tail. Don’t forget to create stripes that are uneven and irregular, just like the natural pattern of a tiger’s fur. For a more realistic touch, make sure the stripes align with the curves of the body, creating a sense of depth in your drawing.
Step 9:
Enhance the visibility of your drawing by using a darker pencil or pen to outline the lines. Remove any extra guidelines and perfect the details to give your tiger a sleek and polished appearance.
Step 10:
Let’s add some color to your tiger! Consider using shades of orange and yellow for the body, black for the stripes, and white for areas like the underbelly, chest, and around the eyes. Enhance your tiger drawing with shading to create a sense of depth and realism.

Theme 1: The Thrill of Drawing Bold Stripes
Yay! Let’s discuss the excitement of creating vibrant stripes! The patterns on a tiger’s fur are as distinct as their individual identity, giving each tiger its own remarkable character. Adding these patterns can be a delightful way to enhance your drawings, making them appear more lifelike and eye-catching. Your tiger drawing is incredibly exciting and dynamic, thanks to the bold contrast between the orange fur and the black stripes!
Theme 2: The Challenge of Capturing a Powerful Stance
Hello there! Let’s dive into the exciting world of capturing a powerful stance! Drawing tigers in action poses can be a great way to enhance your artistic skills by capturing movement and strength. Whether your tiger is roaring, stalking, or resting, capturing its stance brings vitality and dynamism to your drawing!
Theme 3: The Art of Adding Expressive Features
Let’s explore the world of adding expressive features! Tigers possess captivating eyes and striking features that reflect their powerful and untamed essence. Adding these details helps you improve your ability to capture emotions and personality, giving your tiger more depth and character. It’s all about capturing the vibrant and regal essence of your tiger, just like it appears in its natural habitat!

Conclusion
Creating a tiger illustration can be an enjoyable and beneficial exercise for honing your drawing skills. It allows you to explore intricate patterns, capture dynamic poses, and incorporate expressive details. By following these steps and adding your own creative touches, you’ll create an amazing drawing of a tiger. Keep in mind that with practice, your drawing skills will improve and you’ll be able to create realistic animals. So grab your pencil, enjoy yourself, and create a tiger that displays power and personality!
Check out this super fun and simple guide to learn how to draw an ostrich with easy step-by-step instructions! This fun tutorial offers easy-to-follow instructions, allowing young creators to dive into their imagination while discovering fascinating birds!


