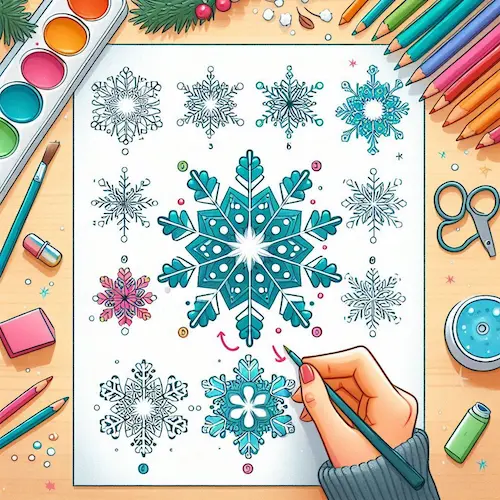
Creating snowflakes can be a fun way to celebrate the enchanting charm of winter! Snowflakes are delicate, one-of-a-kind, and perfectly balanced, so achieving a lifelike look requires some practice but can be enjoyable and fulfilling. Here are some fun ideas to help you make amazing snowflake designs, ranging from easy ones to more detailed creations.
Table of Contents
Step by Step Guide to How to Draw Snowflakes

Begin with an Easy Hexagon Form
Snowflakes have six sides, so begin by gently sketching a small hexagon or a six-pointed star to help you out. This will help you keep your creation balanced, which is important for a genuine appearance.
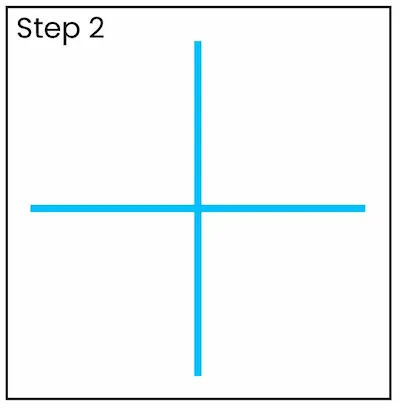
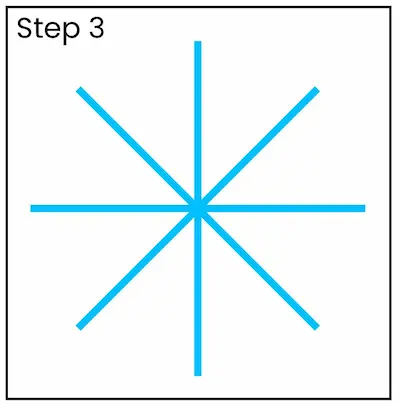
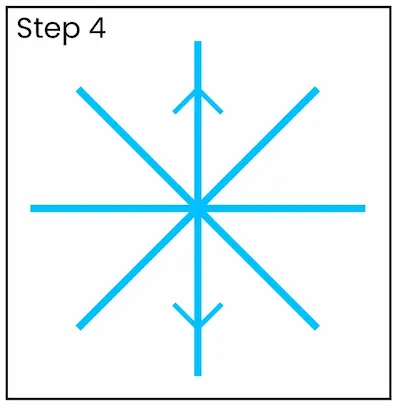
Sketch six lines extending outward from a central spot to create the framework. Every “arm” will be spaced out evenly, just like the hands of a clock.

Include Little Touches on Each Arm
Imagine that every arm reflects the others perfectly. Begin by creating the same fun designs along all six lines.
Include fun little shapes like tiny V’s, Y’s, or dots along each line, or extend with small arms to create sparkly patterns.
Focus on one line at a time, ensuring both arms look the same for a balanced appearance.
Add Fun Layered Designs
For more fun designs, sprinkle in smaller shapes between the arms, like little diamonds, ovals, or triangles.
Change up how thick or thin your lines are! Experiment with bold lines and thinner ones to create a fun layered look.
Try Out Various Shapes
Snowflakes can appear unique depending on where they are, so feel free to experiment with different designs.
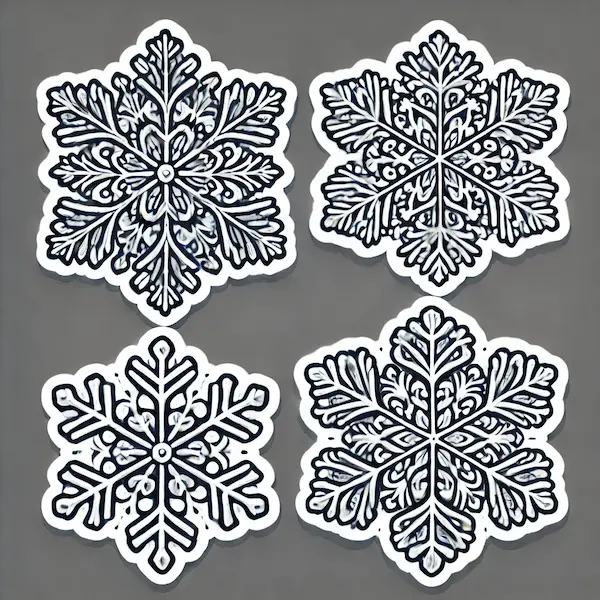
Have fun with curved lines, spirals, or tiny dots on each arm! To achieve a chilly appearance, you can incorporate “branches” from the main arms to give a soft, fluffy feel.
Sprinkle on Some Fun for Extra Flair
To make your snowflakes look super cool, add fun textures like little dots or crisscross patterns in some spots. This can make your snowflake look all frosty and sparkly!
For a fun and shiny look, try using a white gel pen or gentle touches with a colored pencil along the edges of each arm.

Add Shading for a Fun 3D Effect
To make it more fun, gently color in the middle of your snowflake or the spots where the arms meet.
Using a blending tool or soft shading around certain parts can make your snowflake look like it has thickness, giving it a gentle, sparkling feel.

Have Fun with Colors
Even though snowflakes are naturally clear, using soft shades like pale blue, lavender, or light silver can make them look extra frosty and fun!
Colored pencils or watercolor washes can bring a soft, frosty touch to the artwork while preserving its lightness.
Additional Suggestions:
Look at Actual Snowflakes: Checking out pictures of actual snowflakes can spark ideas and details that you may not come up with by yourself.
Repetition Leads to Mastery: It’s totally okay if your initial attempts aren’t spot on! Every little snowflake you create will make you better!
Keep it Fun:
Snowflakes are fragile, so use gentle, playful strokes to make them appear whimsical and frosty.
With these fun ideas, you’ll soon have a bunch of unique, beautiful snowflakes ready to brighten up any winter scene! Have fun bringing the magic of winter to life on your page!

