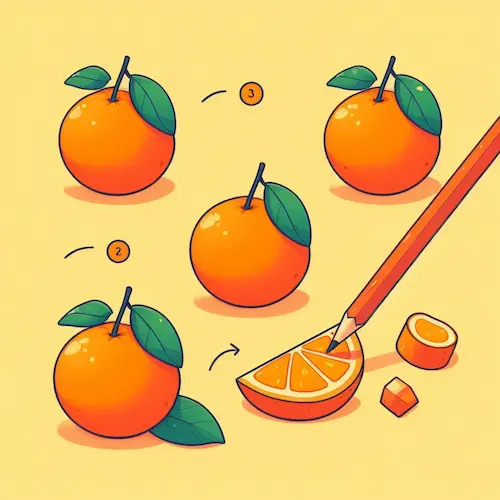
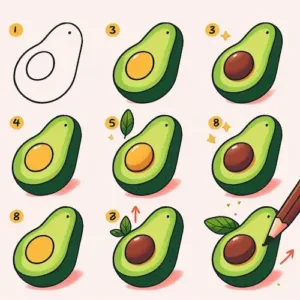
Learning to draw oranges is a fantastic and simple activity that encourages young ones to appreciate this colorful, delicious fruit. In this fun and easy guide, we’ll explore all the exciting steps from collecting supplies to adding those special touches that make an orange look super fresh and delicious! By the end, little creators will know how to make a whole orange, an orange slice, and even a fun 3D effect. Let’s jump into creating a fun and colorful orange masterpiece!
Table of Contents
Materials Needed
Here’s a fun list of essential art supplies you’ll need to create some vibrant oranges:
Paper: You can use any kind of drawing or sketch paper!
A regular pencil is great for doodling and making little changes.
For your vibrant creations, be sure to grab some bright orange, sunny yellow, and fresh green shades! Have fun experimenting with extra colors if you’d like to include some shading or a backdrop!
Black Marker or Pen (optional): This can be used to outline your artwork and make it pop!
Themes to Explore While Drawing Oranges
Incorporating a theme into your orange drawings adds an extra layer of excitement and creativity! Here are some fun and imaginative suggestions:
Orchard Scene: Illustrate a vibrant orange tree with branches laden with juicy oranges and lush green leaves, crafting a delightful outdoor scene.
Make your orange come to life by giving it a cheerful face and bright eyes! Give it arms and legs so it can move and play!
Yummy Orange Slice: Create a vibrant orange slice with little juice droplets around it to give it a fun and lively appearance.
Step-by-Step Guide: How to Draw Oranges
Check out these fun steps to make your very own orange drawing! You can create a complete orange, a fun slice, or even a vibrant orange with its leaves!
Step 1: Draw a Circle
Begin by creating a circle right in the middle of your paper. This will be the primary form of the orange. Make the circle a bit uneven for a more natural appearance.

Step 2: Add Texture to the Orange
To make your orange look super real, just add little dots and tiny curved lines inside the circle to give it that bumpy, textured skin! These little touches will help your orange resemble the genuine article even more.
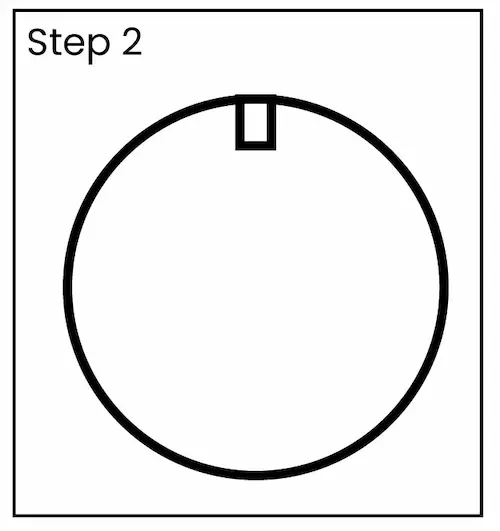
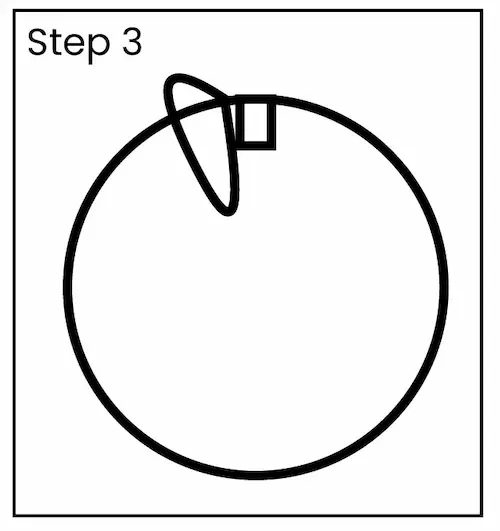
Step 3: Draw the Stem and Leaves
At the top of the circle, add a little stem poking out. Next, add a few leaves connected to the stem. To create a fun and lively appearance, give the leaves a gentle curve and draw a line down the middle of each leaf with tiny veins spreading out from it.
Step 4: Draw an Orange Slice (Optional)
To create an orange slice, begin by sketching a circle. Slice this circle into eight triangle-shaped pieces (just like slicing a pizza), and place a tiny circle in the middle to symbolize the core of the orange. Draw lines around each section to add some fun and make it look exciting.
Step 5: Add Details to the Orange Slice
Inside each section, include smaller, wavy lines to show the pulp. This detail makes your orange slice look super juicy and super fresh!
Step 6: Outline Your Drawing
Grab a black marker or pen and gently trace over your pencil lines. Outlining makes everything stand out and brings the shapes to life! Explore the outer edges, stem, leaves, and all the fun details inside the slice to make your orange really pop!
Step 7: Color Your Orange
For a complete orange, utilize the orange for the outer layer. Include a touch of bright yellow at the top for a cheerful glow.
Color the leaves with a bright green hue, adding some deeper green shading to give them a fun, lively look!
For the orange slice, color each section with a vibrant orange hue, and add a soft yellow to the edges for a fresh, zesty look.

Step 8: Add Shading for 3D Effect (Optional)
To make your orange pop, add a shadow underneath using a light gray or brown color. This fun little touch brings your orange to life, making it seem like it’s playfully lounging on a surface.
And there you go—a vibrant, cheerful, and tasty-looking orange!
Take Inspiration for Your Orange Drawing
Looking for some fun ideas for your orange artwork? Here are some fun ideas to get your imagination going:
Check Out Real Oranges: Seeing real oranges lets you notice their bright colors, fun shapes, and bumpy textures. Look at how the light shines on them and the fun, bumpy feel they have!
Explore a Farm or Fair: Spotting oranges alongside other fruits in a market or orchard can spark creativity for fun backgrounds and extra details.
Explore More Citrus Fruits: After you’ve mastered drawing an orange, give other citrus fruits like lemons or grapefruits a go! Their fun shape and texture make them great for practicing!
FAQs
What are some tips for making my orange drawing appear lifelike?
Adding fun little details like dots and lines to create a bumpy surface makes it look super real! Using orange and yellow for shading can create a fun and lively look!
What if my orange isn’t shaped just right?
That’s awesome! Real oranges have their own unique shapes, so any little quirks in your drawing will make it feel more lively and true to life.
Is it okay to use various colors to draw my orange?
Of course! Have fun adding your own creative touch by using a variety of colors or even incorporating a lively background filled with more fruits or plants!
Conclusion
Learning how to draw oranges is a delightful and imaginative activity that encourages young ones to appreciate this vibrant, delicious fruit. With just a few easy steps, they can make an orange that looks super cool, whether it’s realistic or in a fun cartoon style! By adding fun elements like leaves, a slice, or a cheerful face, little creators can make their artwork special and one-of-a-kind. Inspire them to continue discovering and enjoy the process of creating art!

