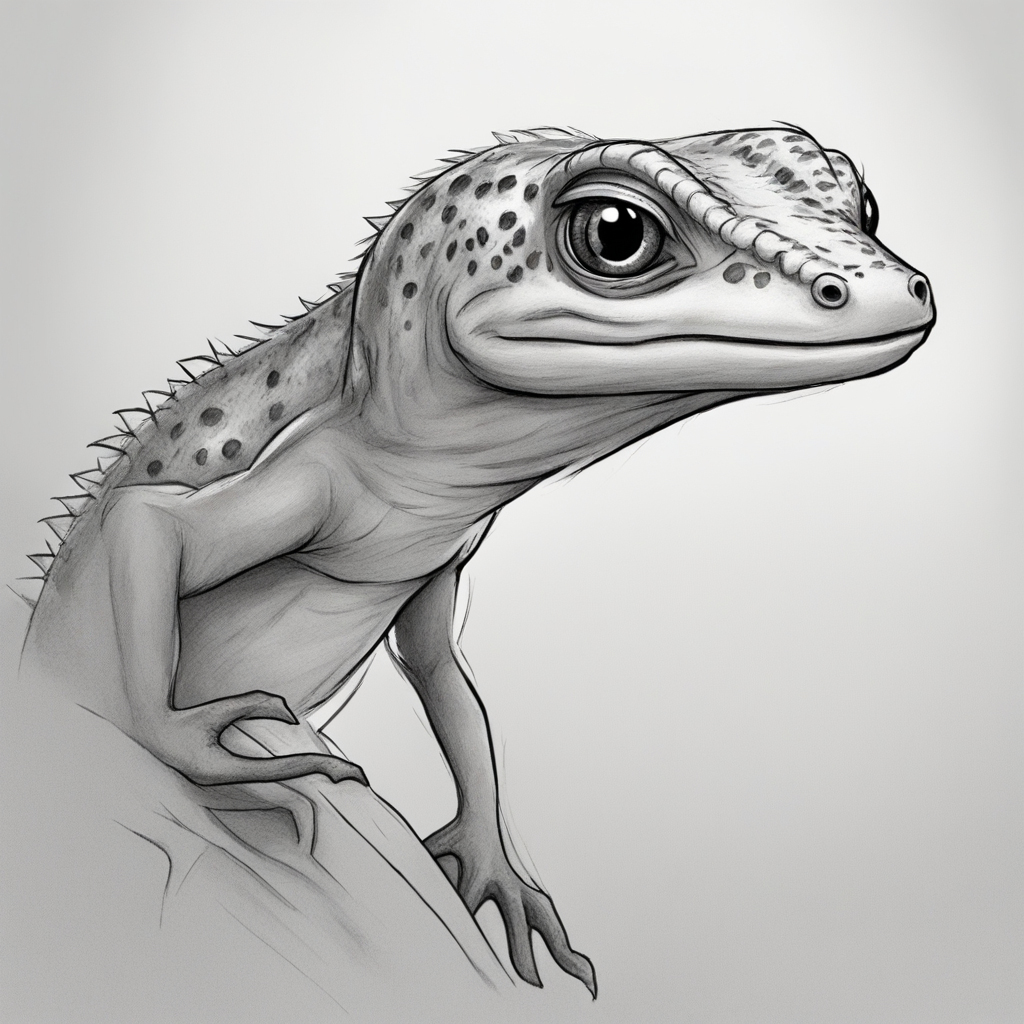
Creating a newt drawing can be an enjoyable and fulfilling artistic experience. Newts are fascinating amphibians with unique characteristics that make them a captivating subject for artistic exploration. In this guide, we’ll take you through the process of drawing a newt, paying close attention to its distinct features and incorporating creative elements. Let’s start on this imaginative journey!
The Fascinating Anatomy of Newts
Newts have a unique and eye-catching appearance, thanks to their slender bodies and vibrant colors. Having a good grasp of their physical features, such as their sleek skin, tail, and limbs, will enable you to produce a drawing that is both precise and captivating. By paying attention to these qualities, one can truly admire the captivating nature of this intriguing amphibian.
The Joy of Capturing Lively Colors and Distinctive Patterns
Creating a newt drawing requires capturing its vibrant colors and distinct patterns. It can be an enjoyable and lively challenge, improving your artistic abilities and your knack for working with vivid textures. The more skillfully you capture these characteristics, the more vibrant and authentic your newt drawing will appear.
Discovering the Fascinating World of Newts Through Art
Newts are not only visually captivating but also have fascinating adaptations for their environment. Exploring the unique appearance and behavior of newts can be an interesting activity. This theme highlights the educational aspect of art and the opportunity to explore new aspects of amphibian life through creative expression.
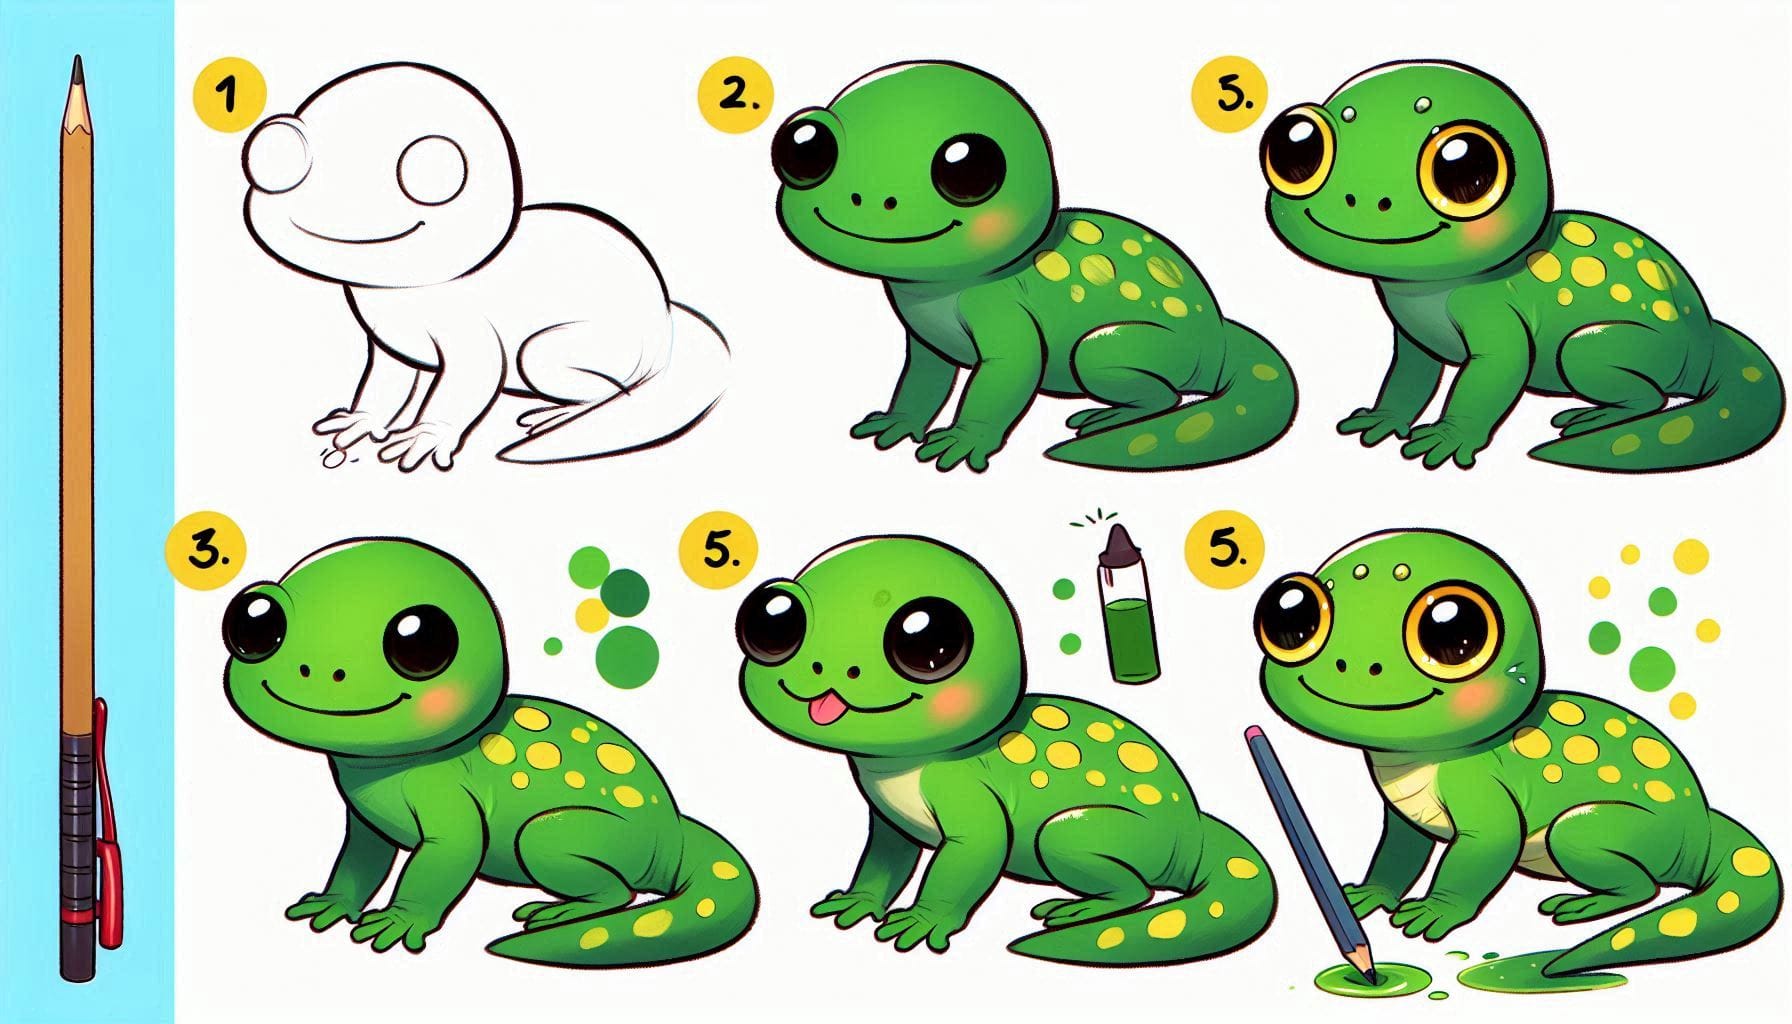
Steps: How to Draw a Newt
First, start by sketching the basic outline.
Begin by sketching the fundamental form of the newt’s body. Start with a stretched out, gently curved oval for the body. Newts have a sleek, streamlined body with a graceful curve. Create a smaller oval or circle at one end for the head, which should seamlessly merge with the body.
Step 2: Incorporate the head and facial features
Place the head at one end of the body. The head has a gentle curve and narrows towards the snout. Place two large, round eyes on either side of the head. Enhance the appearance of newts by giving their eyes a prominent and slightly bulging look. Create a petite, gently arched line to form the mouth at the midpoint of the head.
Step 3: Now it’s time to add the limbs.
Newts have four legs that are relatively short and positioned close to the body. Begin by sketching the front legs, starting with small, rounded shapes that have four toes each. Make sure to draw the hind legs in a similar manner, just a bit bigger and placed farther back. Ensure that the legs are in proportion to the body and are positioned in a natural, relaxed manner.
Step 4: Now it’s time to add the tail!
Newts possess a lengthy, tapering tail that emerges from the posterior of their body. Create a gracefully curved tail that narrows to a fine point. Make sure the tail is in proportion to the body and follows the natural curve of the newt’s shape.
Step 5: Perfecting the Form
Opt for a darker writing utensil to carefully trace over your initial sketch, enhancing the form of the newt. Refine the contours of the body, head, limbs, and tail. Make sure the legs and tail are clearly defined and in proper proportion. Remove any unnecessary guidelines or overlapping lines to tidy up your drawing.
Step 6: Enhance the Visual Appeal
Newts have smooth, often shiny skin with distinctive patterns. Enhance the artwork by incorporating delicate shading to capture the intricate details of the skin. Include details such as spots, stripes, or other patterns to make your drawing more realistic. Use gentle, flowing strokes to incorporate texture and patterns.
Step 7: Add some color to your newt!
Now it’s time to add some vibrant hues to your newt! Opt for vibrant and lively colors like oranges, yellows, or greens for the body, depending on the species you’re drawing. Don’t forget to add the contrasting spots or stripes to your coloring of newts. Consider adding subtle shading to bring more depth and dimension to your drawing. Take note of the different areas of light and shadow in order to give your newt drawing a more dynamic and realistic appearance.
Theme 1: Exploring the Fascinating Anatomy of Newts
Exploring the anatomy of a newt through drawing allows you to appreciate its smooth body and vibrant colors. Understanding these features will enable you to create a comprehensive and precise depiction. Understanding the intricacies of newt anatomy can greatly improve your artistic abilities and deepen your understanding of these captivating creatures.
Theme 2: Exploring the Joy of Capturing Lively Colors and Distinctive Patterns
The vibrant colors and distinctive patterns of a newt can provide a fun and rewarding challenge for artists. Exploring these details demands imagination and expertise, making it an excellent activity for experimenting with distinct textures and colors. Find joy in the process of bringing vibrant elements to life in your artwork.
Theme 3: Discovering the Fascinating World of Newts Through Art
Exploring the fascinating aspects of amphibian life, newts captivate with their intriguing appearance and unique adaptations. Exploring different colors and textures in your artwork can create a visually captivating and educational experience. This theme emphasizes the excitement of exploring different facets of amphibian life through artistic expression.
In summary
Creating a newt drawing is a wonderful and captivating activity that lets you capture the distinct characteristics and vivid hues of this intriguing amphibian. By following the steps in this guide and paying attention to its anatomy, patterns, and colors, you can create a detailed and captivating newt drawing. Embrace the artistic process and let your imagination soar as you bring this amazing creature to life on paper!


Check out this fun guide for step-by-step instructions on how to draw a toad! This tutorial offers a playful way to draw, ensuring that it’s enjoyable and simple for young creators to enhance their abilities while discovering the world of toads!


