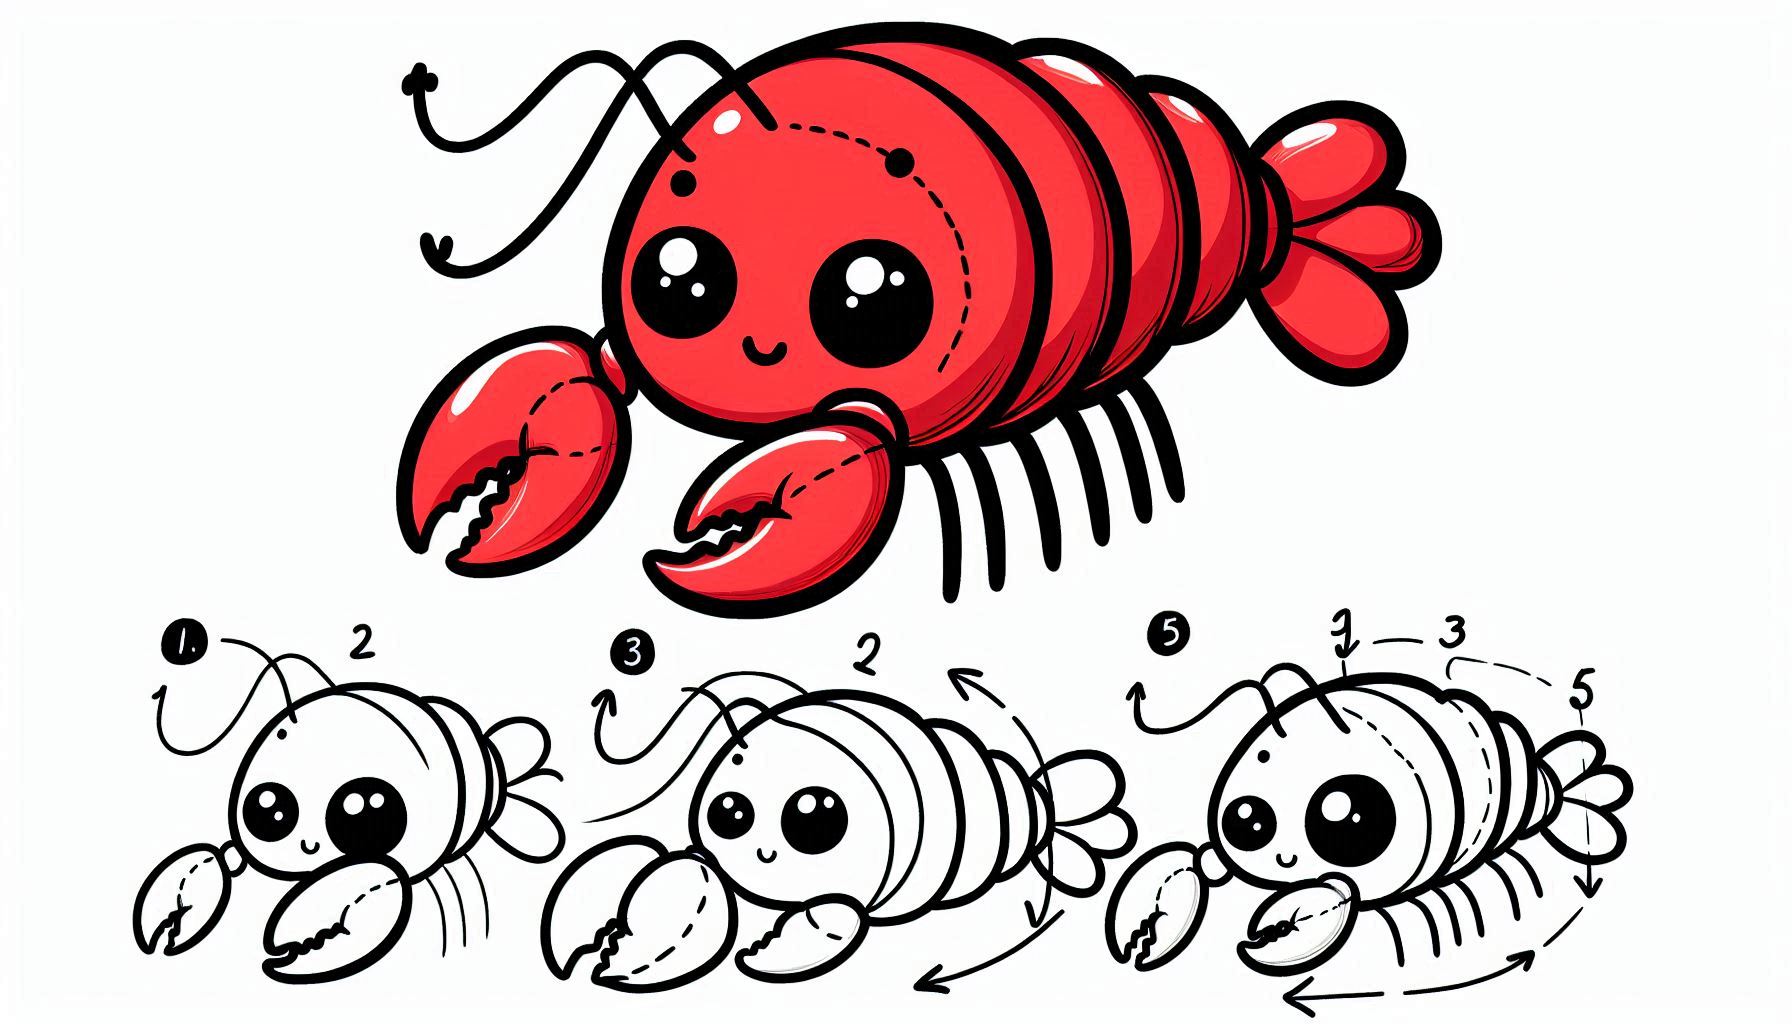
Drawing a lobster is a thrilling journey that immerses you in the captivating realm of these mesmerizing creatures! With their fascinating anatomy, lobsters offer a distinctive shape that can be both intriguing and enjoyable to sketch. By paying attention to the small details and mastering some impressive drawing techniques, you can create an incredible lobster drawing that appears incredibly lifelike. Alright, let’s get ready to start drawing a lobster! Grab your pencils and let’s dive right in!
The Joy of Creating Intricate Designs
Lobsters have a distinct shape that can be quite enjoyable to sketch. Their elongated bodies and gracefully curved tails make them an excellent subject for honing one’s skills in drawing lines and proportions. Mastering the art of drawing complex forms can be a bit challenging initially, but practicing with a lobster can greatly enhance your skills and boost your confidence.
The Joy of Incorporating Textures and Details
The shell of a lobster is adorned with fascinating textures and intricate patterns. Creating a lobster illustration allows for exploration of shading and texture techniques, enhancing the realism of your artwork. It’s all about capturing those tiny details, like the segments in the body and the ridges on the claws, that make the drawing process exciting and rewarding.
The Thrill of Discovering the Wonders of the Ocean
Discovering how to draw a lobster is a wonderful opportunity to appreciate the wonders of the ocean. Discover the fascinating world of lobsters and their incredible characteristics and behaviors through the art of drawing, allowing you to gain a deeper appreciation for the mysteries of the ocean. It’s an amazing way to experience the beauty of nature and capture the enchanting underwater world on paper.
Steps: How to Draw a Lobster
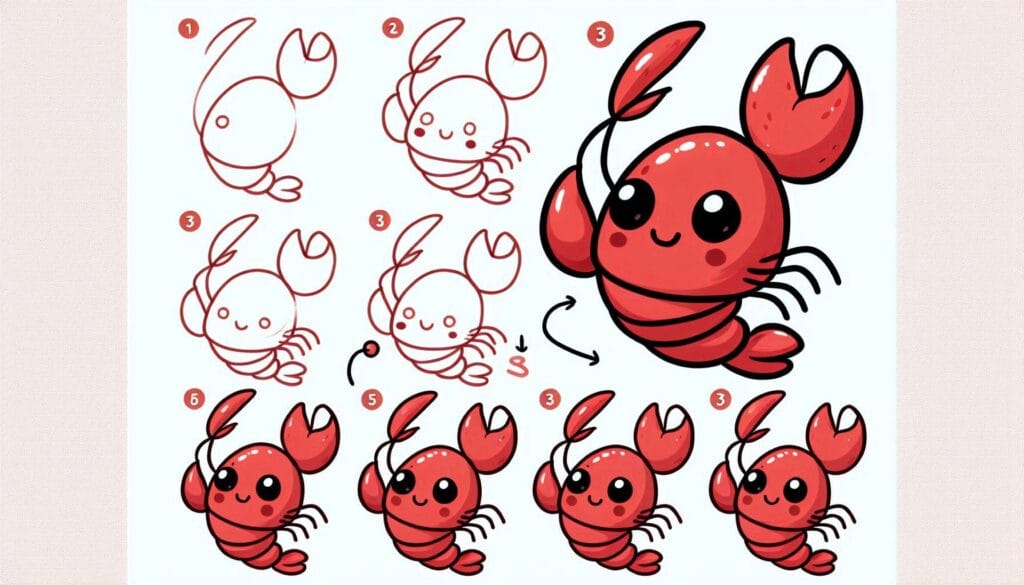
First, start by sketching the fundamental outline of the body.
Begin by sketching an elongated oval shape in the center of your paper to represent the body of the lobster. This oval will be the central part of the lobster’s body. Next, create a smaller oval at one end of the body to represent the head. Connect the two ovals with a graceful, curved line to create the lobster’s elongated, arched back.
Next, we will proceed to attach the tail segments.
On the other side of the head, you can draw a few U-shaped segments that overlap each other to form the tail of the lobster. When preparing lobster tails, it’s important to note that each section gradually decreases in size towards the end. Therefore, it’s recommended to taper each segment accordingly. This will give the tail a playful, carefree look.
Step 3: Draw the claws and legs
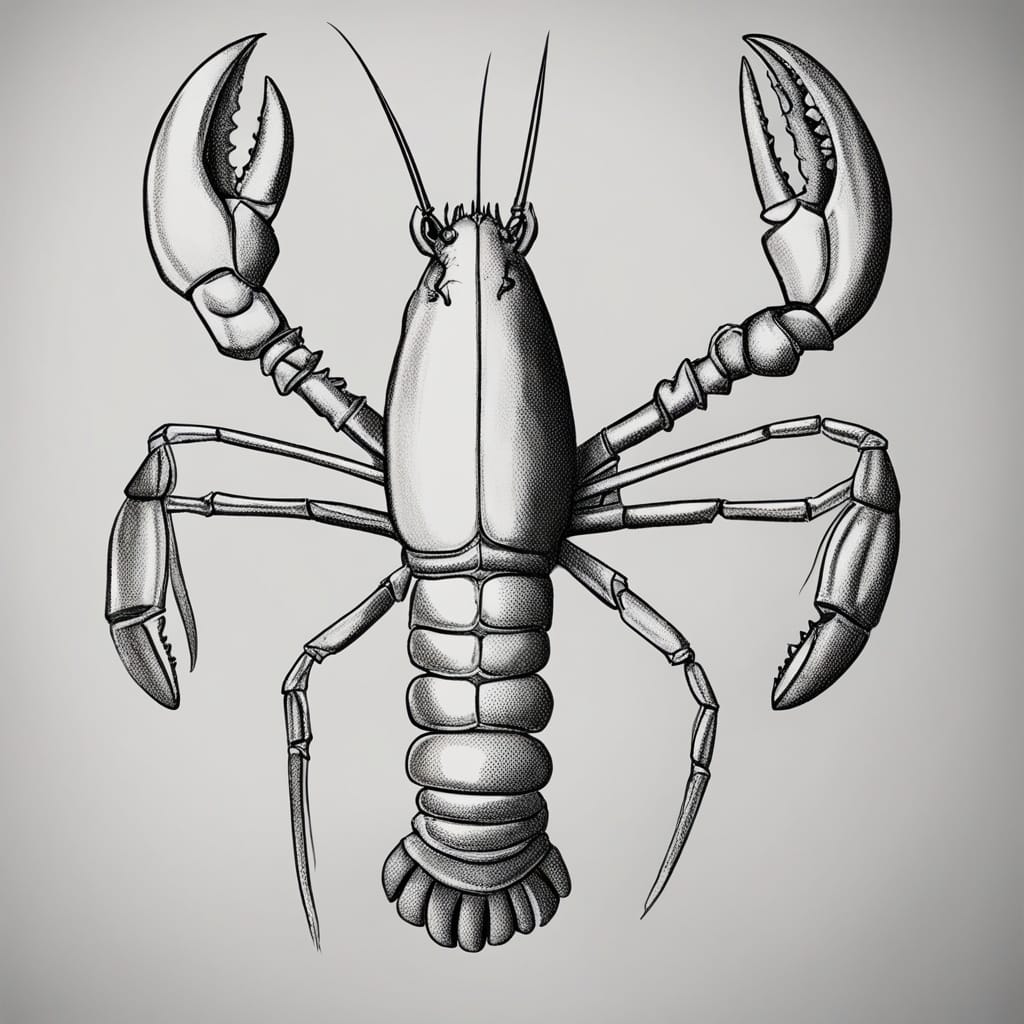
Now, let’s add the lobster’s impressive claws. Begin by drawing two large, curved forms at the front of the head. It is important for each claw to have a gentle inward curve and be larger than the lobster’s head. Next, attach the pincers to the tips of the claws, ensuring that one pincer is larger than the other to accurately depict the distinct shape of the lobster’s claws.
To create the legs, sketch a sequence of tiny, connected lines extending from either side of the body, beginning right behind the head. When drawing lobsters, it’s important to remember that they have eight walking legs. Be sure to include four legs on each side. The legs should have a slender and segmented appearance, with subtle bends to indicate the joints.
Step 4: Now it’s time to add the antennae and eyes.
Next, draw two long, curved lines extending from the front of the lobster’s head for the antennae. The antennae of lobsters are quite long and can be depicted curving upwards and outwards, creating a dynamic sense of movement. Next, create two tiny circles slightly above the head to represent the eyes. Adding a small dot inside each circle can represent the pupils.
Step 5: Perfecting the Shape and Outline
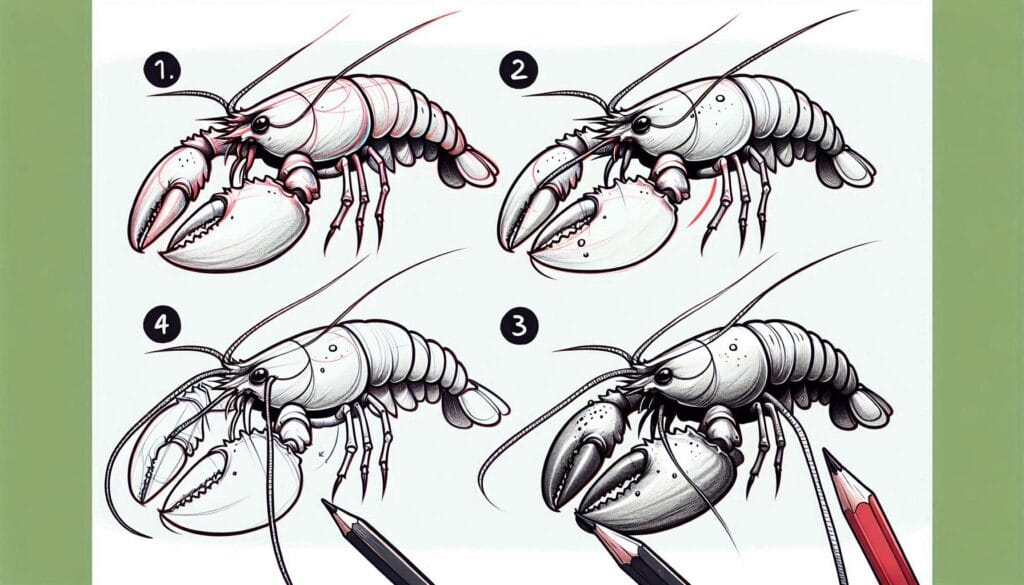
With a more intense pencil or pen, meticulously trace over your sketch to enhance the form and contour of the lobster. Be sure to highlight the claws, tail segments, and the curves of the antennae. Remove any unnecessary guidelines to tidy up your drawing and prepare it for shading.
Step 6: Enhance the Visual Appeal
To enhance the realism of your lobster drawing, consider incorporating shading techniques on the body, claws, and legs. Begin by incorporating gentle, consistent shading around the borders of each section and under the paws and limbs to establish a feeling of dimension. When drawing lobsters, it’s important to pay attention to the details of their hard, bumpy shell. To add texture to the body and claws, try using small, curved lines and dots. You can also incorporate some ridges and lines along the claws to depict their rough, segmented texture.
Step 7: Putting on the Finishing Details
Finally, put the final touches on your drawing by perfecting the shading and textures. Ensure that the shadows are uniform and the textures contribute to the lifelike appearance of your lobster. If you’d like, you can also add some bubbles or underwater plants around the lobster to create an ocean environment.
Theme 1: The Joy of Creating Intricate Artwork
Lobsters have an intriguing shape that’s ideal for honing your drawing skills. Their elongated, curved bodies and strong claws provide an excellent chance to practice capturing movement and proportions in your drawings. By honing your skills in these intricate forms, you’ll enhance your capacity to depict a wide range of subjects and infuse your artwork with greater vitality.
Theme 2: Exploring the Excitement of Incorporating Textures and Details
A lobster’s shell is filled with various textures and intricate details, making it a captivating subject to draw. There are plenty of chances to practice shading and adding texture, from the ridges on the claws to the segments on the tail. By paying close attention to the details, your lobster drawing will become more realistic and you’ll enhance your observational skills.
Theme 3: Discovering the Wonders of Marine Life
Creating a lobster illustration is an excellent opportunity to engage with marine life and delve into the fascinating world beneath the waves. Lobsters are fascinating creatures with unique features and behaviors, and capturing them on paper allows for a deeper appreciation of the ocean’s diversity. It’s an enjoyable and informative experience that incorporates elements of the ocean into your artwork.
In conclusion
Creating a lobster illustration can be an enjoyable and fulfilling activity that allows you to enhance your artistic abilities and delve into the fascinating world of ocean creatures. By emphasizing intricate shapes, textures, and details, you can create a lifelike and vibrant drawing that showcases the distinct charm of a lobster. Get your pencils ready and let’s dive into the world of marine art! Have a blast drawing a lobster that appears ready to crawl across the ocean floor!
Check out this super fun and simple guide to learn how to draw a crab with easy step-by-step instructions! This fun tutorial provides easy steps, making it a delightful experience for young creators to dive into their imagination while discovering these amazing sea creatures!

