Did you know that drawing eyebrows can make a face look super duper expressive in your artwork? It’s like adding a special touch that makes the face come alive! Yay! Let’s learn how to draw eyebrows step by step!
Table of Contents
Materials you’ll need:
- Paper
- Pencil
- Eraser
Steps
Understand Eyebrow Shape
Let’s learn about eyebrow shapes!
Look at all the different eyebrow shapes to see how they change depending on people and how they feel. Did you know that eyebrows can look different? They can be shaped like an arch, straight like a line, curved like a little rainbow, or even a mix of different shapes! Isn’t that cool?
Let’s draw some guiding lines!
Sketch Guiding Lines
Gently make a straight line where you want the bottom of the eyebrows to be. This line will help you make things look balanced and in the right spot, just like magic!
Let’s make a super fun outline of the Bottom Line! Yay!
Outline the Bottom Line
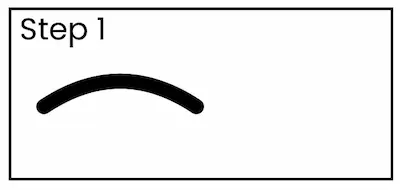
Draw a nice, smooth line that goes along the same shape as the line you drew before. This will be the super duper bottom edge of the eyebrow!
Add the Top Edge
Let’s add the tippy-top edge!
Draw a curvy line on top to make the eyebrow look super cool! This line should look just like the line at the bottom.
Let’s make a super cool arch! It’s totally optional, but it’s gonna be so much fun!
Create the Arch (Optional)
If you want a super cool eyebrow, figure out where the tippy top of the arch should be. This is usually about two-thirds of the way from the start to the end. Can you draw a pretty curve that goes up and down like a roller coaster? Make it start low, then go up, up, up, and then come back down again!
Adjust Thickness
Make it thicker!
Change how thick the eyebrow is by moving the top and bottom lines closer or farther apart. Thicker eyebrows will have a bigger space in between, while thinner eyebrows will have a smaller space.
Add Hair-Like Strokes
Let’s make your drawing super cool by adding some hair-like strokes!
To make it look real, draw little strokes that look like hair on the eyebrow shape. Make sure to stroke in the same way that the hair grows, just like a friendly little caterpillar crawling along!
Vary the Darkness
Let’s play with different shades of darkness!
Eyebrows are super cool! They start off dark at the bottom and get lighter as they go out. To make a cool gradient, press your pencil harder or softer in different places!
Consider Hair Color
Let’s talk about hair colour, yay!
Make sure to change the colour of the eyebrow strokes to match the hair colour of the person you’re drawing! Remember to use lighter or darker pencil shades depending on what you want to draw!
Make it more like a kids’ text. Don’t add any extra information.
Review and Refine
Take a step back and look at your drawing, like a detective! Make sure to get rid of any extra lines or fix the eyebrows if they’re too thick or not the right shape.
Hey there! Let’s talk about balance! It’s like when you’re playing on a seesaw Both eyebrows are like little furry caterpillars that sit on your forehead. They help you make funny faces and show your emotions. When you
Balance Both Eyebrows
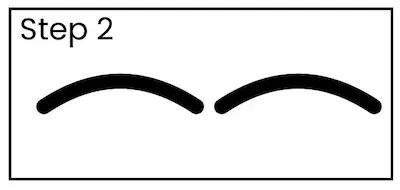
Make sure your eyebrows look the same by checking if they’re in the same spot, have the same shape, and have the same curve.
Practice and Experiment
Let’s have fun practising and experimenting!
Let’s have fun practising drawing different eyebrow shapes and styles to get better at it! Try playing around with different angles, thicknesses, and arch heights! It’s super fun to see how they can change things up!
Conclusion
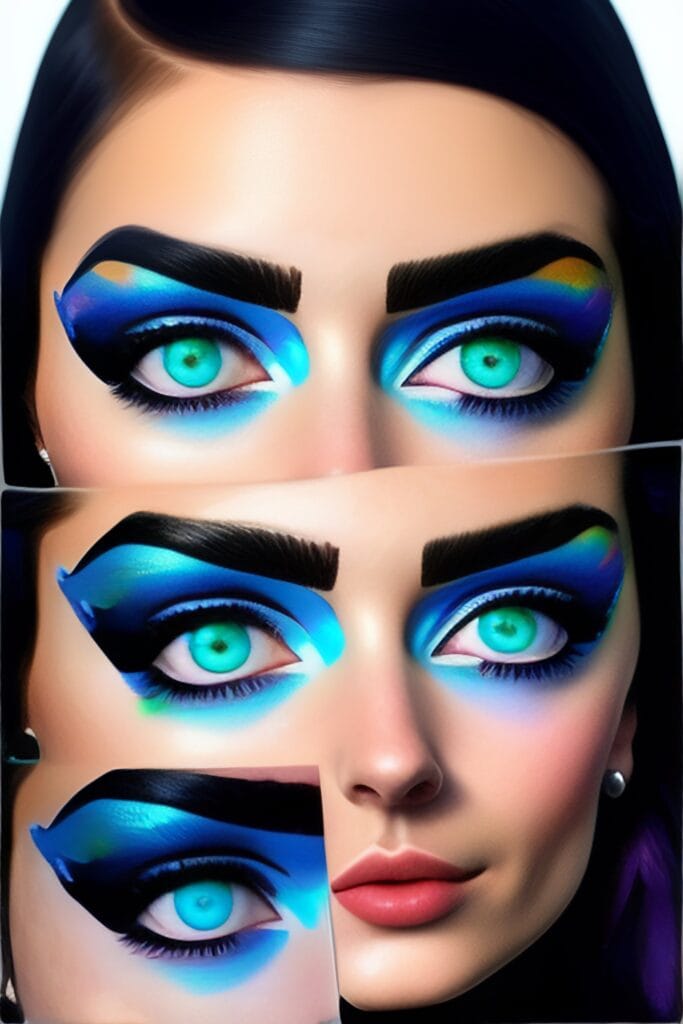
Hey there! Did you know that eyebrows are super special? They’re different for everyone, and even tiny things can make a big difference in how someone’s face looks. Cool, right? Looking at pictures and checking out real eyebrows in person can help you draw them better because they come in all sorts of shapes and look super natural!
With step-by-step steps, the lesson on how to draw shirt collars helps you make collar designs that are correct and clean. It talks about different kinds of collars, like pointy and rounded collars, and how to keep things balanced and symmetrical. This guide is good for people who are just starting out and want to get better at drawing clothes.

