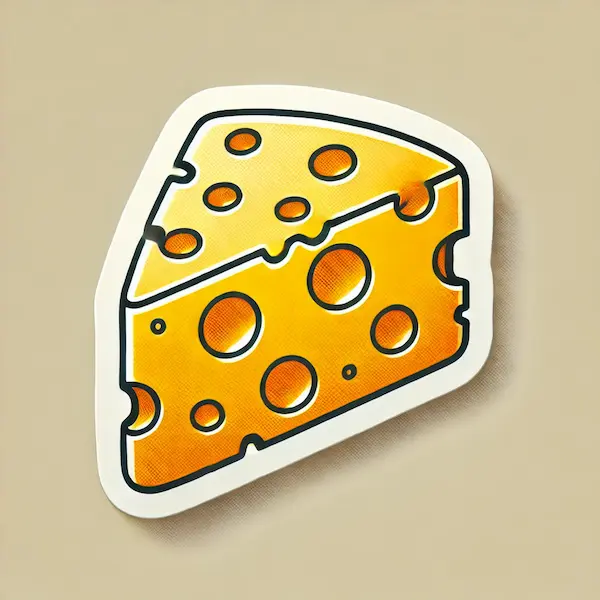
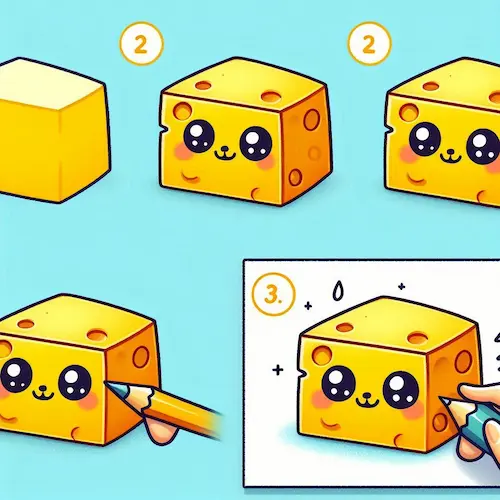
Creating pictures of cheese 🧀 can be an enjoyable and unexpectedly intricate activity! Cheese is fun to explore with its interesting textures, holes, and layers, making it a perfect choice for practicing shading and adding realistic details. In this guide, we’ll have fun creating a super yummy-looking cheese drawing! 🎨 We’ll explore all sorts of cheese, play with shading and texture, and even think about some cool background ideas.
Table of Contents
Step by Step How to Draw Cheese

Part 1: Exploring the Fun Shapes and Varieties of Cheese
Cheese can be so much fun with all its different shapes and textures! Imagine the kind of cheese you want to create in your drawing:
- Swiss Cheese: This cheese is famous for its fun holes and bright yellow color, featuring a smooth texture with little round openings throughout.
- Cheddar Cheese: Usually found in blocks or wedges, featuring a slightly crumbly texture and a smooth surface.
- Brie or Camembert: It has a delightful, round shape with a creamy inside and a smooth outer layer that makes it so enjoyable.
- Blue Cheese: It has fun little swirls of blue or green mold and a crumbly feel that makes it interesting!
In this guide, we’ll use Swiss cheese as our fun example, as it offers chances to explore shapes, shading, and adding those delightful holes! 🧀✨

Part 2: Beginning with Simple Forms
1. Sketch the Shape of the Cheese Wedge
Start by drawing a fun triangular shape to show a piece of Swiss cheese. Begin with a simple triangle for the front face and attach a rectangular side to give it a fun three-dimensional look. ✍️
Gently draw a straight line from the top corner of the triangle extending back to create the length of the cheese. Sketch the rear part of the cheese wedge to link the front and side surfaces.
2. Sketch the Gaps
Swiss cheese is well-known for its fun little holes. Begin by drawing tiny circles and ovals in a playful manner on the front and side surfaces of the cheese wedge. 🕳️
Change the size and position of these holes to give the cheese a more authentic appearance. Ensure that some holes are positioned nearer to the edge while others are placed in the center to create a sense of depth.
3. Organize the Fun Surroundings (Optional)
If you want to make a fun scene, think about including things like grapes 🍇, a cheese knife, or a cutting board in the background. Draw these softly so you can include them later while concentrating on the cheese itself.

Part 3: Bringing Life and Texture
1. Outline the Cavities with Measurement
To make each hole look more fun and interesting, add a little curve or lip around the edges.
Color in the inside of each hole, ensuring that the side nearest to the light is brighter while the side further away is darker. This makes it seem like every hole goes further into the cheese.
2. Build a Feeling of Depth
To make the cheese appear more solid, add some shading along the edges where the front and side faces come together.
Color in the spots that are farthest from the light source with a bit more intensity to create a sense of depth and dimension.
3. Include Some Fun Textures!
Cheese usually features a nice, smooth surface with a few little quirks. To create this texture, use soft shading with light, playful strokes.
Steer clear of sharp edges; rather, use gentle, round movements to achieve a smooth finish on the surface, particularly on the flat sides of the cheese.

Part 4: Adding Depth and Shine to the Cheese
1. Set Up a Bright Spot
Choose which way the light should shine 🌞. This will help you with your coloring and make your pictures look more fun and lively!
Picture the sunshine warming one side of the cheese, while playful shadows dance on the other side.
2. Add Shadows to the Side Face for a Fun Effect
Color in the side of the cheese wedge to give it a shadowy look, making it seem deeper than the front side. Slowly make this part a bit darker to show some depth and shadow.
Grab a blending tool, like a cotton swab or blending stump, to gently smooth out the shading and give it a nice, soft look.
3. Shine a Spotlight on the Front Face
Apply a gentle glow along the edge of the front face where light would naturally touch. This makes the cheese appear nice and shiny! ✨
For a fun twist, sprinkle little spots of brightness around the edges of some holes, showing where the light plays on the edges.

Part 5: Sprinkling Fun and Imagination to Bring it to Life
1. Pay Attention to the Fun Texture
Cheese holes can be a bit bumpy around the edges. To demonstrate this, incorporate gentle shading and texture around the edges of each hole, applying short, light strokes to create an uneven surface effect.
2. Achieve a Gentle, Smooth Appearance
For a Swiss cheese wedge, steer clear of sharp edges and instead emphasize gentle shading to reflect its soft, bendy feel. Use a soft pencil (like a 2B or 4B) and softly blend in some shadows for a nice, gentle effect.
3. Include Little Flaws
Natural cheese can have little quirks, such as tiny air bubbles or soft lines. Gently draw a few soft lines or tiny dots on the cheese’s surface, ensuring they remain delicate.

Part 6: Adding Color to the Cheese
If you’re adding color to your cheese drawing, think about these fun techniques for a vibrant, tasty appearance:
1. Pick Your Colors
For Swiss cheese, start with a cheerful layer of soft yellow. Incorporate a bit of deeper yellows and a hint of light brown for added dimension.
For different kinds of cheese, pick colors that look appealing. Cheddar 🧡, for instance, might have a vibrant orange hue, while brie could appear as a soft cream or beige.
2. Create Fun Layers
Begin by applying a cheerful, uniform coat of yellow across the whole wedge. Slowly introduce deeper colors in spots where the light doesn’t shine directly, like along the edges and in the gaps.
Mix the colors gently to create a soft transition, particularly on the surfaces of the cheese.
3. Include Fun Highlights
Grab a white or super light yellow pencil to add some fun highlights on the front face, focusing on the edges and up near the top! Keep highlights gentle to preserve the delightful, smooth look of cheese.
4. Fill in the Gaps with Color
Try using a bit of a darker yellow or a light brown inside each hole to make it look more interesting. The deepest part of each hole should be the most shadowy. For a fun finishing touch, sprinkle a little sparkle ✨ in each hole to create the illusion of light bouncing off the surface.
Part 7: Sprinkling Fun Details for a Full Picture
Making a fun background for your cheese drawing can make your artwork more exciting and give it a story! Check out these fun suggestions:
1. Create a Wooden Cutting Board Illustration
Gently draw a rectangular or circular cutting board beneath the cheese. Apply a warm brown hue and incorporate a wood grain pattern for a cozy, natural feel.
2. Introduce Yummy Foods
Sketch tiny things like grapes, crackers, or a knife beside the cheese 🍇🍞. These elements create a fun and imaginative atmosphere, making the cheese feel like it belongs in a vibrant world.
3. Create a Silhouette
To create a lifelike scene, include a shadow under the cheese wedge and the other objects. The shadow should dance along the path of the light source, gently landing on the board or table surface.
Part 8: Final Details for Authenticity
1. Make Shading Soft and Polished
Use a blending tool to go over your shading, making sure all the shadows and highlights look soft and natural.
2. Include the Last Fun Moments
Use an eraser to softly lift some bright spots on the cheese surface where the light would naturally shine. This gives a little shine to make the cheese appear fresh and inviting.
3. Tidy Up Lines
Make sure to tidy up any extra lines and smooth out your edges so the cheese wedge appears neat and shiny.
Fun Tips for Making Your Cheese Drawing Awesome 🧀
- Explore Various Cheese Textures: Try drawing different types of cheese, from smooth brie to crumbly blue cheese, to explore various textures and styles in a fun way.
- Explore Authentic Cheese Sources: Looking at pictures or real cheese can be a fun way to see how light and shadow play on different kinds of cheese.
- Play around with Different Shades and Materials: Using colored pencils, pastels, or watercolors can bring to life vibrant, realistic textures that make the cheese appear almost like a tasty treat.

Drawing cheese might look easy at the beginning, but with a little focus on the details, you can create something that looks super realistic and oh-so-tasty! 🧀 By following these steps and adding your unique flair, you’ll be able to create fun cheese sketches that showcase the texture, depth, and delicious look of real cheese. Have fun and keep creating! 🎨


