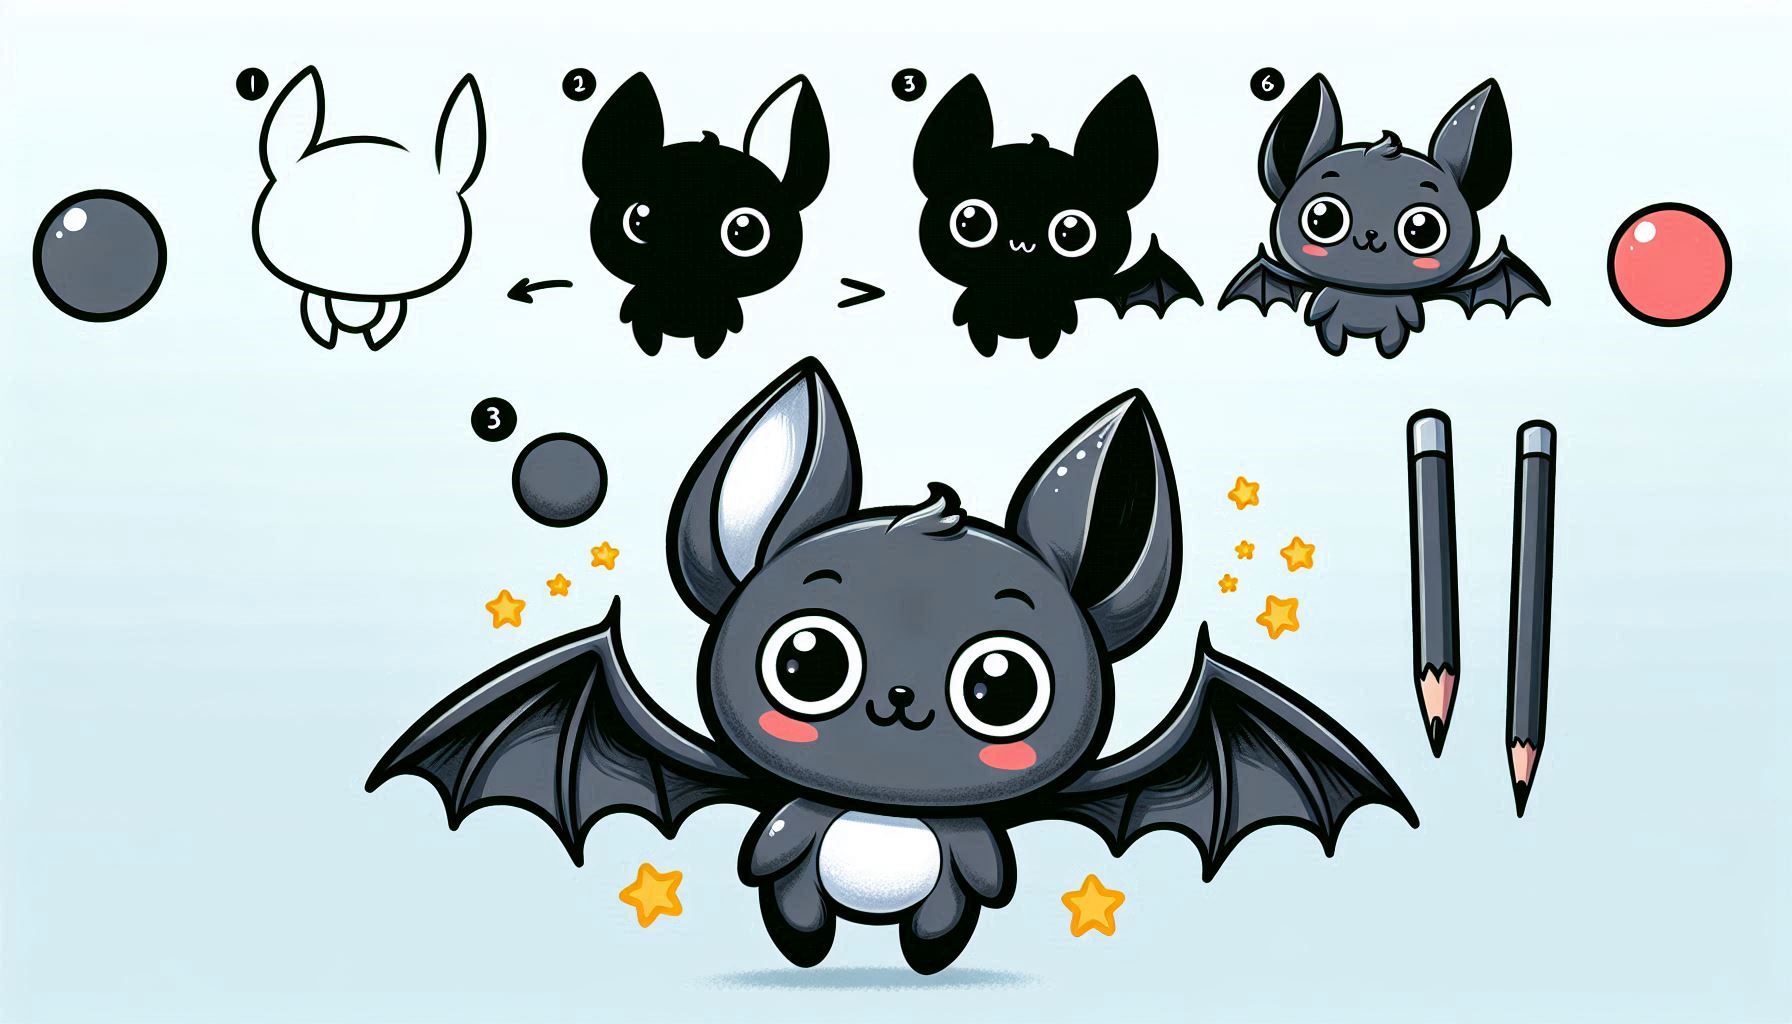
Drawing a bat can be a thrilling and exhilarating adventure! With their unique wings, pointed ears, and interesting body shapes, bats provide an exciting chance to practice drawing dynamic forms and details. Now, let’s delve into the step-by-step process of drawing a bat and breathe life into this captivating creature on paper. Get your pencil ready, and let’s begin!
Table of Contents
The Joy of Creating Wing Shapes
Bats have unique, wing-like structures that can be both enjoyable and a bit tricky to sketch. Their wings are composed of long, curved lines and can resemble a haunting umbrella. Learning how to draw these shapes will enable you to capture the bat’s distinct look and elegant movement.
The Joy of Adding Facial Details
Bats have adorable faces with pointed ears, big eyes, and small, curved mouths. Enhancing these details can add character to your bat and make your drawing more vibrant and captivating.
The Delight of Capturing Bat Posture
Bats frequently hang upside down or exhibit a distinct spread-wing posture. Adding a touch of their unique charm to your drawing can really bring out the bat’s distinct behavior.
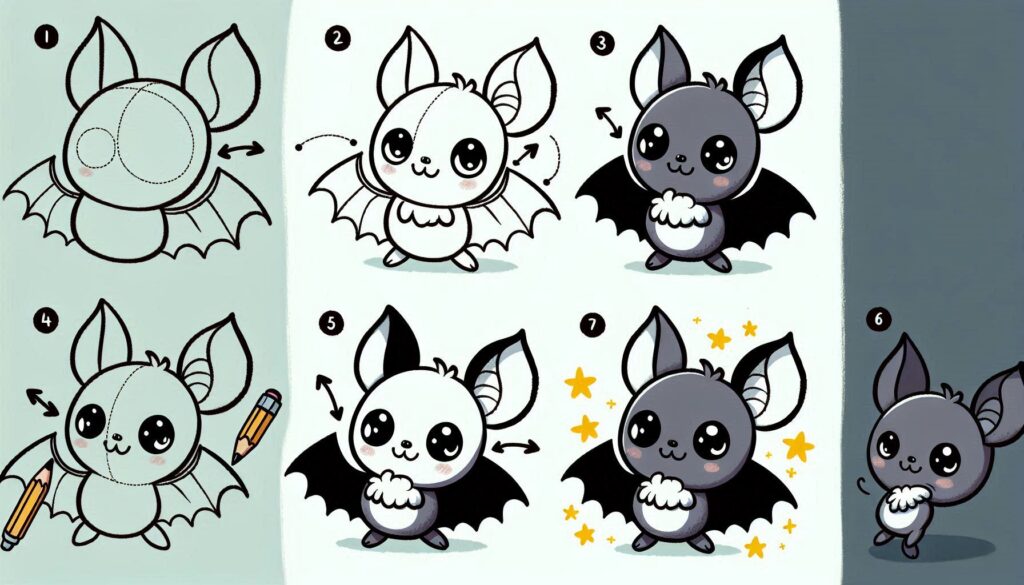
Steps: How to Draw Bat
Step 1:
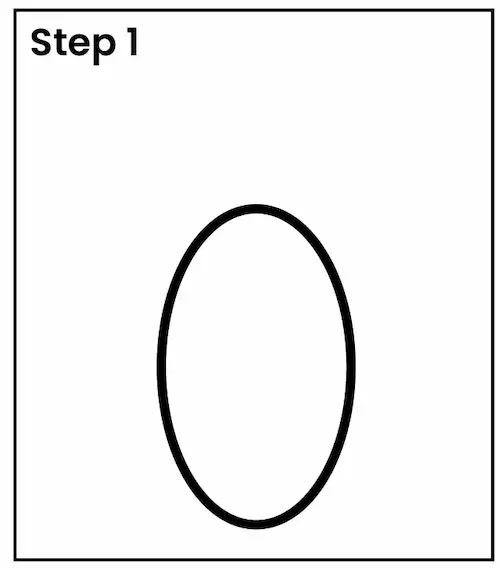
Begin by sketching the bat’s head. Begin by drawing a small oval or circle at the top of your paper for the head.
Step 2:
Include the bat’s ears. Create two sharp shapes that extend from the top of the head. Bats have large, triangular ears that stand up straight or slightly curved.
Step 3:
Now it’s time to draw the bat’s body. Draw a slightly curved, oval shape for the body starting from the bottom of the head. Bats have bodies that are relatively small in comparison to their wings.
Step 4:
Draw the wings. Sketch two sizable, arched lines that stretch outwards from opposite ends of the figure. These lines will serve as the primary framework for the wings. Connect the lines with a series of smaller, curved lines to form the wing membrane. The wings should have a resemblance to an umbrella or a fan that is spread out in a spooky manner.
Step 5:
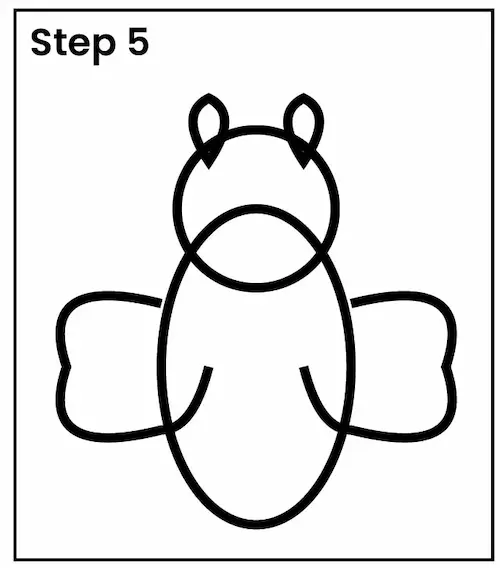
Include the legs of the bat. Extend two short lines from the bottom of the body. For the feet, simply add small, rounded shapes at the end of each line. Bats have small feet equipped with sharp claws.
Step 6:
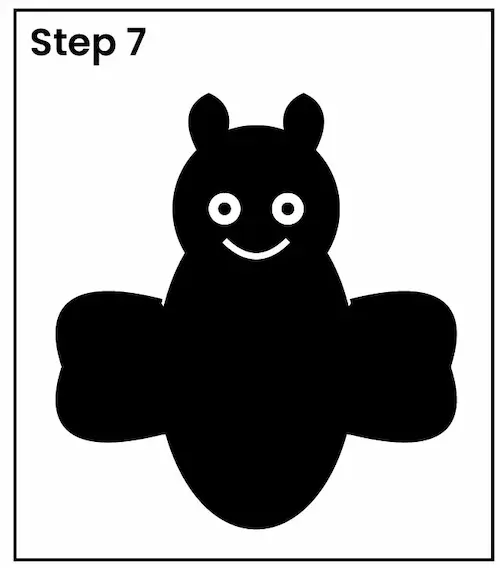
Create the bat’s adorable face. Place two large, round eyes on the head and create a small, curved line for the mouth. You can also include some small details like a nose and whiskers.
Step 7:
Enhance the wings with intricate details. Add some curved lines or veins inside the wings to enhance the wing’s structure and create a more lifelike appearance. These lines should mimic the shape of the wings and add a tactile element.
Step 8:
Enhance your drawing by outlining it with a darker pencil or pen to make the lines more prominent. Remove any extra guide lines and perfect the details to give your bat a neat and polished appearance.
Step 9:
Add some color to your bat! Choose for shades of brown, gray, or black to color the wings and body. You can incorporate some lighter shades to accentuate the wing membrane and create a sense of depth.



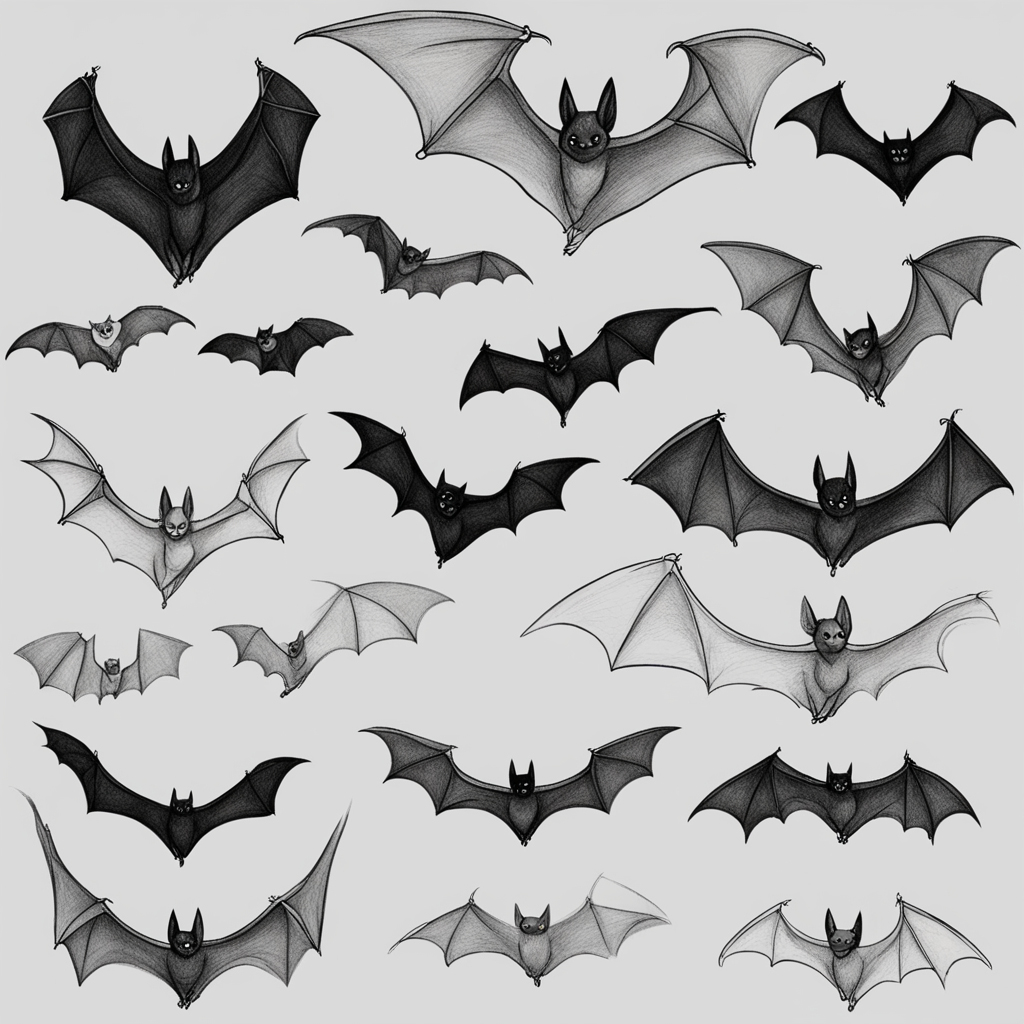
Theme 1: The Joy of Creating Wing Shapes through Drawing
Yay! Let’s discuss the joy of creating wing shapes! Bats have wings that are interesting to draw and can resemble a mysterious umbrella. By paying attention to these wing shapes, you can capture the unique appearance and elegant flight of the bat. It’s exciting to witness the way these curved lines converge to form an incredible and lively bat!
Theme 2: Exploring the Joy of Enhancing Facial Features
Hello there! Let’s dive into the joy of incorporating facial features! Bats have adorable faces with pointed ears, big eyes, and small mouths. By incorporating these features, your bat character will come to life and captivate your audience. It’s all about customizing your bat to match your desired aesthetic!
Theme 3: The Delight of Capturing Bat Posture
Let’s explore the delight of capturing bat posture! It’s fascinating to observe how bats hang upside down or gracefully spread their wings. Highlighting their unique pose brings out their individuality in your artwork and captures their distinct behavior. It’s thrilling to animate your bat by demonstrating its movements and moments of stillness!

Conclusion
Creating a bat drawing can be an enjoyable activity that allows you to improve your skills in capturing wing shapes, facial details, and natural posture. By following these steps and adding your own creative touches, you’ll create a fantastic drawing of a bat. Keep in mind that with practice, your drawing skills will improve and you’ll become more adept at creating dynamic creatures. So grab your pencil, enjoy yourself, and create a bat that’s bursting with personality and allure!
Check out this super fun and simple guide to learn how to draw a whale with easy step-by-step instructions! This fun tutorial provides easy-to-follow instructions, allowing young creators to dive into their imagination while discovering these amazing ocean animals!

