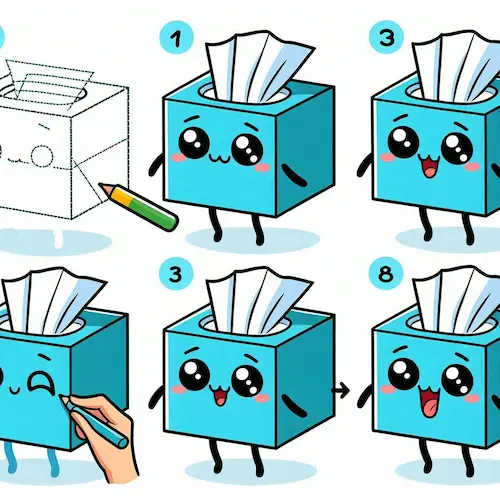
Sketching easy items like a tissue box can be a fun way to boost your drawing abilities and discover the fundamentals of shapes, shading, and perspective. This fun guide will take you on a creative adventure with simple, step-by-step instructions to draw a tissue box! Even if you’re just starting out, by the end of this, you’ll have a fun tissue box sketch that you can happily share!
Table of Contents
Supplies Required
A drawing tool (ideally a soft, sketching tool)
Writing tool Measuring tool Drawing paper Optional: Vibrant pencils or markers
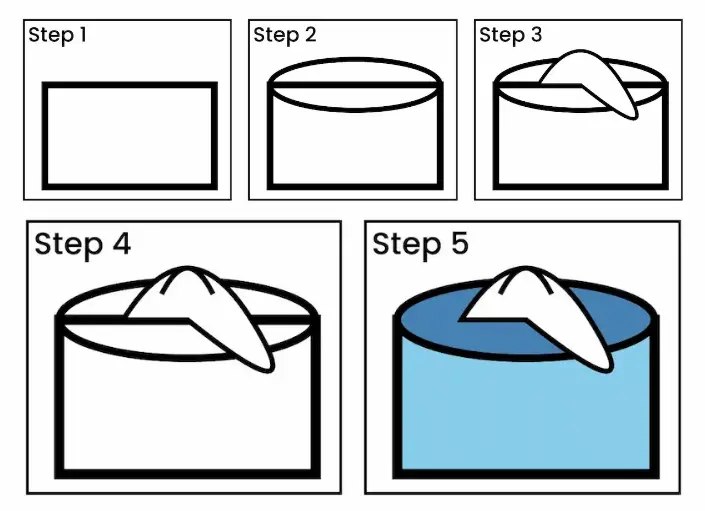
Step by Step Guide to How to draw a Tissue Box
Step 1: Begin with the Simple Rectangle Form
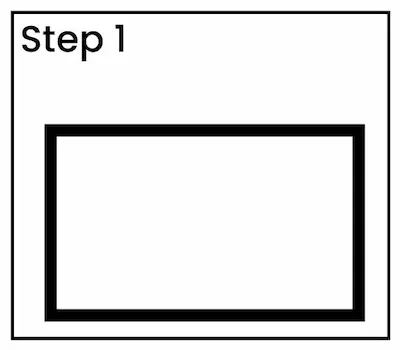
Draw a wide rectangle: Start by gently drawing a horizontal rectangle on your paper. This rectangle will be the front face of the tissue box, so aim to make it look just like a regular tissue box does.
Draw another rectangle: Create a slightly smaller rectangle behind the first one to shape the side of the box. This step makes your drawing come alive, adding a fun and exciting perspective!
Step 2: Create the Upper and Lower Lines
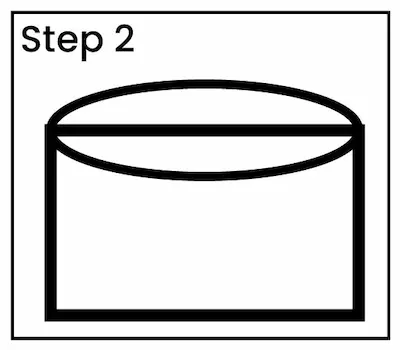
Link the Corners: Draw lines from each corner of the front rectangle to the matching corner of the back rectangle. Now you should have a fun box outline!
Draw the Bottom Edges: For the base of the tissue box, create two parallel lines that link the front and back corners. This will give a snug appearance, making your box look sturdy and complete.
Step 3: Include the Tissue Slot
Sketch a fun oval shape for the slot: In the middle of the top side of your box, gently draw a tiny oval shape. This will be the spot where the tissue pops out.
Make the Slot Shape More Fun: Add a little curve to the oval’s edges to give it a bit more character. This can create the appearance of being set back into the surface of the box.
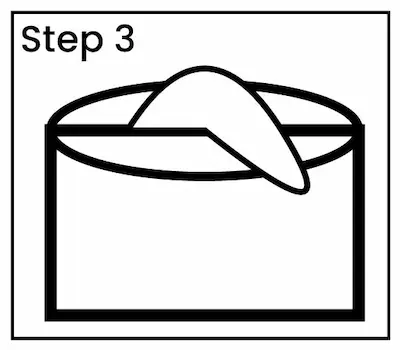
Step 4: Create the Tissue
Make the Tissue Outline: Begin at the middle of the slot and create a fun, wavy line that looks like a tissue being pulled out just a bit.
Enhance the Fun: Add some extra lines that spread out from the tissue to make it look more lively and exciting. These lines can change a bit in length and curve to create a more playful look.
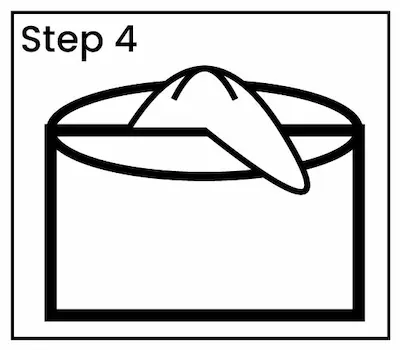
Step 5: Make It More Fun and Colorful
Sketch the Container: Check the main outline of the box and ensure all the edges are clearly marked. Make the lines you want to keep bolder and remove any extra lines that aren’t necessary.
Give the side of the box a little color to help it pop and look more like a fun 3D shape! Try using a fun gradient shading technique! Make the side of the box near the tissue slot a bit lighter and then let it gradually get darker as you move down. It’ll look super cool!
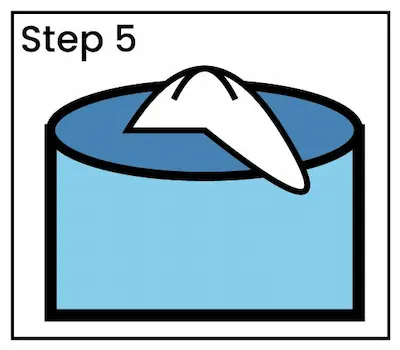
Step 6: Sprinkle on the Finishing Fun
Describe the Material: Add a little bit of shading or some fun lines to the tissue to make it feel soft and cozy. Keep these lines playful and don’t overdo them; just a touch of texture will make it look more fun.
Include Box Details (Optional): If your tissue box features a unique design or brand, gently draw this on the front and sides. For a fun look, you can add a playful pattern, like stripes or dots.
Extra Suggestions for an Authentic Tissue Box Illustration
Get Creative with Your Eraser: Make bright spots by softly removing certain sections, particularly near the edges of the material and on the upper surface of the container.
Mix for Gentle Blending: To create a softer, more lifelike shadow, use your finger or a blending tool to gently smooth out the shading.
Include Shadows Under the Tissue Box: Draw a shadow beneath the box to help it look like it’s really sitting on the paper, making it more lifelike and fun!
Conclusion
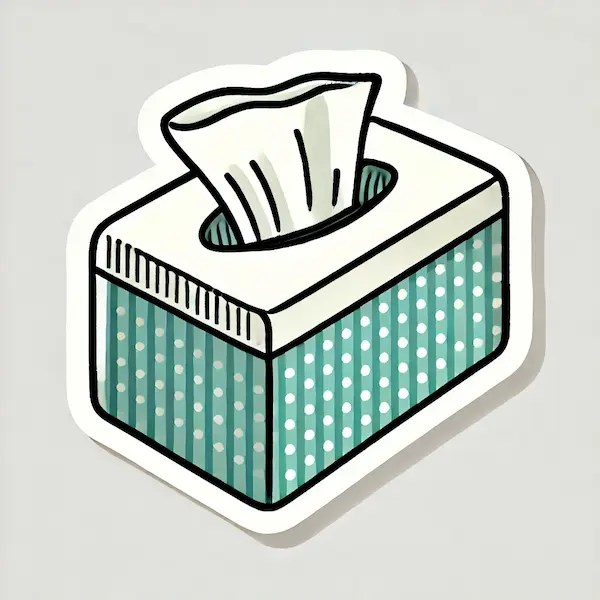
Sketching a tissue box is a super fun way to explore the fundamentals of perspective, form, and shading! By following these easy-to-understand instructions, you can make a fun and lifelike tissue box drawing that allows you to practice basic art skills. This process not only helps you see and recreate everyday things but also makes you feel more confident in working with 3D shapes on a flat surface. Keep in mind that it’s best to begin with simple outlines, add more details little by little, and have fun without stressing about perfection. Keep practicing, and you’ll see amazing improvements!
So, pick up your pencil and have some fun—you might be amazed at how much you improve with every drawing session! Have fun drawing!

