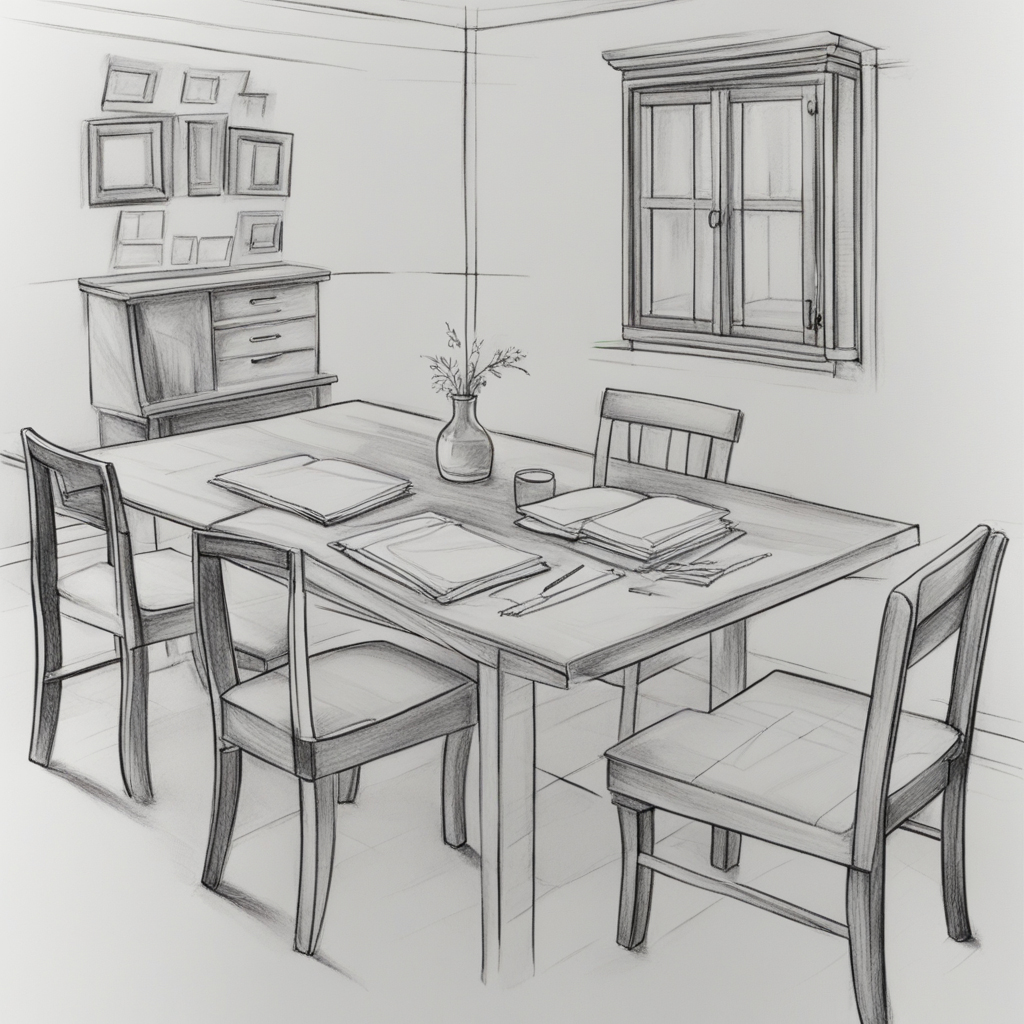
Creating a table may seem like a piece of cake, but if you want it to look totally legit and pop out at you, you gotta nail down some killer techniques. In this easy-to-follow tutorial, we’ll dive into the art of drawing a table. We’ll cover everything from nailing the perspective to getting those proportions just right. Plus, we’ll sprinkle in some shading techniques to really make your table pop! If you’re all about that artistic life or just want to level up your drawing game, this tutorial has got you covered. Get ready to create a table drawing that’s so realistic, it’ll blow your mind!
Table of Contents
Step 1: Gather Your Materials
Yo, before you start, make sure you got all the stuff you need: paper, pencils (2H to 6B for different shading vibes), an eraser, and a ruler or straightedge for that precise touch.
Step 2: Observe and Outline
First, take a good look at the table you want to sketch. Make sure to check out its shape, size, and the angle from which you’re looking at it. Next, quickly sketch a basic outline of the tabletop and the legs. Keep your lines chill and easy to wipe away.
Step 3: Define Proportions
Make sure you get the table’s proportions on point. Make sure the legs are the correct size and evenly positioned. Using a ruler or straightedge can really come in handy when you want to nail those precise proportions.
Step 4: Add Details
Once you’ve got the basic outline down, it’s time to start adding some juicy details. Tables usually come with edges and seams. Make sure to pay close attention to the details when drawing these features, taking into account their size and placement.
Step 5: Incorporate Perspective
In order to really nail that sense of depth, you gotta keep perspective in mind, ya know? From different perspectives, the lines of the table may come together. Apply the principles of perspective drawing, like one-point or two-point perspective, to give your table drawing a three-dimensional look.
Step 6: Shading
Adding some sick shading techniques can totally level up your drawing game and make your table look hella realistic. Pay attention to where the light is coming from and adjust the shading accordingly. Slowly layer the shadows using different pencil grades. Brighter spots show highlights, while darker spots show shadows.
Step 7: Texture
Tables have, like, a totally unique texture, you know? We might have to show the texture of wood or a sleek, polished surface. Try out different techniques such as cross-hatching and stippling to accurately capture these textures.
Step 8: Refine and Erase
Keep honing your drawing skills. Make sure to really nail those lines, proportions, and details. Get rid of any extra lines to tidy up your drawing.
Step 9: Background and Surroundings
Take a look at what’s around the table, like the chairs, stuff, or the vibe of the room. Adding these elements can give some context and make your table drawing more interesting.
Frequently Asked Questions
What do I need to have on hand to sketch out a table?
To create a sick table, you gotta have some paper, a bunch of pencils (2H to 6B for shading, y’know), an eraser, and a ruler or straightedge for that precision vibe.
How do I pick the perfect perspective for my table drawing?
It all comes down to how you look at it. One-point perspective is often used to create a frontal view, while two-point perspective can provide a three-dimensional look from an angle.
What’s the tea on getting that table texture just right?
To capture the texture just right, try out some cool techniques such as cross-hatching or stippling, depending on whether the table is smooth or grainy.
How can I make my table drawing look super realistic with shading?
To get that perfect shading, you gotta know where the light’s coming from, you know? Start by layering different pencil shades to create shadows, while also considering the areas that need to be highlighted.
Should I follow any specific proportions when drawing a table?
The proportions can differ based on the table type and how you’re looking at it. Make sure you’re really checking out that table you’re drawing, so you can get the proportions just right.
Can I add some extra stuff to my table drawing, like objects or a background?
Adding some extra stuff or a cool backdrop can give your table drawing some context and make it way more interesting. Make sure you keep it real and stay on top of all the vibes in the scene.
What’s the move if I mess up while sketching the table?
Errors are just a natural part of the learning journey. Just grab that eraser and fix those mistakes, no sweat! And remember, don’t let anything bring you down! Keep grinding and you’ll level up your skills.
How much time does it usually take to get really good at drawing a table?
Everyone’s skill level differs. If you keep at it, you’ll totally start seeing some major improvement over time. Just chill and embrace the process of perfecting your drawing skills.
Conclusion:
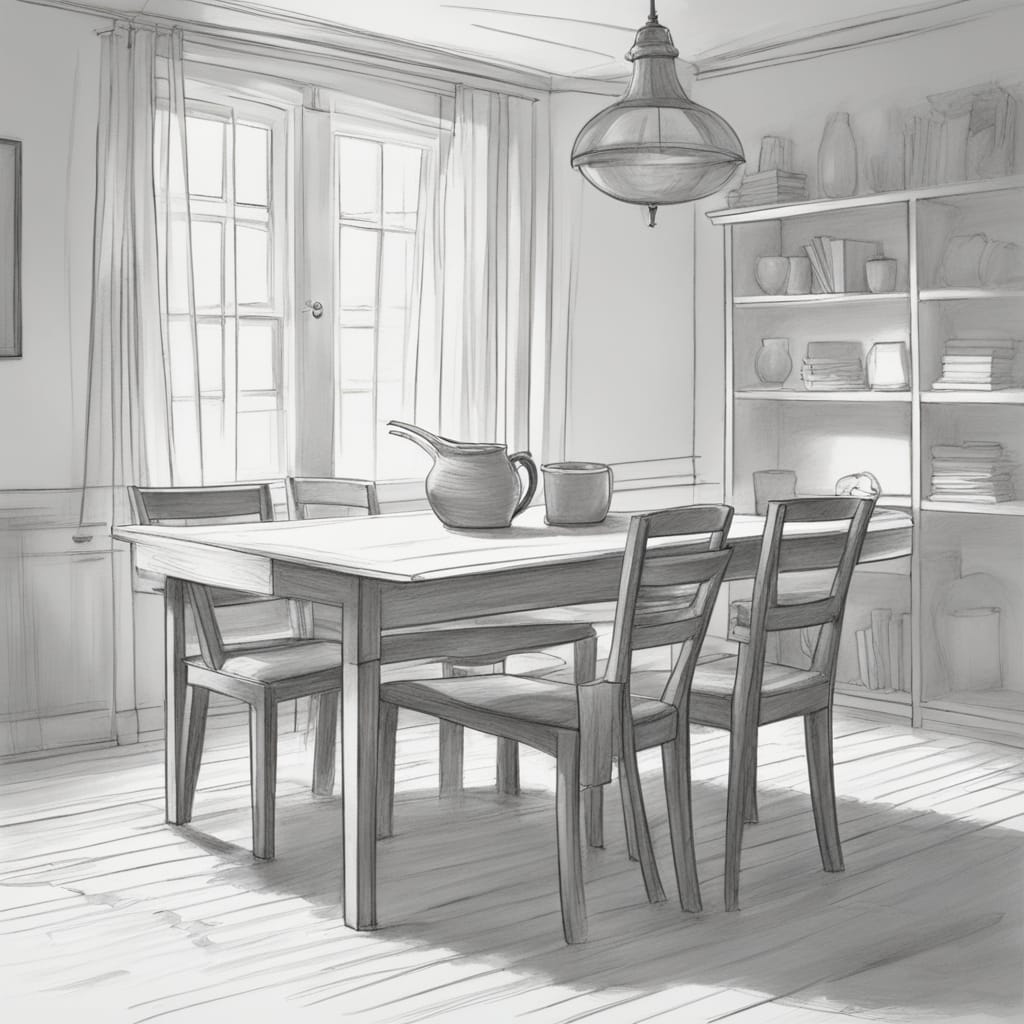
In conclusion, creating a table can be a rad way to hone your artistic chops, especially when it comes to nailing perspective, proportions, and shading. Just keep grinding and you’ll level up your drawing skills in no time! Don’t let the initial hurdles bring you down; instead, see them as chances to grow and get better. If you put in the time and effort, you’ll totally nail the technique of drawing a table and make your artwork look super lifelike. Have a blast with your artwork!
Check out this super fun and simple guide to learn how to draw a chair with easy steps! This fun guide offers easy-to-follow instructions, ensuring that young creators can happily improve their drawing skills while making this everyday piece of furniture!

