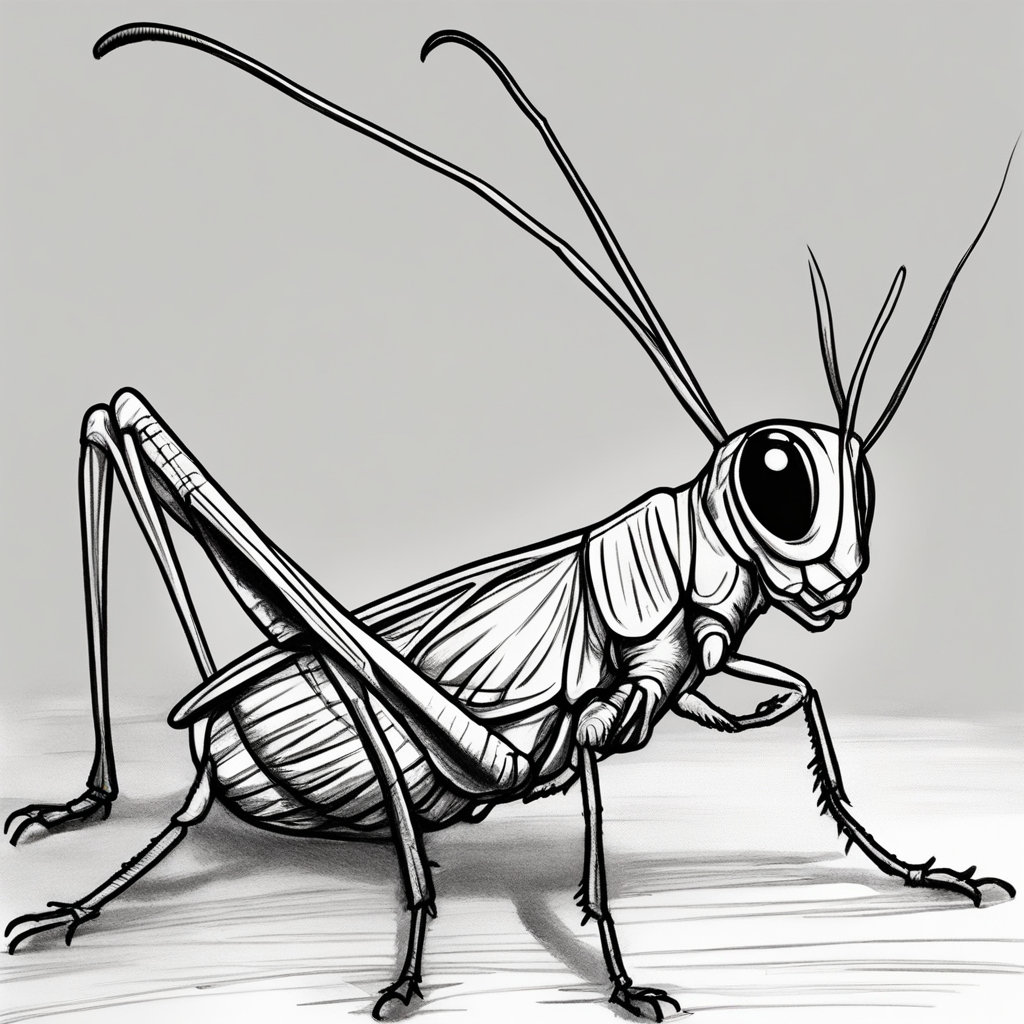
Exploring the intricate features of these amazing insects, drawing a grasshopper can be a fantastic activity. Grasshoppers possess unique physical features, such as long legs, antennae, and segmented bodies, which make them a captivating subject for artistic exploration. In this guide, we’ll take you through the process of drawing a grasshopper, paying close attention to its distinct characteristics and incorporating imaginative elements. Let’s dive into this creative journey!
The Intriguing World of Grasshopper Anatomy
Grasshoppers possess impressive features such as their elongated hind legs, antennae, and segmented bodies. Having a good grasp of these features will enable you to produce a drawing that is both precise and intricate. By examining the various components of a grasshopper, one can truly admire the intricate and captivating nature of these remarkable creatures.
The Joy of Capturing Unique Features
When drawing a grasshopper, it’s important to capture its distinct characteristics, like its lengthy legs and antennae. This can be an enjoyable challenge that improves your artistic abilities and focus. The more accurately you portray these characteristics, the more lifelike and captivating your grasshopper illustration will be.
Discovering the Fascinating World of Grasshoppers Through Art
Grasshoppers display a wide range of species and colors, each showcasing distinct patterns and markings. Exploring the world of grasshoppers through drawing allows for a deeper understanding of their unique characteristics and the chance to experiment with a variety of colors and patterns. This theme highlights the educational element of art and the opportunity to explore new facets of nature.
Steps: How to Draw an Insect
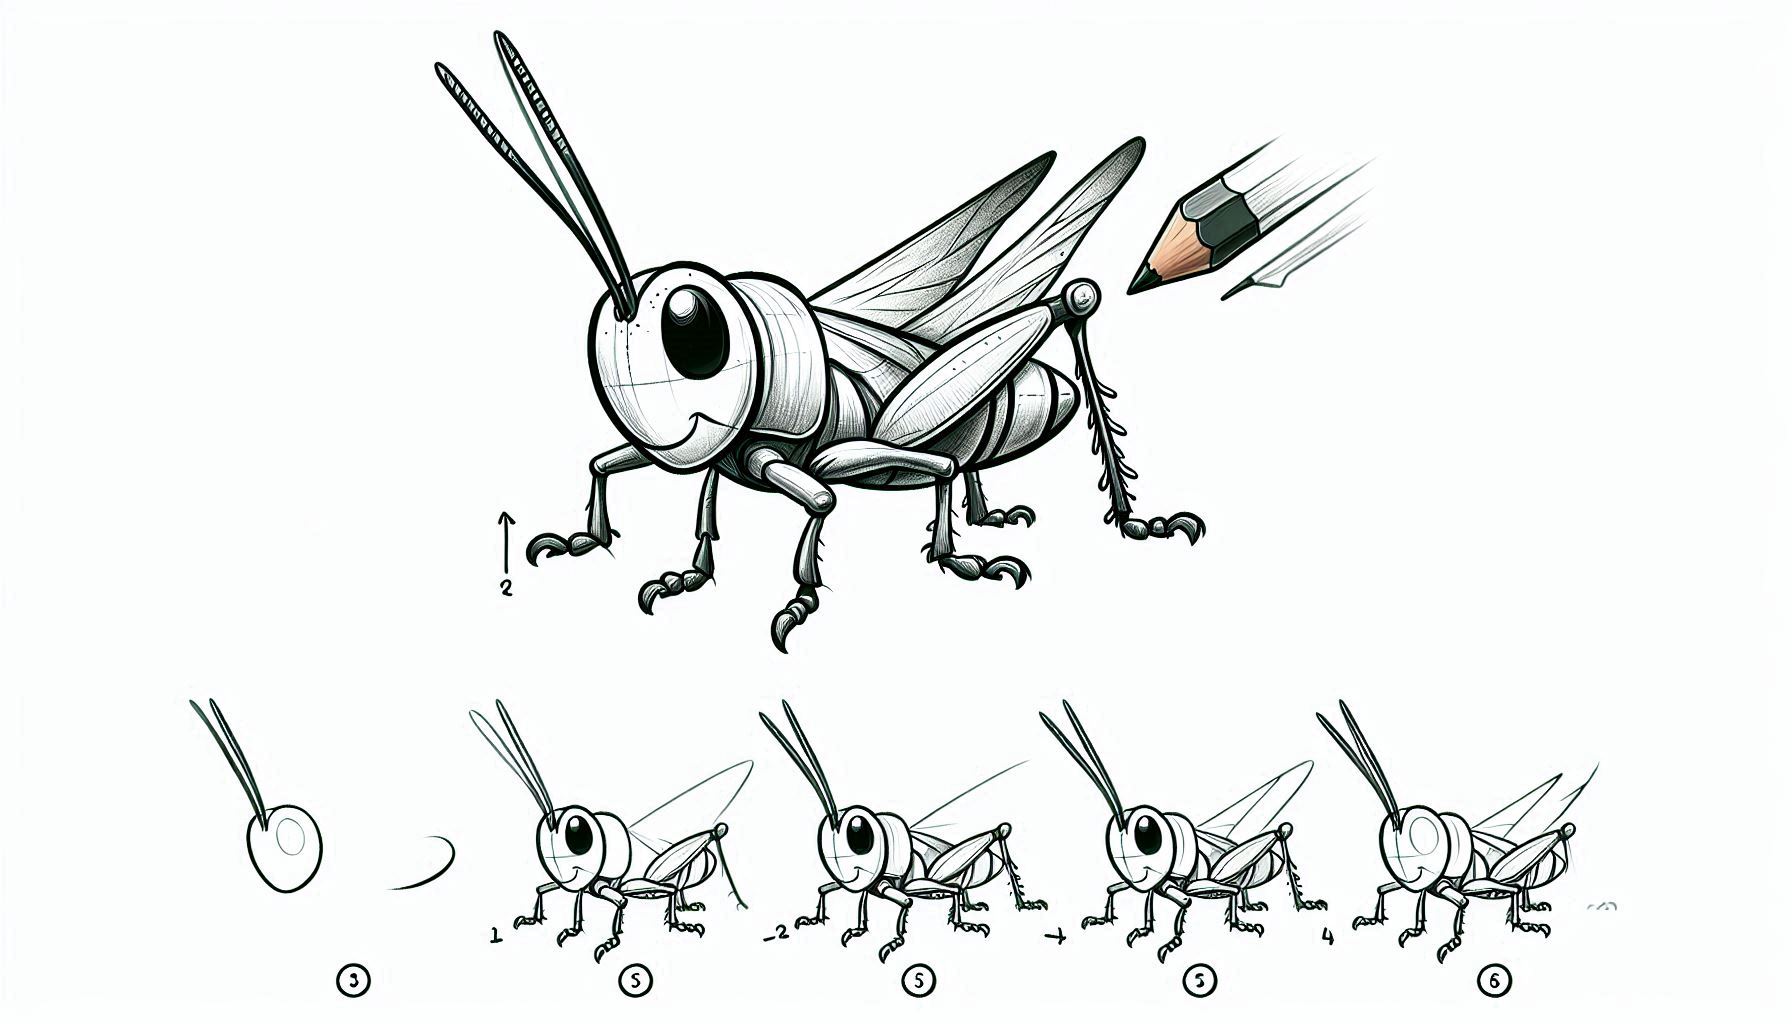
First, let’s start by drawing the body segments.
Begin by sketching the fundamental form of the grasshopper’s body. Start with a stretched-out oval or cylinder shape for the thorax. Connect a slightly bigger, curved form to the thorax to create the abdomen. Create a small, rounded shape at the front of the thorax for the head. It is important to create segments on the grasshopper’s body by adding light lines to show the divisions.
Step 2: Now it’s time to add the head and antennae.
Draw two large, rounded eyes on the head and a small, curved line for the mouthparts. Draw two long, curved lines extending from the top of the head to represent the antennae. The antennae should have segments and a gentle curve. Sketch two small, curved lines that extend from the sides of the head to represent the legs.
Step 3: Sketch the elongated legs
Grasshoppers possess impressive hind legs that enable them to execute remarkable jumps. Sketch two elongated legs that extend from the rear of the thorax. The legs should have a gentle curve and be thicker at the base, consisting of several segments that gradually narrow towards the end. Enhance the legs by incorporating additional details that highlight the segments and joints. Make sure to draw the forelegs slightly shorter and less thick than the hind legs.
Step 4: Now it’s time to add the wings!
Did you know that grasshoppers have two pairs of wings? Create two sets of elongated, slightly curved shapes that extend from the center of the thorax. The forewings typically have a slender and elongated shape, while the hind wings tend to be wider and may have a slightly see-through appearance. Include delicate lines within the wings to depict the intricate veins.
Step 5: Define and Polish the Form
Opt for a darker writing utensil to carefully trace over your initial sketch, enhancing the form of the grasshopper. Refine the contours of the body, legs, and wings. Ensure that the wings have clear veins and the legs have noticeable segments. Remove any unnecessary guidelines or overlapping lines to tidy up your drawing.
Step 6: Enhance the Visual Appeal
To enhance the texture and realism of your grasshopper drawing, consider incorporating delicate lines and shading. Use gentle strokes to depict the intricate details of the wings and the segments of the body. Enhance the artwork by incorporating shading techniques that bring out the intricate details and textures of the grasshopper’s exoskeleton. Take note of the different areas of light and shadow to add depth and dimension to your drawing.
Step 7: Add color to your grasshopper.
Now it’s time to add some vibrant hues to your grasshopper! Grasshoppers display a wide variety of colors, ranging from greens and browns to vibrant yellows and reds. Feel free to choose any shades you prefer to color the body, wings, and legs. Lighter colors can be used for the wings to imitate their translucent quality, while darker shades can be added for the body and legs. Enhance the depth and dimension of your drawing by adding highlights and shadows.
Theme 1: Exploring the Intricacies of Grasshopper Anatomy
Exploring the anatomy of a grasshopper through drawing allows for a fascinating examination of its segmented body, long legs, and antennae. Understanding these features enables you to craft a comprehensive and authentic portrayal. Understanding the intricacies of grasshopper anatomy can greatly improve your artistic abilities and deepen your understanding of these captivating creatures.
Theme 2: Embracing the Joy of Capturing Distinctive Characteristics
The distinct characteristics of a grasshopper, like its elongated legs and antennae, provide an enjoyable challenge for artists. Mastering these details requires precision and careful observation, making it an excellent exercise for enhancing your drawing abilities. Find joy in capturing these unique characteristics in your artwork.
Theme 3: Discovering the Fascinating World of Grasshoppers Through Art
Exploring the diversity and unique characteristics of various species of grasshoppers through drawing can be a fascinating experience. Exploring various colors and patterns can add visual appeal and educational value to your artwork. This theme emphasizes the excitement of exploring different elements of nature through artistic expression.
In summary
Creating a grasshopper drawing can be a fulfilling and enlightening activity that lets you appreciate the intricate and captivating nature of these remarkable creatures. By following the steps in this guide and paying close attention to their anatomy, distinctive characteristics, and vibrant colors, you can create a meticulous and captivating grasshopper drawing. Embrace the joy of the artistic process and let your imagination soar as you create a captivating masterpiece!
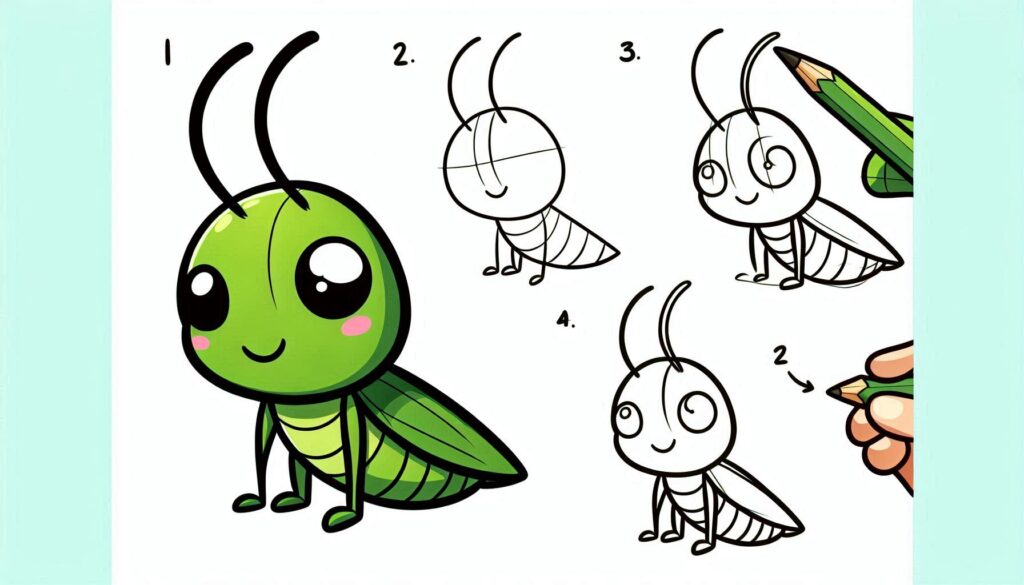
Check out this super fun and simple guide to learn how to draw a bee with easy step-by-step instructions! This fun tutorial offers easy steps, allowing young creators to dive into their imagination while discovering fascinating facts about these essential insects!

